
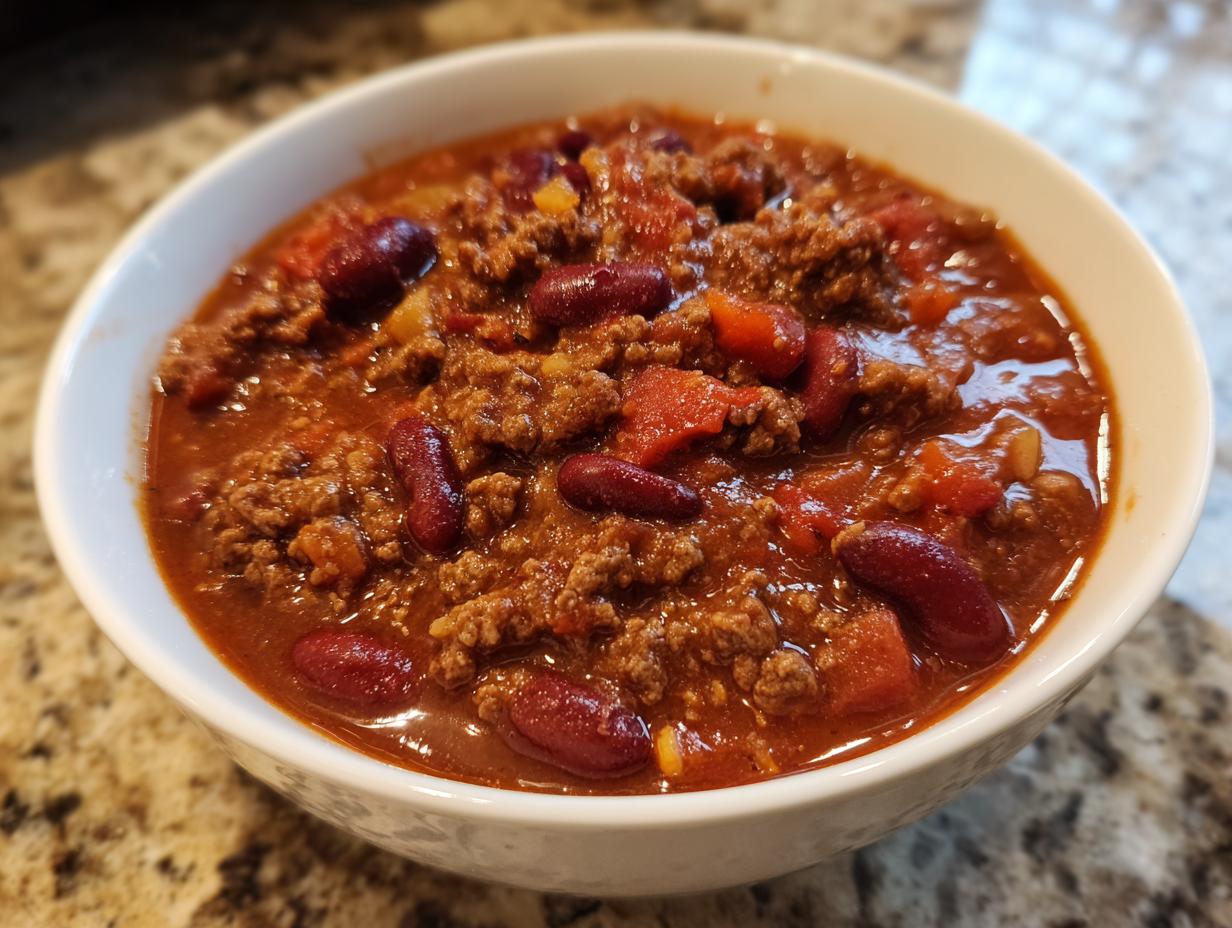
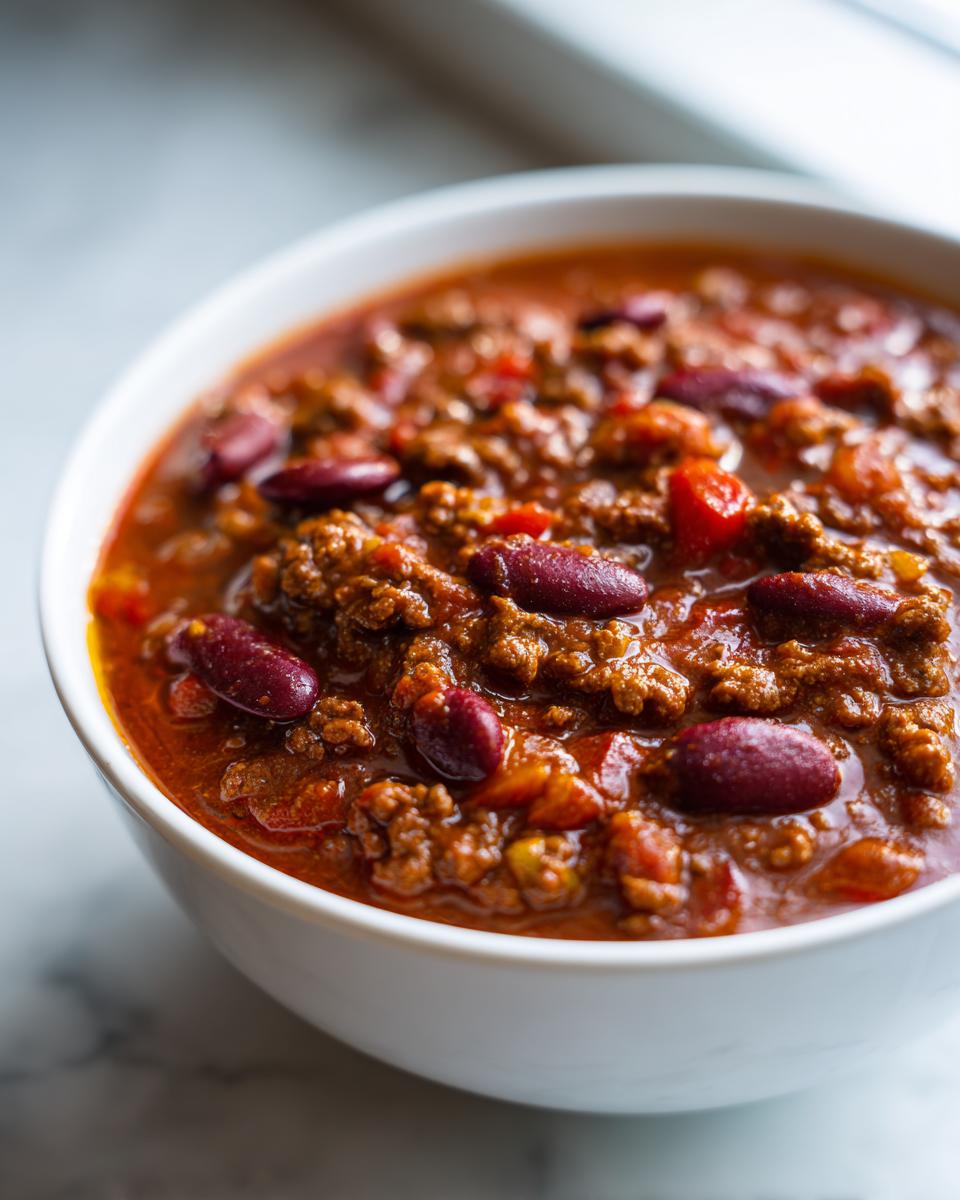
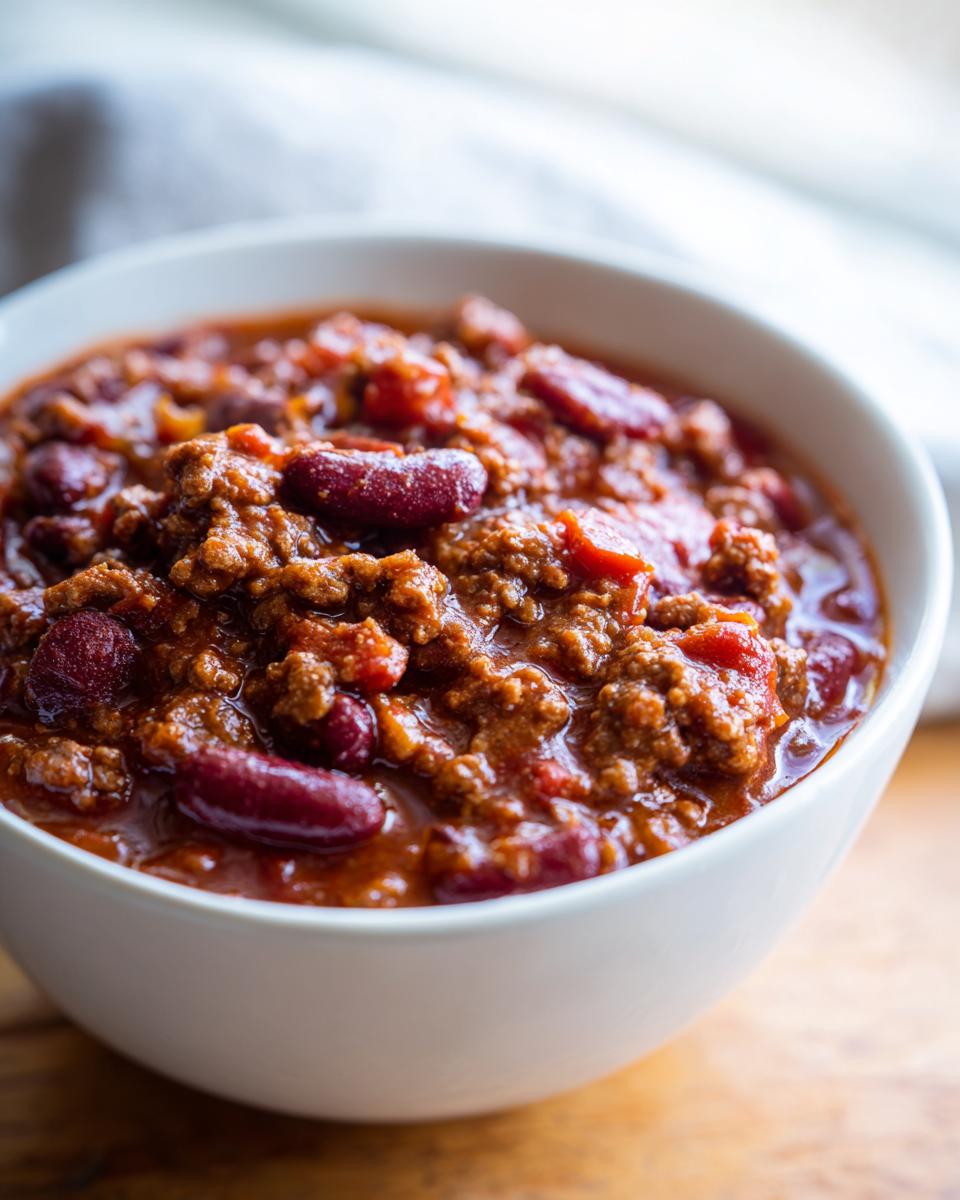
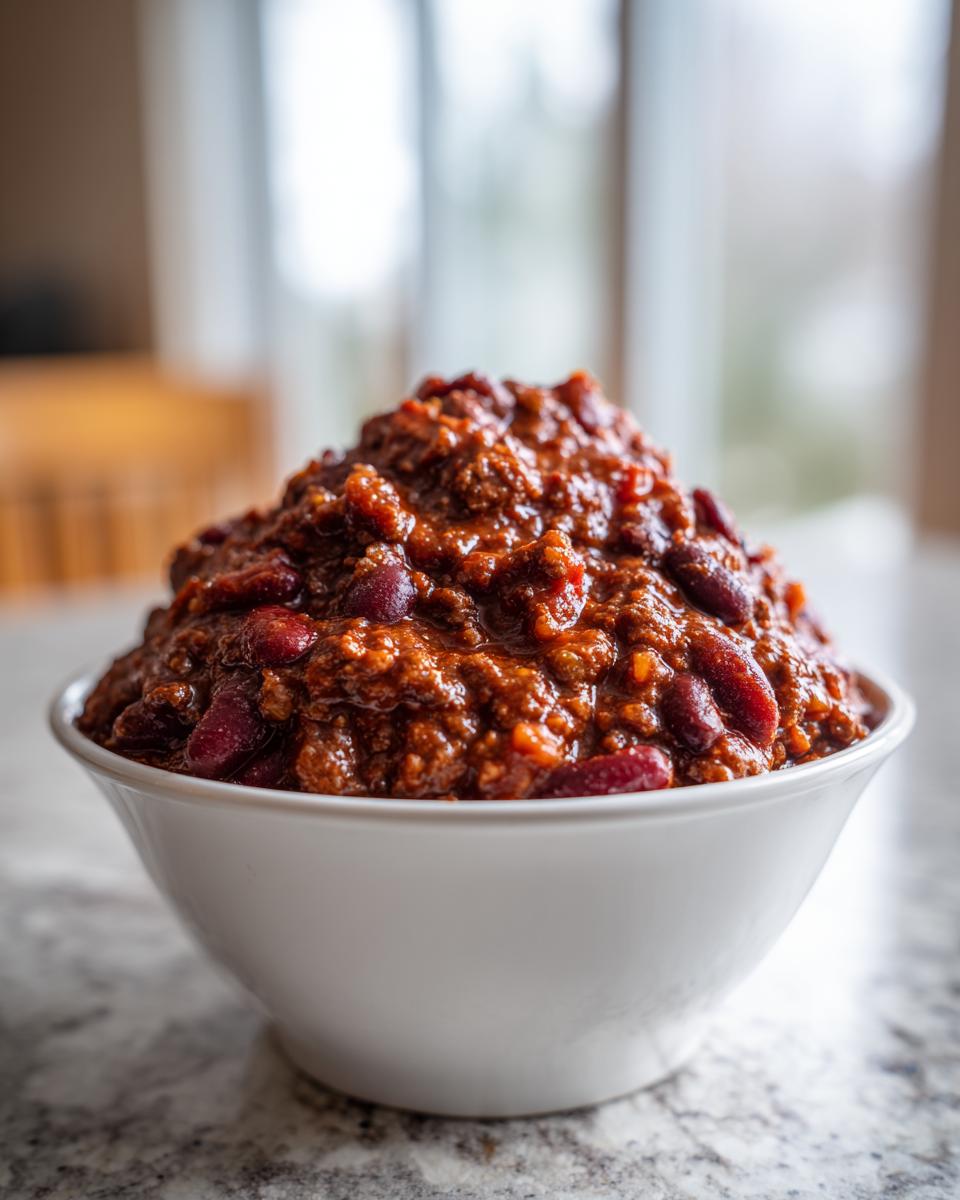
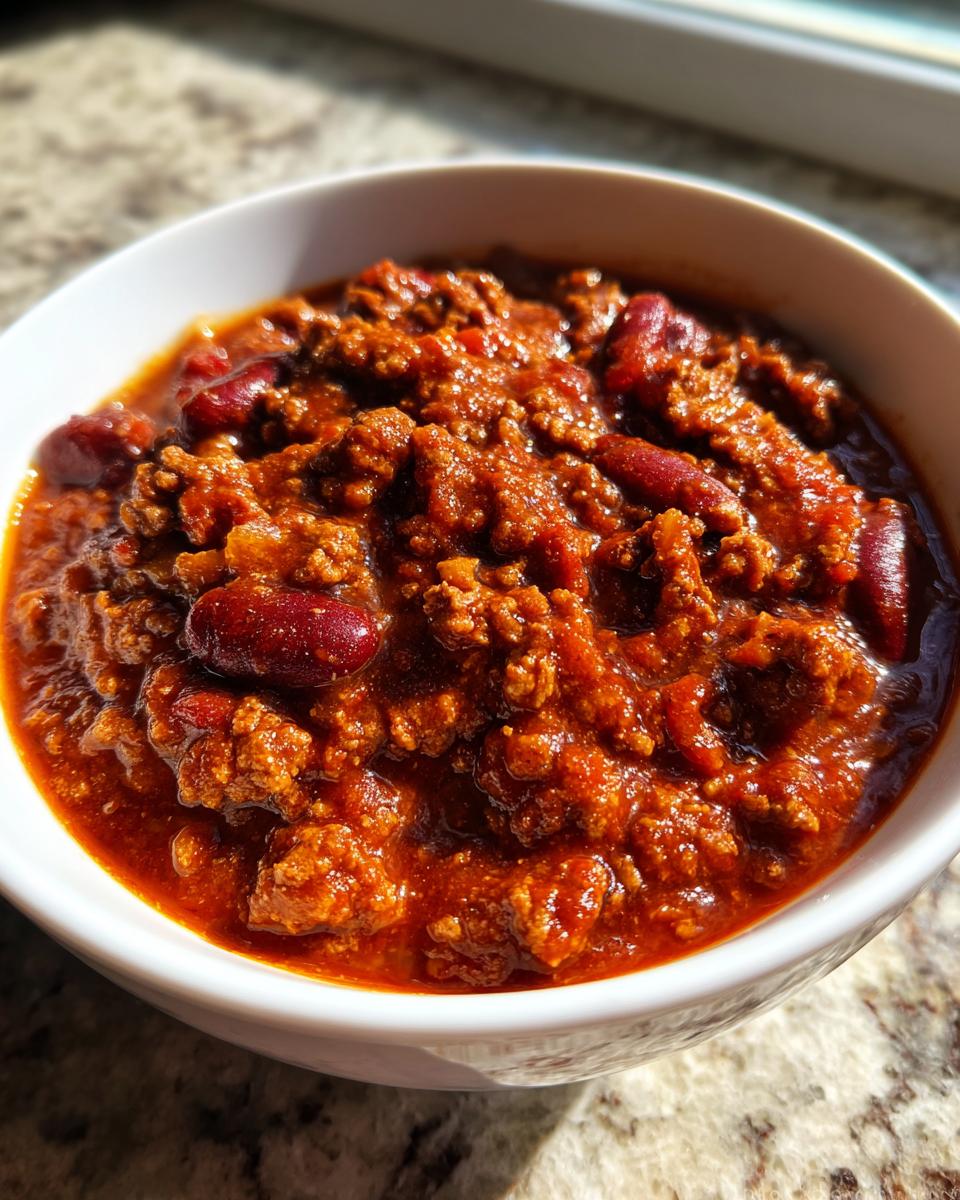
Is there anything better than coming home when it’s cold outside to the smell of something genuinely hearty warming up on the stove? I don’t think so! That’s why I’m so thrilled to share what I wholeheartedly believe is The Ultimate Best Ever Classic Ground Beef and Bean Chili. This isn’t just another recipe; it’s thick, deeply flavorful comfort food that hits perfectly whether you’re feeding the family on a busy Tuesday or hosting everyone for the big game.
When I started The YumMagnet Recipe Box, my whole goal was taking those wonderful, time-consuming family dishes and making them work for my real life—the one with tight schedules and hungry kids. This chili embodies that mission perfectly. It proves you don’t need to spend all day layering ingredients to get award-winning flavor. Trust me, this homemade chili is going to be your new go-to weeknight chili victory!
- Why This is The Best Chili Recipe You Will Make
- Ingredients for Your Ultimate Best Ever Classic Chili
- How to Prepare The Ultimate Chili with Beans
- Slow Cooker Chili Recipe Adaptation
- Tips for Success with Your Homemade Chili
- Serving Suggestions and Chili Toppings Ideas
- Storing Leftovers of This Amazing Chili
- Frequently Asked Questions About This Comfort Food Chili
- Share Your Best Chili Experience
Why This is The Best Chili Recipe You Will Make
I know, I know. Everyone calls their recipe ‘The Best.’ But hear me out on this Classic Chili Recipe. What makes mine stand head and shoulders above the rest is that it marries true, deep flavor with real-life speed. This isn’t just about throwing ingredients in a pot; it’s about technique that maximizes taste without sucking up your entire evening. You get that rich, satisfying, Hearty Chili mouthfeel every single time.
Quick Chili for Weeknight Chili Success
We want comfort food fast, right? That’s why I designed this version to be a fantastic One Pot Chili on the stovetop. After browning the meat and spices, you only need a minimum of 30 minutes simmering time. That’s enough time for the flavors to really marry together, yet it’s quick enough for a rushed Weeknight Chili Dinner. Honestly, it sometimes tastes better than those versions that simmer all day!
Building Flavor in Your Hearty Chili
This is where we turn simple ground beef into something that tastes like it took hours. The key to making this an almost Award Winning Chili flavor profile is layering the spices *after* the meat is browned—we call that blooming them! But stick around for the real secret weapon: unsweetened cocoa powder. Don’t panic! It doesn’t taste like chocolate; it just adds incredible richness and depth that makes everyone ask, ‘What did you put in this?’ It takes this Ground Beef Chili straight to the next level.
Ingredients for Your Ultimate Best Ever Classic Chili
When you see the ingredient list, you might think, ‘That’s just standard stuff!’ And honestly, that’s part of the magic of this Ground Beef Chili. We’re relying on good quality basics and layering them perfectly, not on exotic spices you have to hunt down. Everything here is easy to grab during your regular grocery run. I always make sure to have the broth ready, because that’s the liquid hug that brings this whole thing together. I’ve included my secret weapon right there in the list, too—you absolutely must include that cocoa!
For the best results, make sure those canned beans are rinsed well before they hit the pot. It keeps the final texture cleaner! Here’s exactly what you’ll need for about six huge, satisfying bowls:
- 2 tablespoons olive oil
- 2 pounds ground beef (80/20 recommended)
- 1 large yellow onion, chopped
- 1 green bell pepper, chopped
- 3 cloves garlic, minced
- 1 (15 ounce) can kidney beans, rinsed and drained
- 1 (15 ounce) can pinto beans, rinsed and drained
- 1 (28 ounce) can crushed tomatoes
- 1 (15 ounce) can tomato sauce
- 1 cup beef broth
- 3 tablespoons chili powder
- 1 tablespoon ground cumin
- 1 teaspoon dried oregano
- 1 teaspoon salt
- 1/2 teaspoon black pepper
- 1/2 teaspoon unsweetened cocoa powder (secret ingredient for depth)
- 1/4 teaspoon cayenne pepper (optional, for heat)
Speaking of staples, if you’re serving this chili soon, make sure you have your favorite toppings ready to go!
How to Prepare The Ultimate Chili with Beans
Pull out your biggest pot—a Dutch oven is perfect here—because we are making this goodness right on the stovetop! This is where the rubber meets the road for our Easy Chili Dinner win. It’s all about building those flavor layers one right after the other. Don’t rush this slightly, even though it’s quick! The active cooking time is super short, but the payoff is huge. Sticking to this simple stovetop method is how you make sure this is an amazing, flavorful One Pot Chili.
We’re keeping the mess minimal because this is designed to be a true comfort experience. Don’t you love that feeling when cleanup is just one pot? Let’s get cooking!
Browning Meat and Sautéing Aromatics for Chili
First things first, get your oil hot over medium-high heat. Toss in the two pounds of ground beef. You need to totally break it up as it cooks; I use my wooden spoon like a shovel! Once it’s all nice and brown—no pink spots left—you have to drain off the grease. Seriously, trust me on this step. Draining those extra fats keeps the final Hearty Chili from being greasy and lets the spices really shine through.
Next, toss in the chopped onion and bell pepper right into that same pot with the beef. Let those soften up nicely for about five to seven minutes. They’ll suck up all that lovely browned beef flavor we just made.
Blooming Spices and Simmering Your Classic Chili Recipe
Okay, now for the fun part! Stir in that minced garlic—just let it cook for about 30 seconds until you can really smell it. Then, dump in ALL your spices: the chili powder, cumin, oregano, salt, pepper, AND that secret cocoa powder. Let them cook with the beef mixture for just *one minute*. This little trick, blooming the spices in the residual fat, is an absolute game-changer for making your Classic Chili Recipe taste like it simmered all day.
After that minute, pour in your crushed tomatoes, tomato sauce, and beef broth. Don’t forget the rinsed beans! Stir everything up until it’s happy and combined. Bring it all up to a gentle simmer. Then, cover it slightly and let it hang out on low heat for at least 30 minutes. Remember, taste it when it’s done! Adjust that salt or cayenne until it tastes like *your* perfect comfort.
Slow Cooker Chili Recipe Adaptation
I know some days you just can’t be tied to the stove, and that’s totally my life sometimes too! The great news is that this recipe is fantastic as a Crockpot Chili Recipe. We totally adapt it for that ‘dump and go’ lifestyle, but I have one major tip for success when using your slow cooker for this Chili.
My number one rule for slow cooker meals is this: if it involves browning meat or seasoning spices, do that part first on the stovetop! We do that so we can drain the grease and bloom those spices exactly like we did before. The moisture and flavor are just so much better when you take those few extra minutes to sear the beef and toast the chili powder. Trust me, skipping that step leads to a watery, flatter-tasting Slow Cooker Chili.
Once you’ve browned the beef and sautéed your onions and peppers (Steps 1 and 2 from above), forget the rest of the fluid additions on the stove. Just transfer everything—the browned meat mixture, the tomatoes, the broth, and both cans of beans—right into your slow cooker insert. Give it a good stir, put the lid on, and let that magic happen!
For cooking times, you have options depending on when you need dinner ready. For the deepest flavor, set it to LOW and let it run for about 6 to 8 hours. Honestly, the longer it goes on low, the richer it gets. If you’re in a rush on a Saturday or Sunday afternoon, you can use the HIGH setting, but it will only need about 3 to 4 hours total. Either way, when you get home, you’ll have the most amazing comfort food ready to go. You can find even more tips for making easier dump-and-go crockpot chili recipes over here if you love this method!
Tips for Success with Your Homemade Chili
Even a fantastic recipe like this Ultimate Best Ever Classic Chili needs a little personalization to make it absolutely perfect for your family. I always say that cooking is about learning the rules so you know exactly how to break them, right? These little pointers are based on the notes my mom used to scribble down, and they really help take this Flavorful Chili from great to undeniable. They’re all about handling texture and planning ahead.
Perfecting the Texture of Your Chili
I mentioned simmering for at least 30 minutes, but sometimes life throws you a curveball, and your chili ends up a little too runny, even after that time. Don’t stress! If you find your Comfort Food Chili is thin and you want that signature thick texture, just take the lid partially off for the last 15 minutes of simmering. Letting it breathe encourages a little evaporation, and it thickens up beautifully without getting mushy. If, by some wild chance, you accidentally reduce it too much and it gets thick like paste? Just stir in a splash or two of extra beef broth or even plain water. It happens to the best of us!
Making This Chili Recipe Ahead of Time
This is one of those brilliant recipes perfect for when you’re meal prepping for the week or planning ahead for Game Day. Honestly, chili is almost *always* better the next day because those spices have more time to settle in and deepen their flavors. When you’re absolutely sure the chili has cooled down completely, you can transfer it to airtight freezer containers. I usually portion mine into single servings—it’s so much easier to thaw just what I need for a quick lunch!
It keeps really well in the freezer for up to three months, tucked away for those nights when you realize you have absolutely nothing planned for dinner. It’s the best backup plan any home cook can have! Before serving cold leftovers, make sure you reheat them gently on the stove or in the microwave until steaming hot. You can explore more amazing make-ahead meals if you love this kind of planning!
Serving Suggestions and Chili Toppings Ideas
We’ve made the ultimate, hearty pot of comfort food, but the experience isn’t really complete until you have your toppings bar set up! This is where you can let everyone customize their bowl, which makes it such a fun Family Dinner Chili. Seriously, the toppings are half the fun when it comes to a great bowl of chili, so don’t skimp here!
Based on my family’s traditions and what I’ve seen work best over the years, here is a list of tried-and-true delicious add-ons. I always put these out buffet-style so everyone can load up exactly how they like it. These are my favorite Chili Toppings Ideas:
- Shredded Sharp Cheddar or Monterey Jack Cheese (Don’t use the pre-shredded stuff if you can help it; it melts so much better when it’s freshly grated!)
- A dollop of cool, tangy Sour Cream or Plain Greek Yogurt
- Finely chopped Raw White Onion (for that sharp bite)
- Warm, crumbly Cornbread served right on the side
Now, if you want to elevate it even further, here are two additions that always disappear first in my house:
- Diced Avocado or a spoonful of Guacamole for creamy coolness
- A drizzle of hot sauce or a few slices of fresh jalapeño for personalized heat
And speaking of cornbread, if you want an incredible side dish that practically cooks itself, you absolutely have to try my Cowboy Cornbread Casserole recipe. It’s savory, cheesy, and perfect for scooping up every last bit of that rich sauce!
Storing Leftovers of This Amazing Chili
If you’re anything like me, making a huge batch of something this good is intentional, because I know I’ll want that second day flavor! The great news is that this Ultimate Best Ever Classic Chili doesn’t just keep well—it gets even better overnight. That extra time in the fridge lets all those spices, especially the sneaky cocoa powder, really settle in and deepen their complexity. It’s honestly my favorite way to eat it!
For immediate leftovers, once the pot has cooled down slightly on the counter (don’t let it sit out for hours, though!), you’ll want to transfer it into shallow, airtight containers. Using shallower containers helps it cool down faster in the fridge, which is always the safest way to store food. You can easily keep this fantastic chili in the refrigerator for about four to five days without any noticeable difference in quality.
When you’re ready to reheat it later in the week, I highly recommend doing it on the stovetop if you can. Transfer the amount you want to a saucepan, add just a splash of water or broth to loosen it up (since it thickens overnight!), and heat it low and slow, stirring every minute or so. You want it piping hot all the way through, especially the center. If you’re using the microwave, stir it halfway through your reheating time to make sure there aren’t any cold pockets left hiding in there. Enjoy that second night of amazing comfort food!
Frequently Asked Questions About This Comfort Food Chili
When I share recipes, especially ones people try to recreate for big events like Game Day Chili parties, there are always a few questions that pop up repeatedly. That’s totally normal! I get it; you want to make sure you have everything exactly right before you start. Below, I’ve tried to answer the most common things people ask me about making this truly Comfort Food Chili perfect for their family.
If you have any other questions after reading through, please drop them in the comments below! I’m always happy to chat about flavor building or swaps. If you love creamy dishes, you might also want to check out my ideas for an easy creamy chicken chili recipe sometime!
Can I make this chili vegetarian?
Yes, absolutely! While this recipe is designed around ground beef for that classic, hearty texture, it adapts beautifully if you want a meatless meal. You can easily swap the two pounds of ground beef for about two cups of dried green or brown lentils, or use a mix of hearty mushrooms—like portobello—chopped fine. You might need a little extra broth since the veg won’t release fat when you brown it, but the entire base of tomatoes, beans, and spices works perfectly for a fantastic vegetarian chili!
What is the secret ingredient in this chili recipe?
Ah, the dreaded question that makes me smile every time! I’ve told you about it in the recipe steps, but here it is again: the real magic bullet that makes this taste so much deeper and richer than standard recipes is just half a teaspoon of unsweetened cocoa powder. I know it sounds wild, almost like something out of a Pioneer Woman recipe! But trust me, it’s not adding chocolate flavor. Instead, the cocoa deepens the savory notes of the chili powder, adding a subtle, non-sweet earthiness that makes people ask, ‘Wow, what makes this Flavorful Chili taste so incredible?’ It’s the best low-effort trick there is!
Share Your Best Chili Experience
Alright, now that you’ve got the ultimate comfort in a bowl, I really want to know what you think! Getting your feedback is the best part of running The YumMagnet Recipe Box. Did you try the stovetop version that got dinner on the table lightning fast, or did you go the low-and-slow route with the slow cooker? I’m always so curious to hear how readers adapt things!
If this became your go-to Game Day Chili or saved your busy weeknight, please do me a huge favor and come back here to rate the recipe with five stars. That really helps other home cooks find reliable, tested recipes like this one.
And I absolutely love seeing your creations! If you snapped a picture of your chili loaded up with all those glorious toppings we talked about, share it on social media and tag me. I love seeing how my family recipes become part of *your* family memories. Don’t forget to save this recipe—maybe pin it now—so you can easily find it the next time you need that perfect, hearty bowl of goodness. Finding practical family dinner recipes that actually work is half the battle won!
PrintThe Ultimate Best Ever Classic Ground Beef and Bean Chili

This hearty, flavorful chili recipe uses simple ingredients to create the ultimate comfort food. It is easy to make on the stovetop for a quick weeknight dinner or adapted for the slow cooker. This is the best chili you will serve your family.
- Prep Time: 15 min
- Cook Time: 45 min
- Total Time: 60 min
- Yield: 6 servings 1x
- Category: Dinner
- Method: Stovetop
- Cuisine: American
- Diet: Vegetarian
Ingredients
- 2 tablespoons olive oil
- 2 pounds ground beef (80/20 recommended)
- 1 large yellow onion, chopped
- 1 green bell pepper, chopped
- 3 cloves garlic, minced
- 1 (15 ounce) can kidney beans, rinsed and drained
- 1 (15 ounce) can pinto beans, rinsed and drained
- 1 (28 ounce) can crushed tomatoes
- 1 (15 ounce) can tomato sauce
- 1 cup beef broth
- 3 tablespoons chili powder
- 1 tablespoon ground cumin
- 1 teaspoon dried oregano
- 1 teaspoon salt
- 1/2 teaspoon black pepper
- 1/2 teaspoon unsweetened cocoa powder (secret ingredient for depth)
- 1/4 teaspoon cayenne pepper (optional, for heat)
Instructions
- Heat the olive oil in a large Dutch oven or heavy-bottomed pot over medium-high heat. Add the ground beef and cook, breaking it apart with a spoon, until fully browned. Drain off any excess grease.
- Add the chopped onion and bell pepper to the pot with the beef. Cook until the vegetables soften, about 5 to 7 minutes.
- Stir in the minced garlic, chili powder, cumin, oregano, salt, pepper, cocoa powder, and cayenne pepper (if using). Cook for 1 minute until the spices are fragrant.
- Pour in the crushed tomatoes, tomato sauce, beef broth, kidney beans, and pinto beans. Stir everything together well.
- Bring the chili to a simmer. Once simmering, reduce the heat to low, cover the pot partially, and let it cook for at least 30 minutes, stirring occasionally. For deeper flavor, simmer for 1 to 2 hours.
- Taste and adjust seasonings as needed before serving hot with your favorite toppings.
Notes
- For a slow cooker version, brown the beef and sauté the vegetables on the stovetop first. Transfer everything to the slow cooker, add the remaining ingredients, and cook on low for 6 to 8 hours or on high for 3 to 4 hours.
- This chili freezes well. Cool completely before transferring to airtight freezer containers.
- Toppings ideas include shredded cheddar cheese, sour cream, chopped raw onion, and cornbread.
Nutrition
- Serving Size: 1.5 cups
- Calories: 450
- Sugar: 10
- Sodium: 650
- Fat: 22
- Saturated Fat: 9
- Unsaturated Fat: 13
- Trans Fat: 0
- Carbohydrates: 35
- Fiber: 9
- Protein: 30
- Cholesterol: 75