
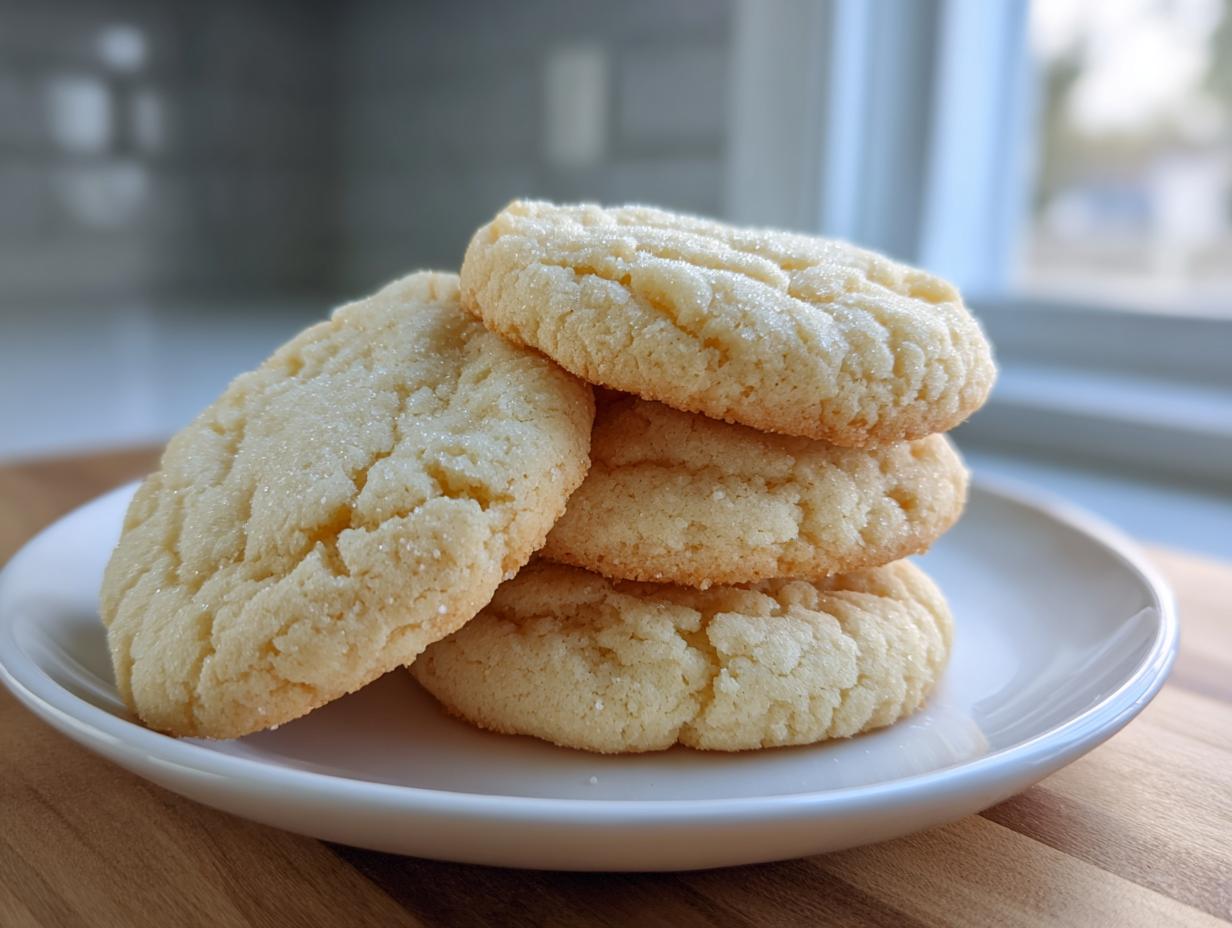
There is just something magical about a perfect cookie, isn’t there? That first bite into something homemade that melts just right—it pulls everyone towards the table! For years, friends kept asking me for my secret. Well, here it is: The YumMagnet recipe for the absolute softest cut-out sugar cookie that actually holds its shape perfectly for decorating. This recipe comes straight from those old, stained cards inherited from my mother and grandmother back in Ohio. I’ve tweaked it for busy modern life, but the buttery flavor and the way they bake flat are total non-negotiables that I kept intact. You’re going to save this one, I just know it. If you need a quick breakfast idea while waiting for these to chill, check out my easy breakfast recipes!
- Why This is the Best Sugar Cookie Recipe for Decorating (The YumMagnet Promise)
- Gathering Ingredients for Your Classic Sugar Cookie Recipe
- How to Make Cut Out Sugar Cookies: Step-by-Step Instructions
- Tips for Success with Your Easy Sugar Cookies
- Ingredient Notes and Substitutions for this Sugar Cookie Recipe
- Serving Suggestions for Your Buttery Sugar Cookies
- Storage and Reheating Instructions for Homemade Sugar Cookies
- Frequently Asked Questions About Making Perfect Sugar Cookies
- Share Your Ultimate Sugar Cookie Guide Success
Why This is the Best Sugar Cookie Recipe for Decorating (The YumMagnet Promise)
I know, I know—everyone claims they have the best sugar cookie recipe, right? But stick with me here. What makes this one different, especially for sugar cookies for decorating, is that I cracked the code for the perfect trifecta: they are unbelievably soft, deeply buttery, and they refuse to spread into sad, shapeless puddles when they hit the oven heat. This isn’t luck; it’s tested science from my busy kitchen years.
This recipe is designed for real life. You want them soft enough to melt in your mouth, but sturdy enough to handle a generous layer of royal icing for Christmas or a birthday celebration. If you’re looking for other easy-to-make sweets, browse my full list of delicious dessert recipes—but this one stays at the top!
Achieving Soft Sugar Cookies Every Time
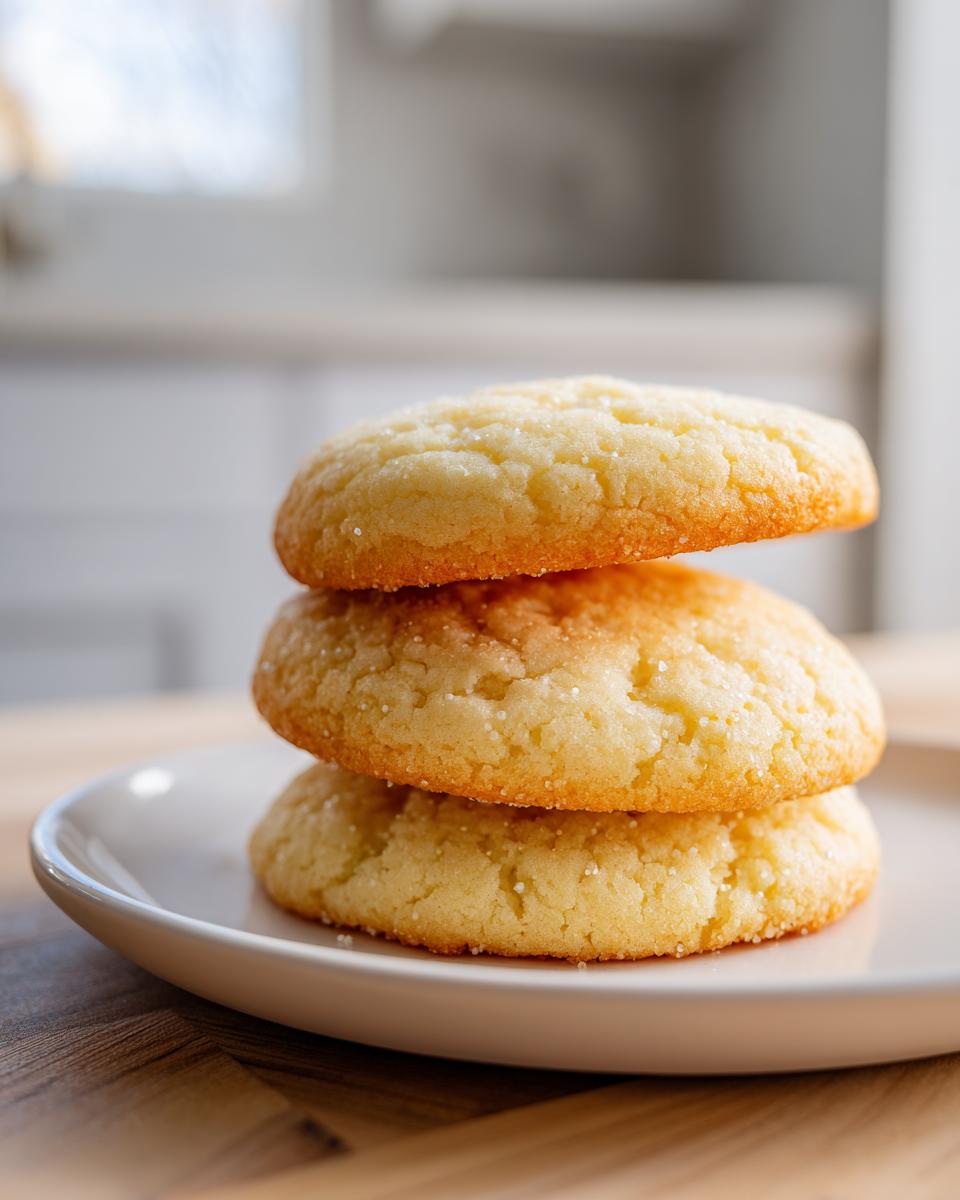
The softness comes down to balance. We use standard amounts of leavening, but the real trick is in the ratio of fat to flour. I don’t want a cakey cookie, which happens if you add too much baking powder. My texture goal is always chewy in the middle. Don’t worry if they look slightly pale when you pull them out; that’s exactly what you want for that soft bite!
The Secret to Perfectly Shaped Sugar Cookies
If spreading cookies drive you crazy, you’ve found your solution. The absolute non-negotiable step here is chilling the dough. Chilling those dough disks is what guarantees you get beautiful, crisp edges on your cut-out shapes. This is the difference between a perfect star and a blob that looks vaguely like a melted star. Trust me, chilling creates truly no spread sugar cookies.

Gathering Ingredients for Your Classic Sugar Cookie Recipe
Okay, time to pull out your mixing bowls! For these classic sugar cookies, we keep things simple because the quality of the basics really shines through. If you want that deep, rich, buttery sugar cookies flavor my family insists on, use real unsalted butter—no shortcuts here!
You will need:
- 2 1/4 cups all-purpose flour (measure it gently!)
- 1 teaspoon baking powder
- 1/2 teaspoon salt
- 1 cup (that’s two full sticks!) unsalted butter, softened to just the right texture
- 1 1/2 cups granulated sugar
- 1 large egg
- 1 teaspoon pure vanilla extract
That’s it! A handful of ingredients for what turns out to be the absolute best cookie you’ll ever make. Make sure your butter and egg are at room temperature; that really helps them blend better.
How to Make Cut Out Sugar Cookies: Step-by-Step Instructions
Alright, here’s where the real fun starts! Making these roll out sugar cookies is straightforward, but you absolutely must follow the order of operations, especially that chilling step we talked about—it makes all the difference for making great sugar cookies for decorating!
Preparing the Dough for Roll Out Sugar Cookies
First things first, we whisk the dry stuff—flour, baking powder, and salt—in a smaller bowl. Set that aside to relax. Now, in your main bowl, grab that softened butter and your sugar. You need to beat this together until it looks light and fluffy, almost cloud-like. That usually takes about three minutes with the mixer. Then, mix in the egg and vanilla until it’s just combined. Don’t get too crazy here; we don’t want excess air yet. Finally, add the dry ingredients slowly, a little at a time, mixing on low speed until it just comes together into a soft dough. Stop mixing right then! Divide that beautiful dough in half, pat each half into a neat disk, wrap it tightly, and pop it into the fridge.
Chilling and Rolling Out Your Sugar Cookie Dough
This is the critical stage for getting your cut out sugar cookies to look exactly how you planned. We need that dough chilled for a minimum of one hour. Seriously, don’t rush it! While it chills, go ahead and preheat your oven to 375°F (190°C) and line those baking sheets with parchment paper. Once chilled, you want to roll out one disk on a lightly floured surface until it’s about a quarter-inch thick. If the dough starts feeling sticky or warm while you’re cutting shapes, just slide the whole mat back onto a tray and chill it for another 15 minutes. That keeps those edges sharp!

Baking Tips for Perfectly Shaped Cookies
Once your shapes are cut, arrange them on the parchment-lined sheets. Pop them into that hot oven and bake them for 8 to 10 minutes. I always shoot for the shorter time unless I see the edges just starting to look set and lightly gold. Remember, we want soft, not crisp! If you’re planning on icing these later, it’s better for them to be slightly underbaked than overbaked. Let them sit on the hot sheet for about five minutes after they come out—this helps them firm up just enough before you move them over to the wire rack to cool completely. We need them totally cool before we even think about adding icing. If you ever need a fantastic main course while you wait, check out my recipe for easy creamy chicken alfredo!
Tips for Success with Your Easy Sugar Cookies
Now that you have the steps down for these easy sugar cookies, let me give you a few little tricks my family taught me. These are the things that take you from “good cookies” to “the best sugar cookie recipe ever.” My biggest tip? Never skimp on the vanilla extract; that little splash makes a huge difference in the final buttery flavor.
When you’re ready to cut shapes, try this: put your metal cookie cutters in the freezer for about ten minutes before you start stamping them out. This helps keep the dough from sticking to the sides of the cutter, which is what causes those rough edges we want to avoid! Also, if you’re rolling on a counter that’s getting sticky, use a bit of flour, but sparingly. Too much flour, and you’ll end up with dry cookies, which defeats the whole purpose of having soft sugar cookies.
If you ever need a perfect sweet breakfast while you wait for these to cool down, you have to try my recipe for fluffy pancakes. But keep these cookies fresh by storing them airtight!
Ingredient Notes and Substitutions for this Sugar Cookie Recipe
When you’re working from a classic recipe like this, substitutions can sometimes feel scary, especially since we worked so hard to nail that perfect texture! But don’t worry, I’ve got you covered with a few things I’ve learned when I’ve run out of something mid-bake.
The biggest rule here is about the butter. We use unsalted because it lets me control the salt level myself, which is crucial for uniform flavor. If you only have salted butter on hand, go ahead and use it, but omit that 1/2 teaspoon of salt listed in the dry ingredients. You can always add salt later, but you sure can’t take it out!
Now, what about texture? This recipe is intentionally designed around granulated sugar for a firmer hold while still baking up soft sugar cookies. However, if you absolutely love that slight molasses chewiness, you can make a small swap. Try replacing up to a quarter cup of the granulated sugar with packed brown sugar. Just remember, anything more than that, and your cookies might start spreading just a bit more because brown sugar adds moisture. We’re aiming for predictability here!
As for flour, please don’t try switching to anything else for cut out sugar cookies unless you are prepared for them to behave differently. All-purpose flour is what gives us the structure we need to hold those pretty shapes. Stick to the recipe, and you’ll get those picture-perfect results every time.
Serving Suggestions for Your Buttery Sugar Cookies
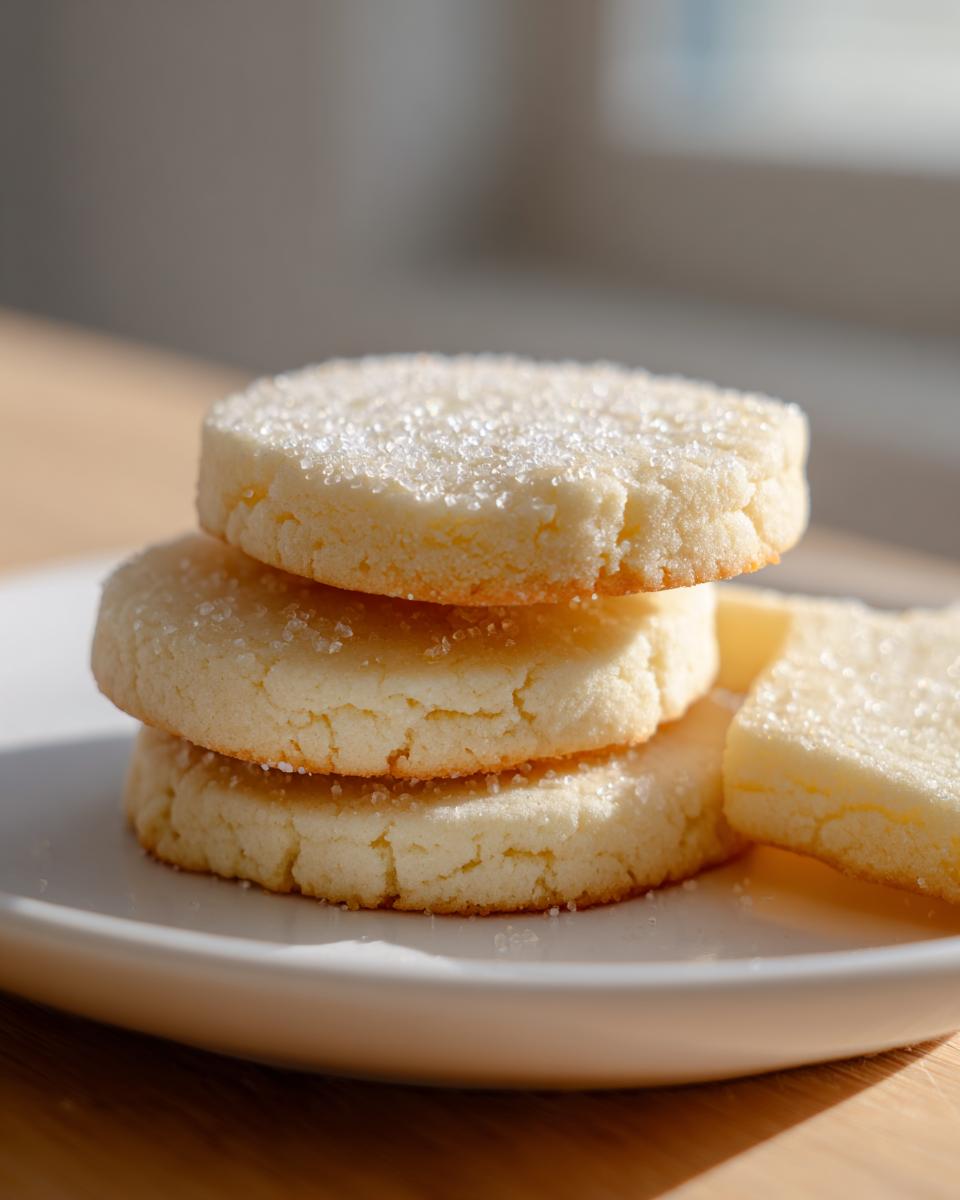
Once these buttery sugar cookies are completely cool, the real fun begins—the decorating! While royal icing is traditional and holds shape beautifully, sometimes I just want a quick treat. My favorite simple topping is a fast dusting of powdered sugar while they are still warm. It’s so cozy!
If you are serving them plain, they pair perfectly with a tall glass of cold milk, obviously. If you’re having guests over, try setting out a fruit bowl nearby; the bright tang of fresh berries cuts through the sweetness just wonderfully. These make incredible holiday sugar cookies that dress up any platter of sweet dessert treats. If you’re looking for something savory to balance out the sugar rush, you have to try my recipe for easy honey garlic butter baked salmon!
Storage and Reheating Instructions for Homemade Sugar Cookies
One of the best things about these easy sugar cookies is that they taste just as fantastic on Day Three as they do right after they’ve cooled! Since we worked so hard to make them perfectly soft and moist, storage is really simple, but you have to follow one basic rule.
For undecorated cookies, just make sure they are completely cool—I mean totally room temperature—and put them into an airtight container. You can layer them with wax paper or parchment sheets between the layers so they don’t stick together. These are happy living right on the counter at room temperature for up to a week. Seriously, they stay fresh!
Now, if you went all out and frosted them with buttercream or royal icing, you should probably keep them in the fridge, especially if your house is warm. The icing stands up much better to the cool air. If you do store iced cookies in the fridge, let them sit out on the counter for about 30 minutes before you serve them. That little bit of warmth brings the buttery flavor right back to the forefront.
Do you need to reheat them? Nope, don’t bother! Taking them out helps them soften up naturally. Just give them a few minutes, and they’ll be perfect. These cookies are just meant to be enjoyed at room temperature for the ultimate texture!
Frequently Asked Questions About Making Perfect Sugar Cookies
I know you might still have a few little questions buzzing around, especially if this is your first time making a cut out sugar cookie recipe that needs to hold its shape! That’s normal! From years of baking for family events, I put together answers for the things I get asked about the most regarding these simple homemade cookies.
Why did my sugar cookies spread out too much in the oven?
Oh, that is the classic heartbreak of the roll out sugar cookie! Spreading almost always means two things: either your butter was too soft when you creamed it, or you didn’t chill the dough long enough. If the butter is melty, it can’t hold the shape when it melts in the oven. You absolutely must stick to that minimum one hour chill time for these classic sugar cookies to stay flat and pretty!
Can I freeze the sugar cookie dough for later?
Yes! This dough freezes beautifully, which is perfect if you are planning ahead for Christmas cookie recipes. After you divide the dough into disks and wrap them tightly in plastic wrap, you can toss them right into a freezer-safe bag. They keep their quality for up to three months. When you’re ready to bake, just move the frozen disk to the fridge overnight to thaw slowly, and then proceed with the rolling and cutting steps as usual. It’s my favorite way to prep!
What is the best icing for these soft sugar cookies?
Since these are designed to be the best sugar cookie recipe and hold their shape, they pair perfectly with a thicker frosting. Royal icing is traditional because it dries hard and lets you stack them, but honestly, my family prefers a simple, slightly thinned buttercream frosting. You get that lovely creamy texture against the soft cookie! If you ever need to get in touch with me for more advice, my contact page is right here: Contact the YumMagnet Kitchen.
Share Your Ultimate Sugar Cookie Guide Success
Well, you’ve done it! You’ve got the dough chilled, you’ve cut out the shapes, and I bet your kitchen smells incredible right now. This foolproof cookie recipe is now yours to keep and use year after year. I truly hope these soft sugar cookies become a staple in your own family tradition, just like they are in mine!
Now, I absolutely live for seeing what you all create! If you had a decorating triumph—maybe you made the most beautiful floral designs or maybe you just managed to get perfectly square edges (which is a win in my book!)—please, please leave a comment below. Tell me about your experience! Did you use royal icing or simple buttercream?
If you feel like this recipe saved your holiday baking session, rating it helps other home cooks find this reliable recipe, too. It really means the world to me that my family’s legacy of simple, reliable baking can help bring a little joy to your table. Don’t forget to check out the About page to learn more about why we focus on practical, real-life recipes here at The YumMagnet Recipe Box!
PrintThe Softest Cut-Out Sugar Cookies That Hold Their Shape for Decorating
This is the go-to recipe for classic, buttery sugar cookies that stay soft and chewy while holding their shape perfectly after baking. Make these easy cut-out sugar cookies for decorating during holidays or any celebration.
- Prep Time: 25 min
- Cook Time: 10 min
- Total Time: 1 hour 35 min
- Yield: 24 cookies 1x
- Category: Dessert
- Method: Chilling and Baking
- Cuisine: American
- Diet: Vegetarian
Ingredients
- 2 1/4 cups all-purpose flour
- 1 teaspoon baking powder
- 1/2 teaspoon salt
- 1 cup (2 sticks) unsalted butter, softened
- 1 1/2 cups granulated sugar
- 1 large egg
- 1 teaspoon vanilla extract
Instructions
- In a medium bowl, whisk together the flour, baking powder, and salt. Set aside.
- In a large bowl, use an electric mixer to beat the softened butter and granulated sugar together until light and fluffy, about 3 minutes.
- Beat in the egg and vanilla extract until just combined.
- Gradually add the dry ingredients to the wet ingredients, mixing on low speed until a soft dough forms. Do not overmix.
- Divide the dough in half, flatten each half into a disk, wrap tightly in plastic wrap, and chill in the refrigerator for at least 1 hour. Chilling is key for no spread sugar cookies.
- Preheat your oven to 375°F (190°C). Line baking sheets with parchment paper.
- On a lightly floured surface, roll out one disk of dough to about 1/4-inch thickness.
- Use cookie cutters to cut out your desired shapes. Place the cut-out sugar cookies onto the prepared baking sheets.
- Bake for 8 to 10 minutes, or until the edges are just set and lightly golden. For thicker, soft sugar cookies, err on the side of underbaking slightly.
- Let the cookies cool on the baking sheet for 5 minutes before transferring them to a wire rack to cool completely before decorating.
Notes
- For the best results when cutting shapes, chill your cookie cutters briefly before use.
- If the dough becomes too soft while rolling, return it to the refrigerator for 15 minutes.
- This recipe works well with both royal icing and simple buttercream frosting for decorating.
- Store cooled cookies in an airtight container at room temperature for up to one week.
Nutrition
- Serving Size: 1 cookie
- Calories: 175
- Sugar: 14g
- Sodium: 85mg
- Fat: 9g
- Saturated Fat: 5g
- Unsaturated Fat: 4g
- Trans Fat: 0g
- Carbohydrates: 22g
- Fiber: 0g
- Protein: 2g
- Cholesterol: 30mg