
Oh, honey, I have been there. You spend hours cutting out perfect sugar cookies, you mix up your icing, you pipe these gorgeous, detailed designs… and then you wait. And wait! Only to find out your beautiful work is still tacky and runny when you try to put them in a box! It’s the absolute worst feeling, right? That’s why when I started The YumMagnet Recipe Box, solving the runny icing disaster was my top priority. My goal, based on years of chasing that perfect holiday cookie look, is to give you my **cooke icing** recipe that sets up fast. This Royal Icing is truly foolproof; it dries rock-solid and keeps this amazing, glossy shine, perfect for detailed decorating! I’m Jessica Thompson, and I learned baking the hard way—in a real Ohio kitchen, not some fancy culinary school—so I only share things that actually work when life is busy.
- Why This Is the Perfect Cookie Icing Recipe for Detailed Work
- Ingredients Needed for Your Meringue Powder Icing Recipe
- How to Prepare the Perfect Cookie Icing Recipe in 10 Minutes
- The Drying Process: Making Your Icing That Sets Firm
- Troubleshooting Common Beginner Friendly Cookie Icing Issues
- Storage and Keeping Your Durable Cookie Frosting Tutorial Fresh
- Serving Suggestions for Your Beautifully Decorated Cookies
- Frequently Asked Questions About This Cookie Icing
- Share Your Cookie Icing Creations with The YumMagnet Community
Why This Is the Perfect Cookie Icing Recipe for Detailed Work
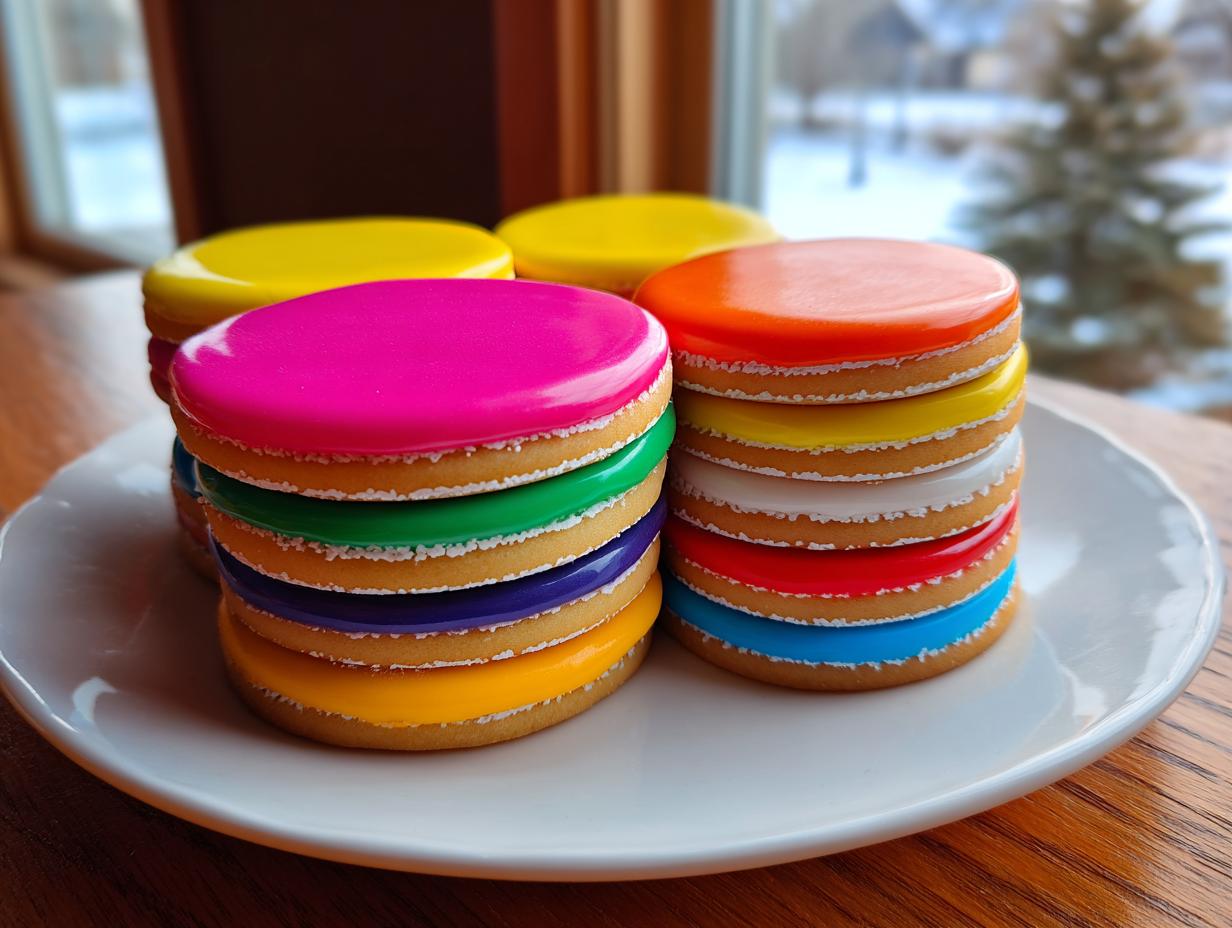
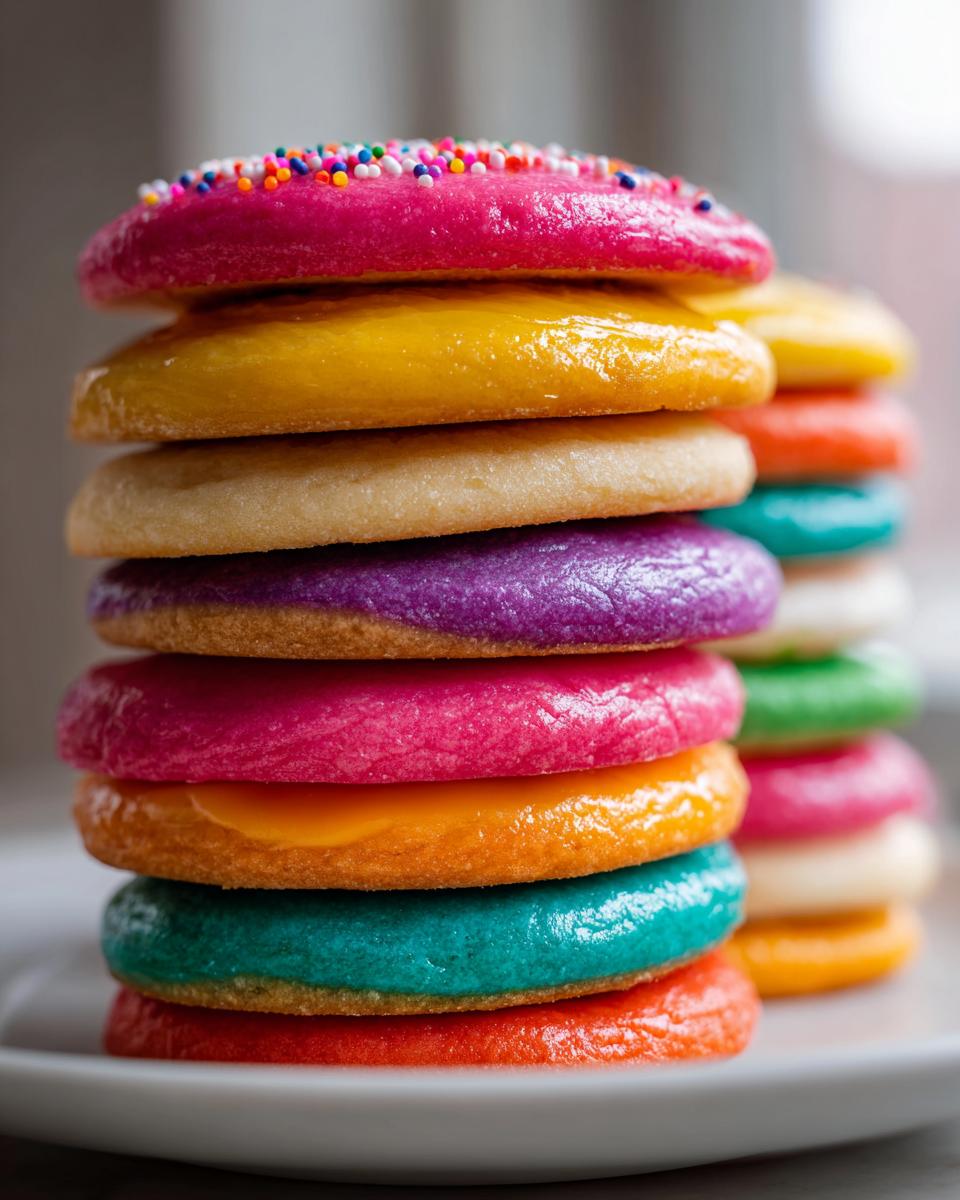
When you put this much love into a batch of sugar cookies, you deserve an icing that shows it off! This isn’t just some sweet topping; this is the strong, dependable Royal Icing that gives you a truly professional cookie finish. Seriously, I remember one year trying to mail Christmas cookies across the country, and when they arrived, the icing had basically turned into sad, smeared puddles. Never again! This recipe using meringue powder is my secret weapon because it dries like glass. It keeps those crisp details sharp, whether you’re piping tiny script or outlining complex shapes. It’s the ultimate sugar cookie icing that hardens you’ve been looking for, giving you that beautiful, durable coating for stacking and gifting.
If you want to see more reliable, tested recipes that stand up to real life, you should check out my collection of delicious dessert recipes—they all focus on flavor without the fuss!
Achieving That Rock-Hard, Durable Cookie Icing
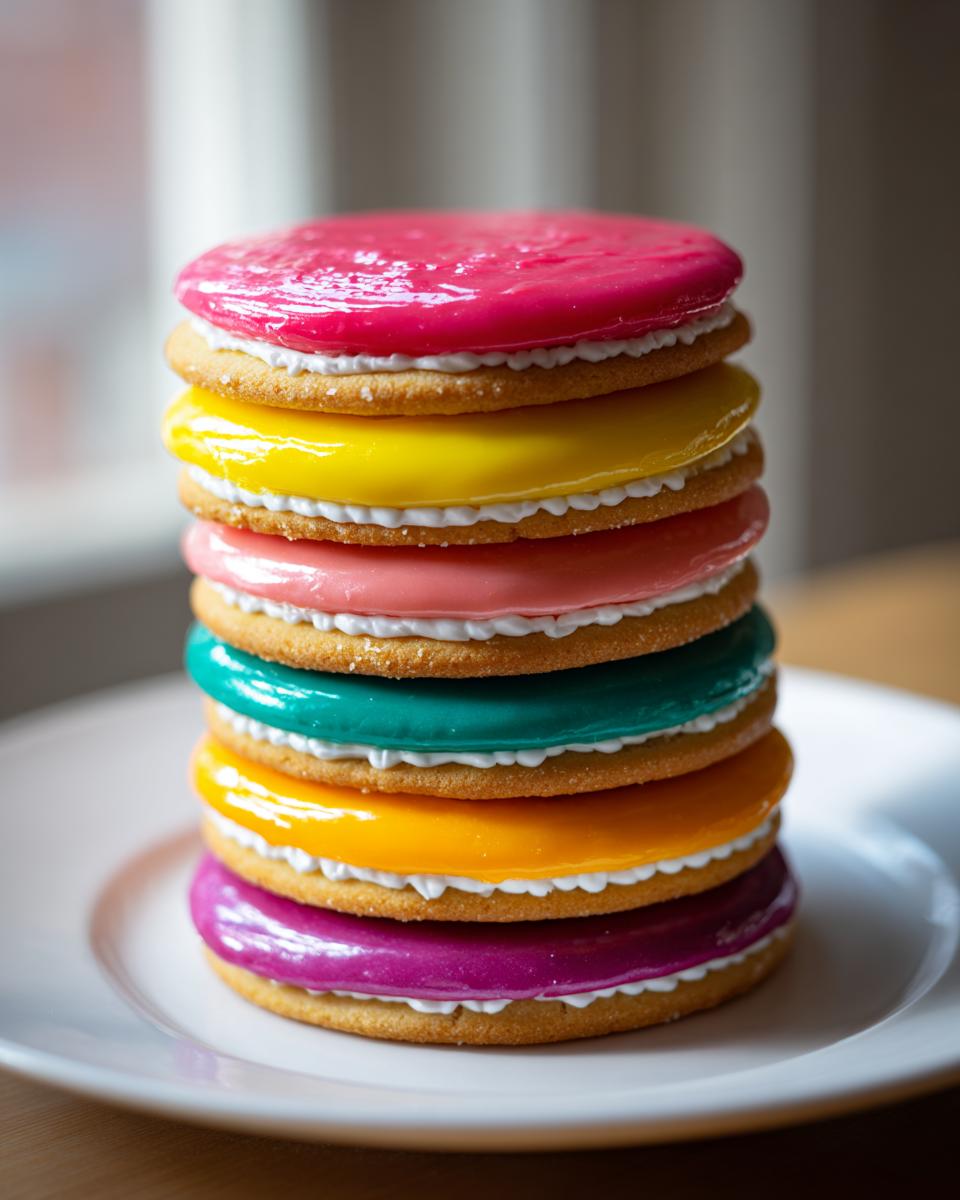
What makes this stuff so tough? It all comes down to what we use instead of just simple egg whites: that meringue powder and the specific ratio of sugar we mix it with. That combination polymerizes perfectly as it dries. This means you don’t have to pray when you stack your dozens of cookies! This dependable sugar cookie icing that hardens means you can finish them the day before the party, and they will still look gorgeous, smudge-free, and ready to impress everyone.
Tips for a Smooth Shiny Cookie Glaze
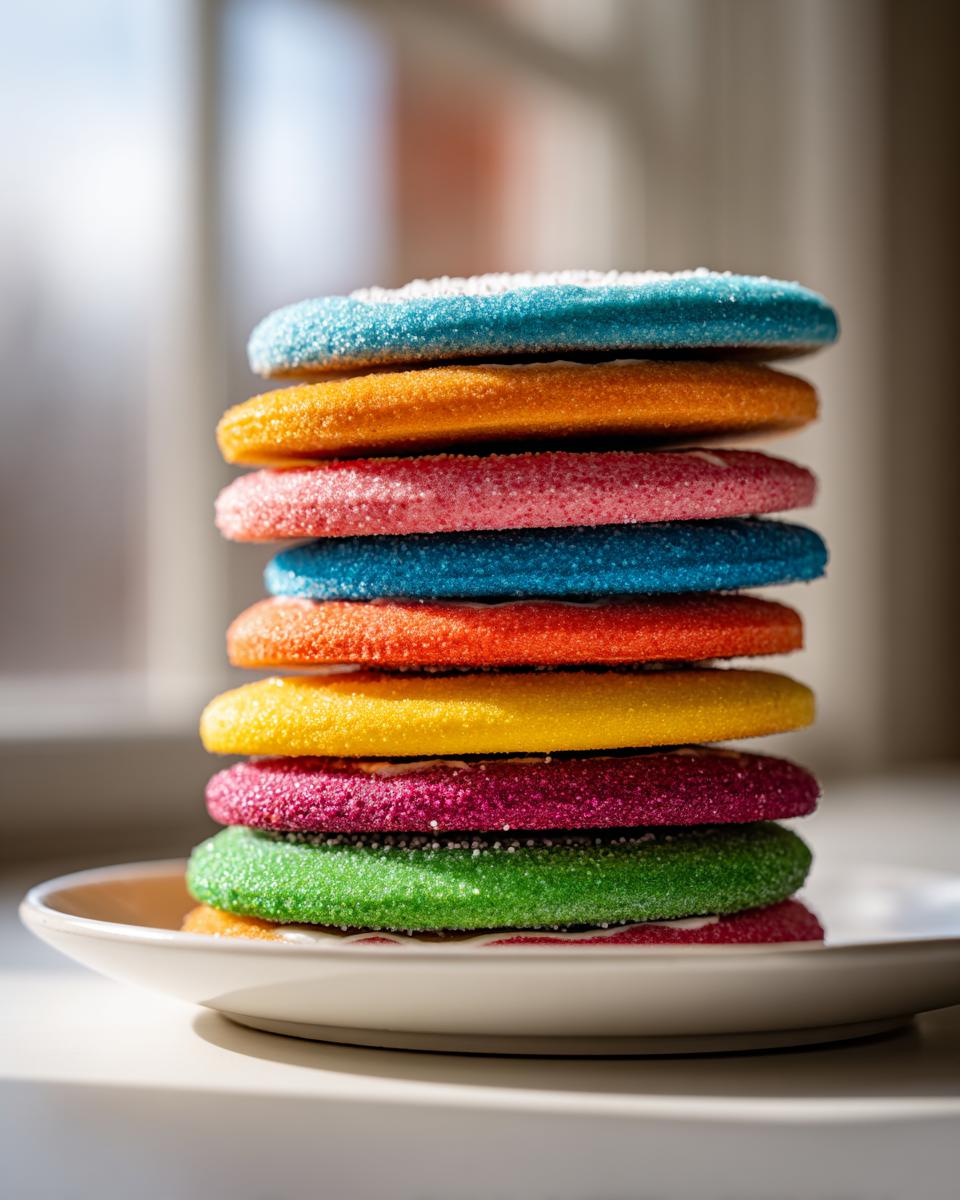
Nobody wants a gritty icing, especially when you’re aiming for that bakery look! To get that gorgeous, glossy icing for decorated cookies, you have to be meticulous about your sugar. Please, please sift that confectioners’ sugar before you even measure it! Then, make sure you let the mixer run for the full 5 to 7 minutes. That long whipping time incorporates air and breaks down any remaining graininess, transforming it into the most beautiful, smooth shiny cookie glaze you’ve ever seen on a sugar cookie.
Ingredients Needed for Your Meringue Powder Icing Recipe
Okay, let’s talk supplies. This is where the trust factor comes in because when you’re baking for family or gifting, you need exact measurements. This recipe is deceptively simple—it’s just a few core things—but getting the measurement right is huge for that perfect set. Trust me, since I’m all about practical solutions, I made sure this list is short and sweet. You are going to need the following items on your counter before you even plug in the mixer.
Here is exactly what you need for about two dozen medium cookies:
- 3 tablespoons meringue powder
- 1/2 cup warm water
- 4 cups confectioners’ sugar, sifted (I cannot stress ‘sifted’ enough!)
- 1 teaspoon vanilla extract
- 1/4 teaspoon almond extract (optional, but it adds a beautiful background flavor)
Ingredient Notes and Substitutions for Your Cookie Icing
Since meringue powder might be new to some folks, let’s chat about it quickly. It’s stabilizers and dried egg whites, and it’s what guarantees that rock-hard finish we want. If you absolutely cannot find it and desperately need to make this right now, you can swap it out for 2 large egg whites. Just know that if you use fresh egg whites, your drying time might get a little wonky—it just won’t be as consistent as the meringue powder version. If you skip the flavoring extracts, you essentially have your 4 ingredient cookie icing, which is perfect for coloring!
Also, be frugal with the almond extract. That little bit provides a lovely, bright counterpoint to the sweetness. Too much, and your cookies will taste like marzipan, which isn’t always the vibe we’re going for!
How to Prepare the Perfect Cookie Icing Recipe in 10 Minutes
This is the fun part, and honestly, it’s so fast you’ll think you missed a step! You don’t need to bake anything here, just mix and beat. First things first, grab your bowl and whisk those 3 tablespoons of meringue powder right into your 1/2 cup of warm water. Give it a quick, gentle whisk just until that powder dissolves—don’t go crazy whipping air in yet! Next, dump in all that sifted sugar, the vanilla, and that optional almond stuff. Now you bring out the electric mixer. Start low to avoid sugar dust flying everywhere (oops, learned that the hard way!). Once it’s vaguely combined, crank that speed up to medium-high and let it run for a solid 5 to 7 minutes. When you stop, you should have this brilliant white, super stiff mixture. That’s your cookie icing ready to go!
If you’re planning on coloring it, do yourself a favor and divide it into separate bowls right away. A little bit of gel color goes a long way, so add it slowly until you hit the shade you love. Want to see more of my favorite time-saving kitchen hacks? Check out this guide to easy breakfast recipes—sometimes the quickest prep leads to the best results!
Mastering the Two Consistencies: Piping vs. Flooding for Detailed Cookie Decoration Icing
This is the secret sauce for looking like a pro! The initial batch you just mixed is your stiff **piping consistency**. It should hold stiff peaks when you lift the whisk, which is perfect for creating sharp borders or writing tiny words on your cookies. This boundary needs to dry a bit, maybe 15 to 30 minutes, before you move on.
Now for filling everything in—that’s what we call flooding. You need to thin that stiff batch down slightly. Add water one teaspoon at a time, mixing in between each addition. You want the best consistency for cookie piping that floods beautifully. The test? Lift your whisk: the icing should fall back into the bowl creating a thick ribbon that melts perfectly back into the surface, disappearing in about 10 seconds. That perfect flow makes spreading coverage so smooth, which helps achieve that no smudge cookie icing look once dry!
Quick note for you, since I have to link my policy page here for technical reasons: don’t forget to review my privacy policy to see how I keep your information safe while you’re busy baking!
The Drying Process: Making Your Icing That Sets Firm
We’ve put in the mixing work, and now the hardest part begins: waiting! But trust me, if you want that amazing, hard, durable finish, you can’t rush drying time. Leave your decorated cookies uncovered, just sitting right out on the counter at room temperature. You need a minimum of 6 to 8 hours, but honestly, if you can hold out until the next morning—overnight—the better. That’s how you guarantee that icing that sets firm and gives you that satisfying, non-sticky crust.
One huge cardinal rule, and this is critical for your **sugar cookie icing that hardens**: Do NOT put them in the fridge! I know we refrigerate a lot of baked goods, but putting these beauties in the cold air traps moisture, and all that condensation will turn your perfect, glossy top into a sticky, weeping mess. This simple step ensures your cookie icing dries hard and stays perfect!
Troubleshooting Common Beginner Friendly Cookie Icing Issues
Even with the best recipe, sometimes things go a little sideways, right? That’s totally okay! When you’re first tackling this kind of detailed work, you might run into a few hiccups, but don’t panic. This section is all about fixing those common mistakes so your cookies still look amazing. I’ve made every mistake in the book—grainy icing, cracking when dry, or icing that just won’t commit to hardening. The good news is, since this mixture is so simple, the fixes are usually quick and easy!
If you ever need to reach out with a question about a recipe, feel free to use my contact page. I love hearing from bakers!
Fixing Runny Icing or Restoring Thick Royal Icing for Cookie Decorating
Okay, let’s tackle the consistency, because that’s where most of the trouble starts. If your initial batch seems too thin—maybe it flowed off the whisk in one gulp instead of a slow ribbon—don’t rush to add more water! You need to thicken it up, and the best way to do that is by adding more sifted confectioners’ sugar, one tablespoon at a time, until you hit that stiff peak needed for piping. Mix it well between additions!
On the flip side, maybe you got busy chatting with the kids and now your piping icing is like concrete in the bowl. This happens! Resist the urge to flood it with a big glug of water. Just add plain water, one single teaspoon at a time, and beat it slowly until it loosens back up to the perfect consistency for your Royal Icing for cookie decorating. Patience here ensures you keep that hard-setting capability.
Storage and Keeping Your Durable Cookie Frosting Tutorial Fresh
So, you whipped up a double batch because you know you can’t stop at just one kind of cookie? Smart move! But you’ll quickly realize that this fantastic cookie icing will start forming that ugly crust if you leave it exposed to the air for too long. Don’t stress about leftovers; this stuff keeps really well if you treat it right. Just make sure you transfer any unused icing into a truly airtight container. I mean, really seal it up tight!
The key rule here is keeping it at room temperature. Don’t be tempted to tuck it into the fridge! Refrigeration introduces condensation when you take it back out, and that moisture is the enemy of a good, hard shell. You can generally keep this in the pantry for up to two days, and it should still whip up beautifully the next day. If you want to peek at some other great behind-the-scenes info about how The YumMagnet kitchen runs, check out my About page!
Serving Suggestions for Your Beautifully Decorated Cookies
Now that you have these gorgeous, hard-setting cookies thanks to our foolproof cookie icing, the real fun starts: showing them off! Because this icing is so durable and won’t smudge, they are absolutely perfect for any situation where regular cookies would fall apart.
These are showstoppers at a holiday cookie exchange, no question. Because the finish is so smooth and professional, they look incredible displayed on a tiered tray next to your coffee or tea service. Forget those paper plates; these cookies deserve your prettiest presentation!
Also, don’t underestimate how amazing these are for gifting. You can stack them neatly in cellophane bags or little tins, and you won’t have to stress about them sticking together or getting ruined on the way over. They truly are bakery-style when you use this technique! If you’re always looking for ways to bring a little more home-cooked joy into your weeknights, check out my family dinner recipes—sometimes making dinner easy lets you focus on the fun stuff, like decorating cookies!
Frequently Asked Questions About This Cookie Icing
I always get so many questions once people try this recipe because the results are so stunning! It makes people realize that achieving that professional look isn’t magic, it’s just knowing the right technique. Here are a few things I hear most often when folks are learning this easy royal icing technique.
Can I color this cookie icing ahead of time?
Absolutely! That’s a great way to plan ahead, especially if you’re decorating for holidays. The key thing here? Separate the colors right away into individual bowls. Don’t even leave the main batch white for long! Once you color it, cover each bowl tightly with plastic wrap, making sure the wrap actually touches the surface of the icing. This stops that frustrating skin from forming. And please, stick to gel food coloring—liquid dye messes with the consistency we worked so hard to perfect!
How long does this sweet icing for sugar cookies take to fully cure?
This is the big test for durability! While the icing might feel dry to the touch after 2 or 3 hours, that’s not fully cured! For that truly satisfying, hard, crackly finish, you need at least 6 to 8 hours, but I always push for overnight drying if I can. Once it’s fully cured, you’ll have zero concern about shifting or smudging. This lack of stickiness is what gives you that amazing no smudge cookie icing you need when you’re carefully placing those sugar cookies into gift boxes.
Share Your Cookie Icing Creations with The YumMagnet Community
You’ve done it! You’ve made the perfect batch of **cookie icing** that dries hard, shines beautifully, and held up to all your detailed decorating work. I am just bursting with excitement for you! Now, I really, truly want to see what you made. Baking is always better when we can share the results, right? This recipe is my go-to, and I hope it becomes yours, too, for all your holiday treats and special occasions.
If this **royal icing for cookie decorating** made your life easier and resulted in cookies that didn’t look like a Jackson Pollock painting by the time they hit the cookie jar, please give this recipe a big five stars!
Go ahead and snap a picture of your perfectly decorated sugar cookies. When you share them on Instagram or Facebook, tag me! Make sure you mention that you used this exact **perfect cookie icing recipe** so others know your secret to success. I absolutely love seeing how you apply the piping and flooding techniques to your own designs!
And if you ran into any snags, or if you have a brilliant twist on the flavoring, don’t keep it to yourself! Drop a comment below. I read every single one, and I love hearing from you all. Happy decorating, friends!
PrintFoolproof Royal Icing That Dries Hard and Glossy for Decorated Cookies

This recipe gives you the perfect cookie icing that hardens completely, providing a smooth, professional finish ideal for detailed sugar cookie decorating and holiday treats.
- Prep Time: 10 min
- Cook Time: 0 min
- Total Time: 10 min
- Yield: Covers approximately 2 dozen medium cookies 1x
- Category: Baking Decoration
- Method: Mixing/Whisking
- Cuisine: American
- Diet: Vegetarian
Ingredients
- 3 tablespoons meringue powder
- 1/2 cup warm water
- 4 cups confectioners’ sugar, sifted
- 1 teaspoon vanilla extract
- 1/4 teaspoon almond extract (optional, for flavor)
Instructions
- In a large bowl, combine the meringue powder and warm water. Whisk briefly until the powder is dissolved.
- Add the sifted confectioners’ sugar, vanilla extract, and almond extract (if using) to the bowl.
- Using an electric mixer with a paddle attachment, start mixing on low speed until the sugar is incorporated.
- Increase the speed to medium-high and beat for 5 to 7 minutes until the icing is very stiff, bright white, and holds stiff peaks. This is your piping consistency.
- To achieve a flooding consistency for filling in areas, add water, one teaspoon at a time, beating well after each addition until the icing flows slowly off the whisk in a thick ribbon that disappears into the surface after about 10 seconds.
- Divide the icing into bowls for coloring, if desired. Add gel food coloring sparingly and mix until smooth.
- Use the stiff icing for outlining cookies. Let the outline dry for 15 to 30 minutes.
- Use the thinner (flooding) icing to fill in the outlined areas. Gently tap the cookie on the counter to release air bubbles.
- Allow the cookies to dry uncovered at room temperature for at least 6 to 8 hours, or preferably overnight, until the icing is completely hard and dry to the touch.
Notes
- For the smoothest finish, sift your confectioners’ sugar before measuring and mixing.
- If you do not have meringue powder, you can substitute it with 2 large egg whites, but the drying time may vary.
- Store unused icing in an airtight container at room temperature for up to two days; do not refrigerate.
- If the icing becomes too thick while working, stir in a few drops of water to restore the desired consistency.
Nutrition
- Serving Size: 1/4 cup prepared icing
- Calories: 195
- Sugar: 48g
- Sodium: 15mg
- Fat: 0g
- Saturated Fat: 0g
- Unsaturated Fat: 0g
- Trans Fat: 0g
- Carbohydrates: 49g
- Fiber: 0g
- Protein: 1g
- Cholesterol: 0mg