
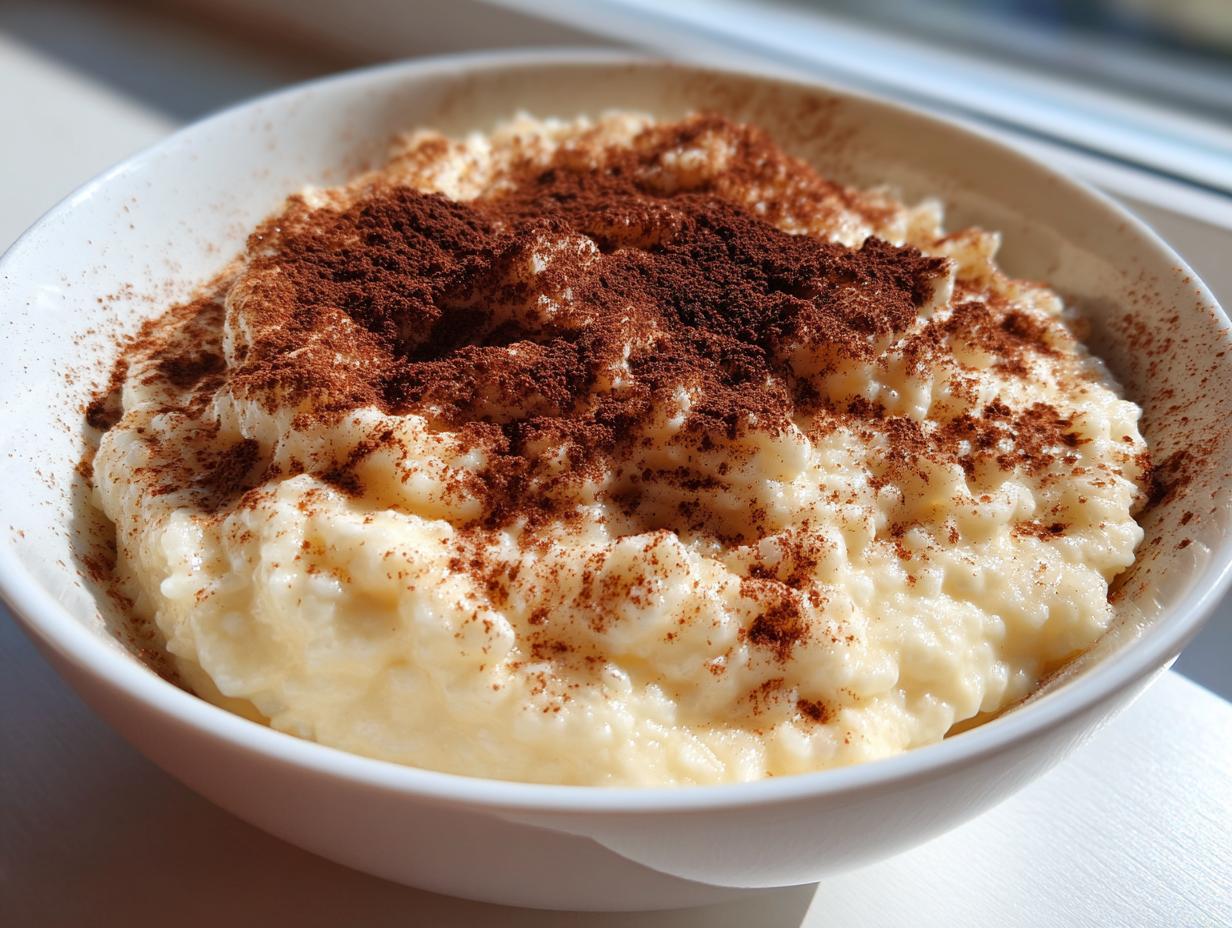
There’s nothing quite like that magnetic pull towards true comfort food, right? When the world feels a little too fast, I go straight back to my roots for this Old-Fashioned Creamy Stovetop Rice Pudding. It’s the creamiest dessert you can make with simple ingredients, and it tastes exactly like being tucked into bed as a kid. I learned this recipe standing on a stool next to my mom and grandma back home in Ohio. For busy home cooks like us, I promise this is the easiest, most satisfying way to get that nostalgic flavor without fuss. If you want to know more about why we focus on practical family recipes, check out our story here!
- Why This Old-Fashioned Rice Pudding Recipe is a Keeper
- Ingredients for the Best Rice Pudding Recipe
- How to Make Stovetop Rice Pudding Perfectly
- Tips for Success with Your Homemade Pudding Dessert
- Serving Suggestions for Warm Sweet Treats
- Make Ahead Dessert Rice and Storage Instructions
- Rice Pudding Variations to Try Next
- Frequently Asked Questions About Creamy Rice Pudding
- Nutritional Estimates for This Simple Pudding Recipe
- Share Your Nostalgic Recipes Experience
Why This Old-Fashioned Rice Pudding Recipe is a Keeper
I get asked all the time why I stick to this particular method when you can find a million different ways to make pudding. Honestly, it boils down to what we all crave, right? This isn’t just a recipe; it’s a guarantee of coziness in a bowl.
What makes this version the best rice pudding recipe you’ll ever try? It’s about hitting those key comfort notes perfectly:
- The Texture: It delivers an unbelievably creamy rice pudding recipe result every single time, especially if you use the whole milk. No weird lumps here!
- The Simplicity: Seriously, it’s nearly a five-ingredient wonder. It’s proof that you don’t need complicated steps or expensive things to make magic.
- The Nostalgia: It truly feels like a classic comfort dessert lifted right off my grandmother’s table. It’s the taste of home without needing hours of work.
If you’re looking for that rich, satisfying bowl, trust me, this stovetop version is the one you’ll keep coming back to.
Ingredients for the Best Rice Pudding Recipe
My philosophy is always to keep the ingredient list short so we can focus on making each one count. For this homemade pudding dessert, the quality of your milk really matters—I insist on whole milk because that fat content is what gives us that signature richness we’re looking for!
- 1 cup short-grain white rice (Arborio or medium-grain works well)
- 4 cups whole milk
- 1/2 cup granulated sugar
- 1 teaspoon vanilla extract
- 1/2 teaspoon ground cinnamon, plus extra for topping
- 1/4 teaspoon salt
Ingredient Notes and Substitutions for Creamy Rice Pudding
Listen, choosing the right rice is non-negotiable for achieving that dreamy texture. You absolutely need short-grain or Arborio—the starch has to be readily available to melt into the milk. Don’t swap in long-grain like Basmati, or you’ll end up with soupy rice, not pudding!
Also, don’t cheat on the milk if you can help it. If you really want to go over the top for a truly decadent treat, remember that little note from the recipe card: stir in about 1/4 cup of heavy cream near the end of cooking. That little dollop of extra fat seals the deal for truly vanilla rice pudding perfection.
How to Make Stovetop Rice Pudding Perfectly
Okay, here is where the magic—and the patience—begins. Making a fantastic stovetop rice pudding means honoring the slow cook. We’re not rushing this; we’re coaxing the creaminess out slowly, just like my mom taught me. First, get your heavy-bottomed saucepan ready! Toss in the rice, milk, sugar, cinnamon, and salt.
Put that pan over medium heat. You need to stand there and stir frequently until you see it just start to wake up and gently simmer. Don’t let it boil angrily, though—that’s how you get scorched milk at the bottom! We want a happy little bubble!
Once you hit that gentle simmer, drop that heat way, way down to low. This is the secret: cook it low and slow for 40 to 50 minutes. I remember thinking this took forever when I was a kid, watching my mom stand by the stove stirring every few minutes. It builds character, I guess! Keep stirring often, especially near the bottom, so nothing latches onto the metal. You’ll know it’s close when the liquid looks substantially thicker and the rice grains look plump and tender.
When it seems just right—maybe a touch looser than you think—take it off the heat and stir in that beautiful vanilla extract. Trust me on this next part.
Achieving the Perfect Texture in Your Rice Pudding
This is the part that trips everyone up! You pull the pan off the heat, and it looks a little thin, almost soupy. Don’t panic! This pudding is still cooking in the residual heat, and it tightens up significantly as it cools down. You need to look for rice grains that are delightfully tender—chewy, but not hard in the middle.
If you let it cool for 15 minutes and it’s still running like soup, put it back on the lowest setting for another five minutes, stirring constantly. The goal is a thick, luscious texture that coats the back of a spoon beautifully. If you want it cold later, remember it will set up even firmer in the fridge, so err on the side of slightly softer when you take it off the burner.
Tips for Success with Your Homemade Pudding Dessert
Even though this recipe is super straightforward, a few small tricks I picked up from my family take this simple pudding recipe from good to absolutely unforgettable. First off, that heavy-bottomed saucepan isn’t just a suggestion—it’s your insurance policy against scorching the milk at the bottom! If you don’t have one, use your thickest pot and keep the heat a hair lower than you think you need.
Next up is the vanilla. Don’t add it when the mixture is bubbling away on the heat. Wait until you take it completely off the stove to stir it in. Heat destroys the delicate aromatic compounds in real vanilla extract, and we want every bit of that beautiful flavor soaking into those starchy grains!
I also highly recommend tasting and adjusting that salt mid-way through the cooking process. Salt seems minor, but it genuinely brightens up the sweetness and makes the cinnamon shine. It’s these tiny adjustments that turn a regular bowl of rice into a truly luxurious warm sweet treat.
Serving Suggestions for Warm Sweet Treats
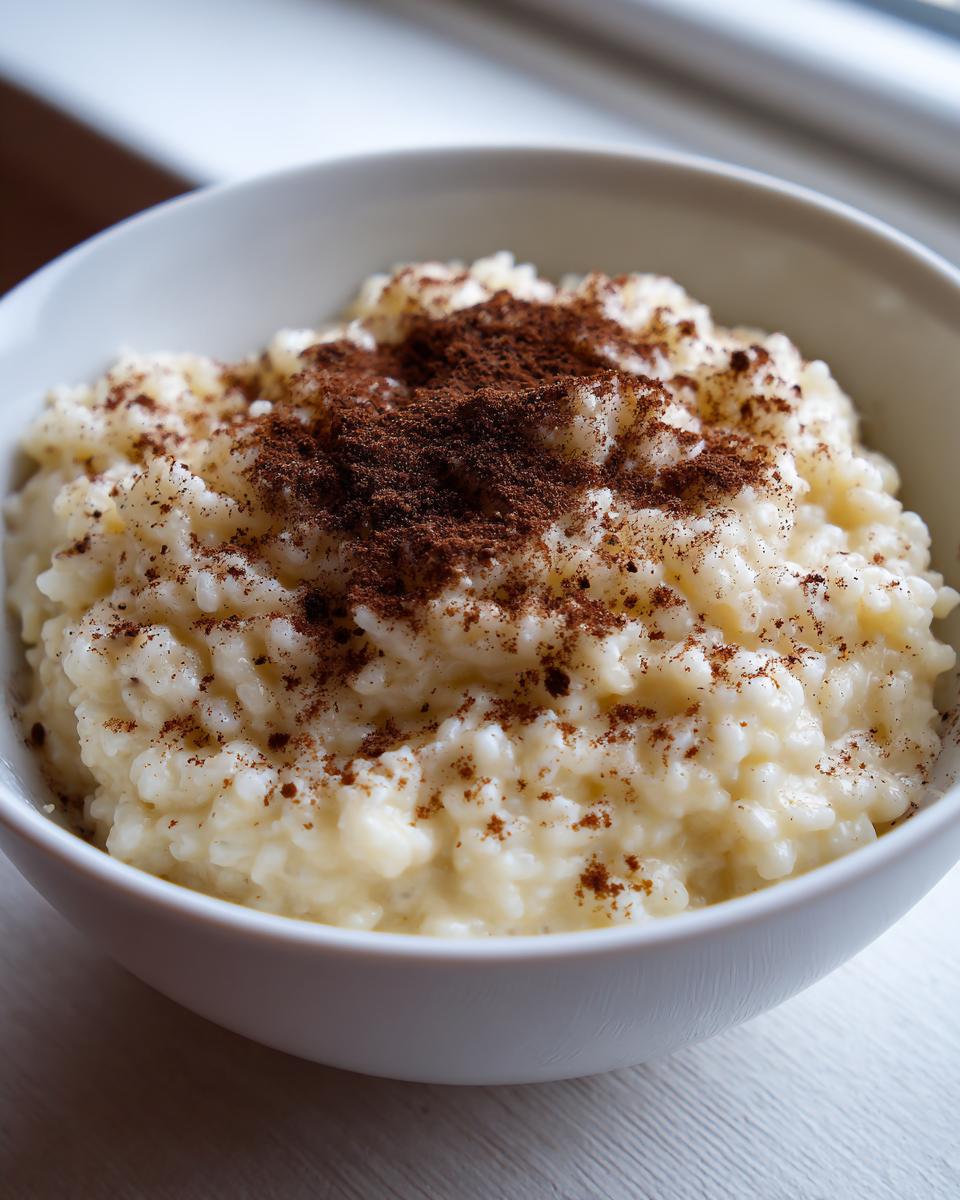
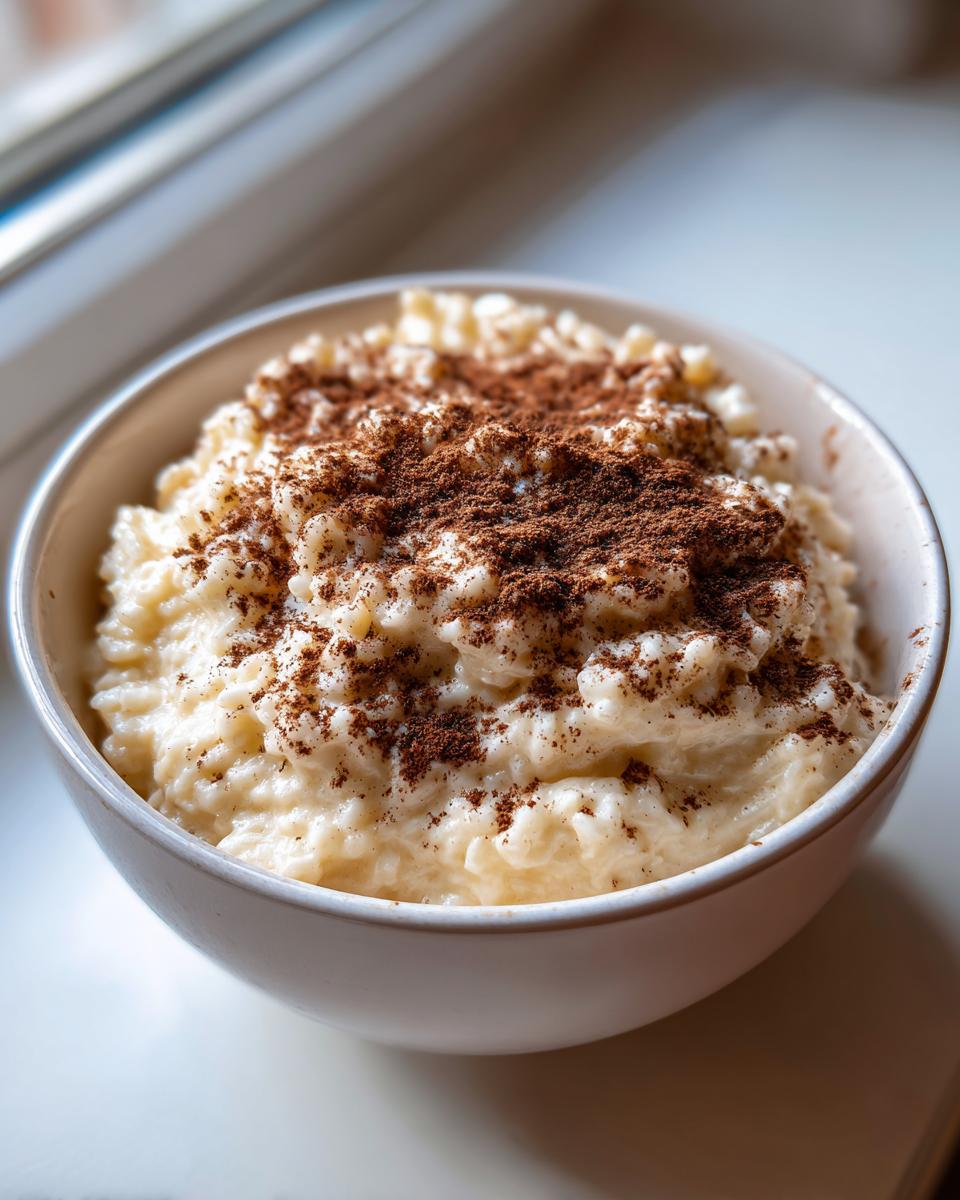
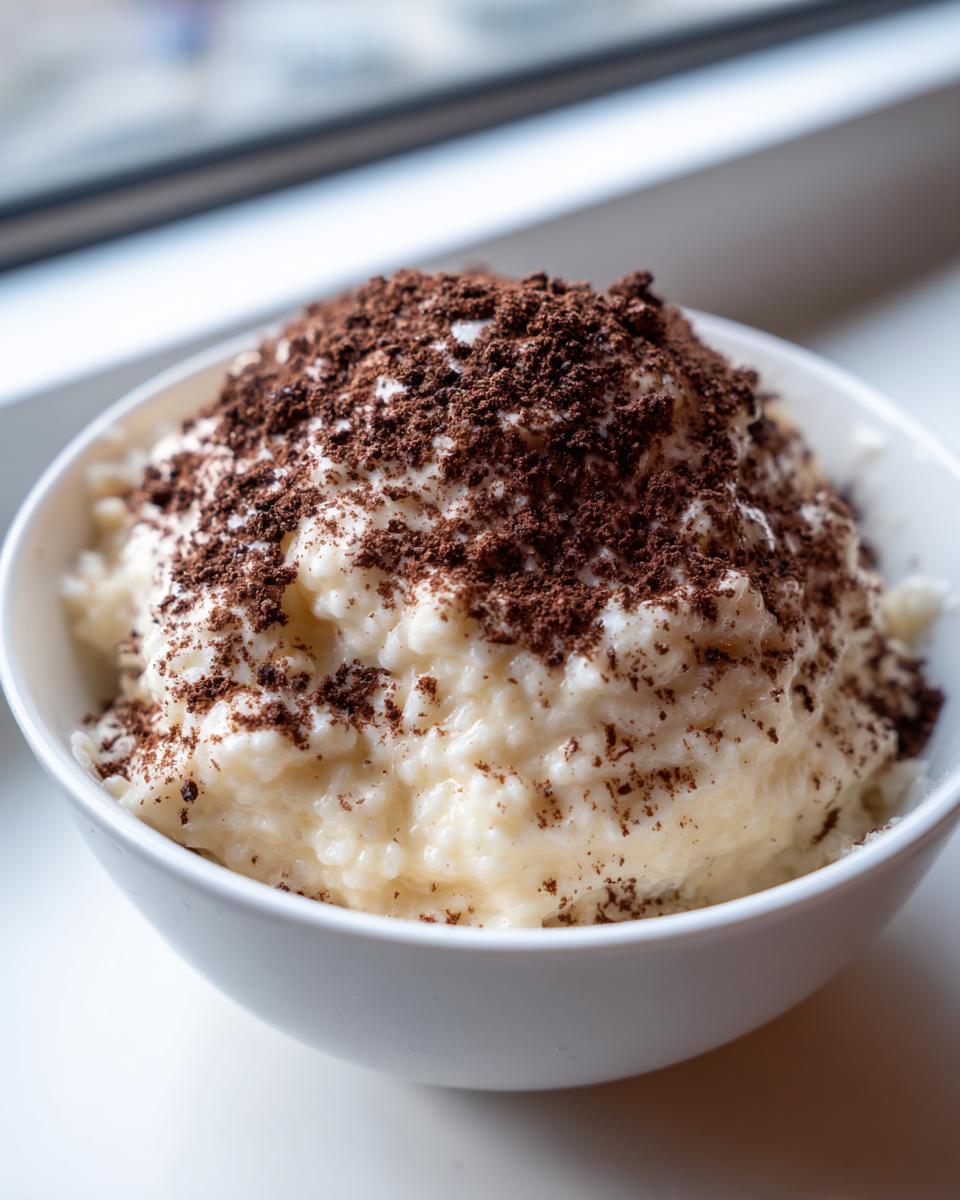
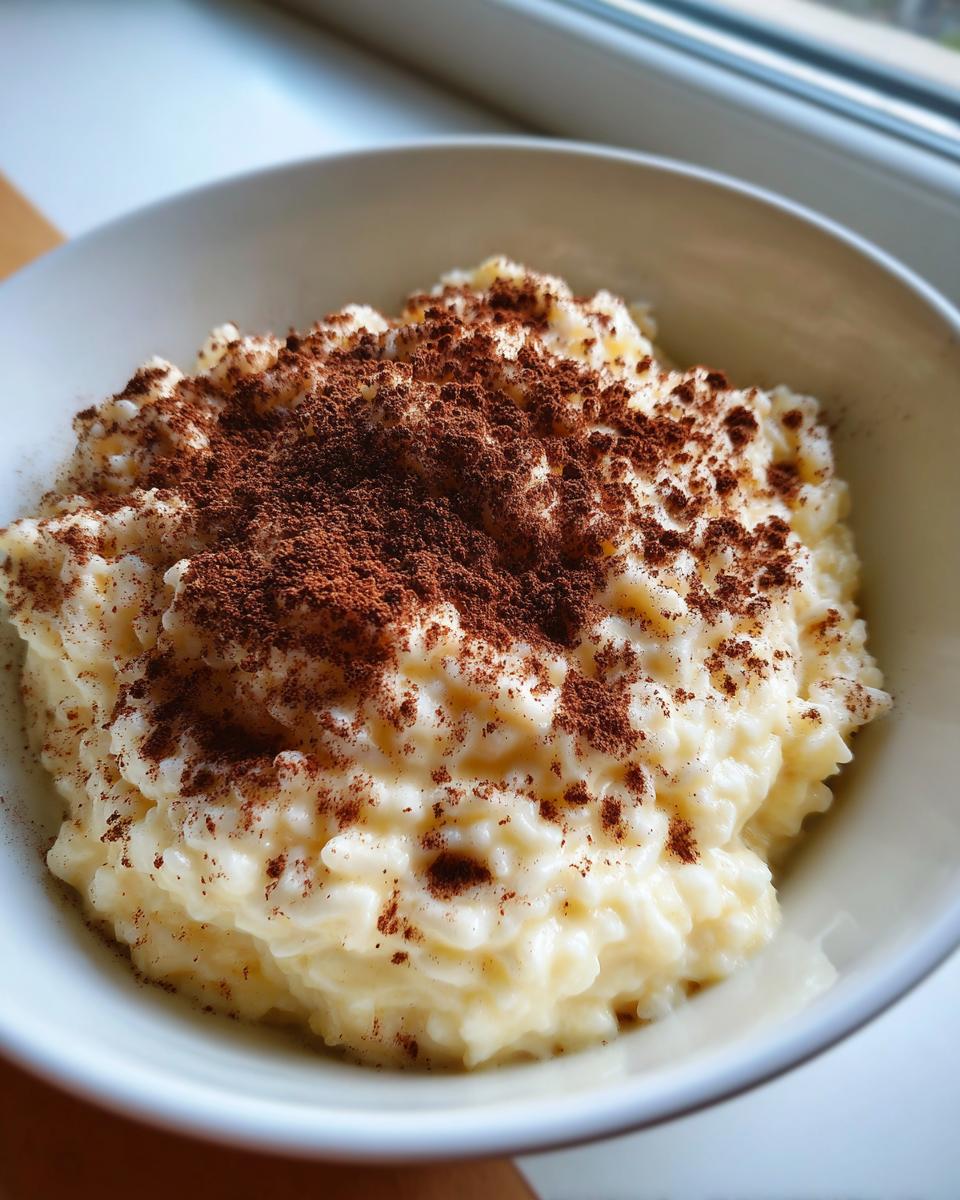
How you serve this masterpiece makes all the difference! While this is a truly divine rice pudding with cinnamon when served piping hot—perfect for chasing away a chill—it’s also incredible when totally chilled.
If you eat it warm, just ladle it into bowls right away and shower it liberally with a little more ground cinnamon. Don’t stop there, though! A tiny grating of fresh nutmeg makes it smell unbelievably cozy.
For a real treat, let it cool down a bit and swirl in a tiny drizzle of maple syrup or a little lemon zest if you want a bright counterpoint to the sweetness. Either way, it’s pure bliss!
Make Ahead Dessert Rice and Storage Instructions
One of the biggest reasons I rely on this recipe is because it’s fantastic for doing ahead of time! If you’re planning a dinner party or just want a ready-made cozy dessert for later in the week, you can definitely make this a make ahead dessert rice. Store it in an airtight container in the fridge for up to three days.
Now, be warned: when it chills, it sets up tighter than concrete—that’s normal! It will be much firmer than it was when hot. The real trick to serving it later is stirring in a splash or two of whole milk or even a little cream while you gently reheat it on the stove or carefully in the microwave. That small step brings back that wonderful, luscious creaminess every single time. Don’t skip that milk when reheating!
Rice Pudding Variations to Try Next
Once you master the classic, you absolutely have to experiment! This base recipe is so sturdy that it welcomes all sorts of additions. It’s fun to see how a single extra item completely changes the final flavor profile of your classic comfort dessert.
Here are a couple of simple twists that I always come back to when I’m making a big batch:
- The Golden Raisin Soak: If you want a little burst of tart sweetness, stir in about half a cup of golden raisins right when you add the milk in step one. The longer they sit in the milk while cooking, the plumper they get, so they don’t taste dry later. Seriously elevates the whole thing!
- Citrus Brightness: For something completely different, grab a microplane zester and add the zest of one orange during the last five minutes of cooking. The citrus oils cut through the richness of the whole milk beautifully. It makes it feel lighter, almost like a springtime treat instead of just a heavy winter dessert.
- Nutmeg Over Cinnamon: If you’re not feeling cinnamon today, swap it out! Use 1/2 teaspoon of fresh ground nutmeg instead when you first combine the ingredients. Nutmeg hits a different nostalgic note—it reminds me of my Aunt Carol’s baking. Remember to still top it with a little cinnamon when serving, just for that familiar aroma!
Don’t be afraid to try different things once you’ve nailed the creamy stovetop method. These little changes mean you never have to make the exact same bowl twice!
Frequently Asked Questions About Creamy Rice Pudding
Can I use long-grain rice instead of short-grain or Arborio for this creamy rice pudding recipe?
Oh, I strongly advise against it if you want that classic creamy texture! Long-grain rice holds its shape too much and doesn’t release the starches needed to naturally thicken the milk into that luscious pudding consistency. Stick to short-grain or medium-grain rice; it’s the secret ingredient for a truly authentic, almost melt-in-your-mouth texture.
My stovetop rice pudding seems too thin after cooking—what did I do wrong?
Don’t sweat it! This is the number one worry for every novice pudding maker. Remember what I said? It thickens as it cools. If it still seems soupy after sitting for 10 minutes off the heat, just pop it back on the lowest setting, stirring constantly, for another five minutes. If it’s really runny, you might need a little extra time to let the liquid evaporate.
Can I freeze this homemade pudding dessert?
I generally tell people no on freezing, though you can store it in the fridge as a make ahead dessert rice for up to three days. When you freeze it, the milk and rice separate weirdly, and it never comes back quite right. It gets grainy! For the best results, make it fresh or just plan to eat leftovers within a few days straight from the fridge.
Why is my vanilla rice pudding sticking to the bottom of the pan?
That’s the sound of heat being too high or not enough stirring! Since we are using whole milk, if the heat gets too high, the milk solids sink and burn onto the bottom—and trust me, that burned flavor ruins everything. You must use a heavy-bottomed pan and keep that heat on low. Stir right down to the metal occasionally!
If you have any other quick questions, feel free to drop us a line at our contact page!
Nutritional Estimates for This Simple Pudding Recipe
Okay, now let’s talk numbers for those of you who track things! Remember, since we’re using whole milk and standard sugar amounts, these are just good starting estimates based on the recipe yields. We aren’t doctors here at The YumMagnet, but getting a rough idea helps when planning the week!
These numbers are calculated based on making 4 generous servings of this classic comfort dessert. If you stretch it out and get 5 small bowls, the numbers go down, of course. This gives you a baseline for our vanilla rice pudding base recipe.
- Serving Size: 1 cup
- Calories: 320
- Total Fat: 8g (with about 4.5g being the good saturated fat from the whole milk!)
- Carbohydrates: 55g
- Protein: 10g
- Sugar: Roughly 25g (mostly from the added sugar, but some comes naturally from the milk)
- Sodium: Around 150mg
I always feel better knowing what I’m serving, even if I’m not counting every single speck. It’s a delightful dessert, and knowing it packs 10 grams of protein helps me justify that extra sprinkle of cinnamon on top!
Share Your Nostalgic Recipes Experience
Whew! We’ve covered the creamy secrets, the slow cooking process, and the best ways to serve up a big bowl of this delicious pudding. Now I really want to hear from you!
Have you tried making this old fashioned rice pudding yet? Did it bring back some memories for you? I want to know what you think! Did you serve it warm right off the stove, or did you chill it overnight?
Please, drop a comment below and let me know how it went! If you sprinkled extra cinnamon on top, tell me how much! If you ended up adding those raisins, let us know if that was your favorite part. Your feedback and experiences truly help build this whole amazing community here at The YumMagnet Recipe Box.
If you share a picture of your batch on social media, tag us so we can see it—we love seeing all your cozy moments! Also, remember to check out our site policies before you go, you can review them here: Terms of Use. Happy cooking, everyone!
PrintOld-Fashioned Creamy Stovetop Rice Pudding

Make the creamiest, comforting rice pudding on your stovetop using simple ingredients. This classic dessert delivers rich, nostalgic flavor perfect for cozy nights.
- Prep Time: 5 min
- Cook Time: 50 min
- Total Time: 55 min
- Yield: 4 servings 1x
- Category: Dessert
- Method: Stovetop
- Cuisine: American
- Diet: Vegetarian
Ingredients
- 1 cup short-grain white rice (Arborio or medium-grain works well)
- 4 cups whole milk
- 1/2 cup granulated sugar
- 1 teaspoon vanilla extract
- 1/2 teaspoon ground cinnamon, plus extra for topping
- 1/4 teaspoon salt
Instructions
- Combine the rice, milk, sugar, cinnamon, and salt in a heavy-bottomed saucepan.
- Place the saucepan over medium heat. Stir the mixture frequently until it begins to simmer gently.
- Reduce the heat to low. Continue to cook, stirring often to prevent the rice from sticking to the bottom, for 40 to 50 minutes. The pudding is done when the rice is tender and the mixture has thickened to your desired consistency. It will thicken more as it cools.
- Remove the saucepan from the heat. Stir in the vanilla extract.
- Serve the rice pudding warm, sprinkled with extra cinnamon, or chill completely before serving cold.
Notes
- For an even creamier result, stir in 1/4 cup of heavy cream during the last 10 minutes of cooking.
- You can make this dessert ahead; store it covered in the refrigerator for up to 3 days.
- If you prefer raisins, stir in 1/2 cup of golden raisins when you add the milk in step 1.
Nutrition
- Serving Size: 1 cup
- Calories: 320
- Sugar: 25
- Sodium: 150
- Fat: 8
- Saturated Fat: 4.5
- Unsaturated Fat: 3.5
- Trans Fat: 0
- Carbohydrates: 55
- Fiber: 1
- Protein: 10
- Cholesterol: 25