
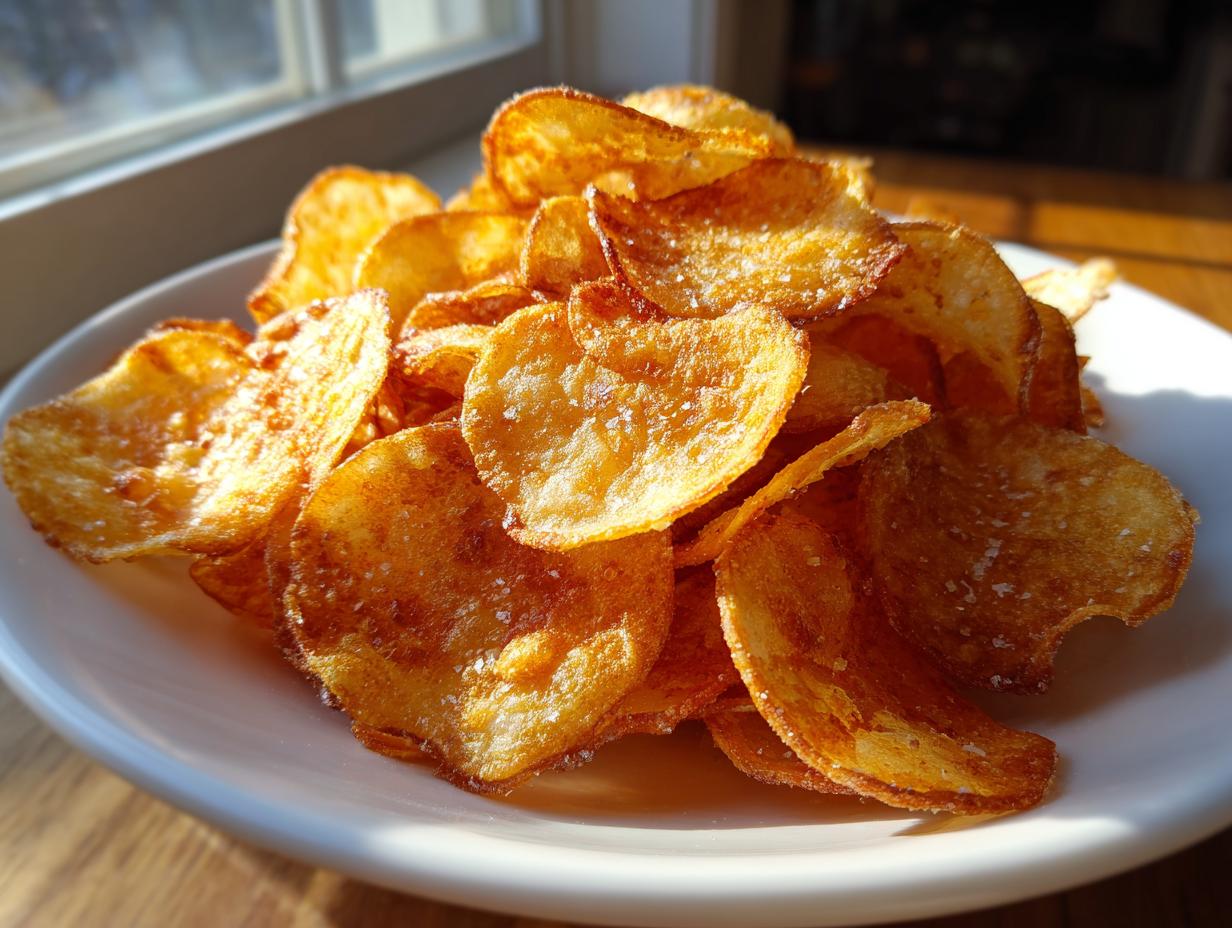
Oh, that sound! You know what I mean—that sharp, shattering *crunch* that only the best snack can deliver. If you’re like me, sometimes only perfectly seasoned, golden homemade potato chips will do the trick. Forget those bags of processed stuff; we’re making the real deal here. I spent ages in my kitchen experimenting because my family demands that authentic flavor, but my schedule doesn’t always allow for deep frying. That’s why I developed this guide. We’re seriously comparing the top three ways to get that unbelievable crispness: the traditional fry, the healthier bake, and the speedy air fryer. Trust me, Jess has tested them all so you don’t have to waste any potatoes!
- Why You Will Love This Ultimate Crispy Homemade Potato Chips Recipe
- The Science of Perfect Potato Chips: Slicing and Starch Removal
- Ingredients for Homemade Potato Chips Recipe
- How to Make Crispy Potato Chips: Three Methods Compared
- Best Potato Chip Seasoning and Final Seasoning Tips
- Potato Chip Making Tips and Tricks for Success
- Storage and Reheating Instructions for Homemade Potato Chips
- Frequently Asked Questions About Making Potato Chips
- Sharing Your Crunchy Homemade Snacks
Why You Will Love This Ultimate Crispy Homemade Potato Chips Recipe
I know what you’re looking for: that store-bought level of crunch without the mystery ingredients. This recipe comparison is truly the best way to guarantee success! Here’s why you’ll be turning out baskets of these crunchy homemade snacks weekly:
- You get proven methods for maximum crunch, no matter how you cook them.
- Perfectly thin sliced potato chips every single time—it’s my secret!
- The ability to choose between deep-fried indulgence or guilt-free chips recipe.
- Simple instructions that turn frustrating sogginess into a family favorite chip recipe.
- You’ll master the comparison test between frying, baking, and air frying.
The Science of Perfect Potato Chips: Slicing and Starch Removal
I’m going to let you in on a secret, folks. You can have the best oil temperature or the perfect oven setting, but if you mess up the prep, you end up with sad, floppy disks instead of crispy potato chips. It all comes down to two things: slicing thickness and starch management. The first time I tried making homemade potato chips from scratch, I cut them thick with a knife, and they turned out chewy, like boiled potatoes, honestly! Never again. You have to treat the potato right before it even sees the heat source.
Achieving Uniform Thin Sliced Potato Chips
Listen, this is where the mandoline slicer earns its keep in my kitchen. You need them paper thin—I mean about 1/16th of an inch. If some slices are thick and others are thin, the thin ones burn before the thick ones even start crisping up! Uniformity is everything here. Whether you’re frying them or aiming for oven baked chips tutorial perfection, every slice needs the same amount of cooking time to achieve that satisfying crunch we want.
The Critical Step: Removing Starch for Crispy Potato Chips
Next up is the soak. If you skip this, you are inviting sogginess to your party. You need to pull that surface starch out! Drop those freshly sliced potatoes into a huge bowl of ice-cold water for at least 30 minutes. I sometimes forget and realize they need soaking when I’m already prepping my seasoning mix. But here’s the deal: after the soak, you have to dry them until they feel bone dry. Moisture is the number one killer of crunchy homemade snacks. I usually press mine between a couple of kitchen towels. Seriously, pat until your arms get tired!
Ingredients for Homemade Potato Chips Recipe
Okay, the prep work is done, thank goodness! Now for the easy part: gathering what we need. Since we are comparing three methods, the ingredients are super simple, but you need to know which oil goes with which cooking style. Don’t worry about a huge shopping list; this is why this Homemade potato chips recipe is so wonderful. It relies on pantry staples!
- 3 large Russet potatoes (the starch kings!)
- Vegetable oil (for the deep fry method only)
- 1 tablespoon olive oil (for either baking or air frying
- 1 teaspoon fine sea salt, or adjust to your taste
- 1 teaspoon garlic powder (if you want some savory homemade chips flavor)
- 1/2 teaspoon paprika (for color and a little warmth)
How to Make Crispy Potato Chips: Three Methods Compared
Now that we’ve wrestled that starch out of our beautiful potato slices, it’s time for the fun part—cooking! Remember, we talked about how moisture is the enemy? Well, the heat is the hero, but only if you use the right technique for the method you choose. Since I’ve mastered making potato chips every which way, I want to share the perfect parameters for each way. You can choose your adventure based on how much time you have or how indulgent you feel like being today. No matter what, these results are way better than store-bought! If you’re looking for a great side dish to serve alongside these, check out how I make creamy ricotta egg toast—it’s surprisingly good!
Method 1: Deep Frying for Classic Potato Chips
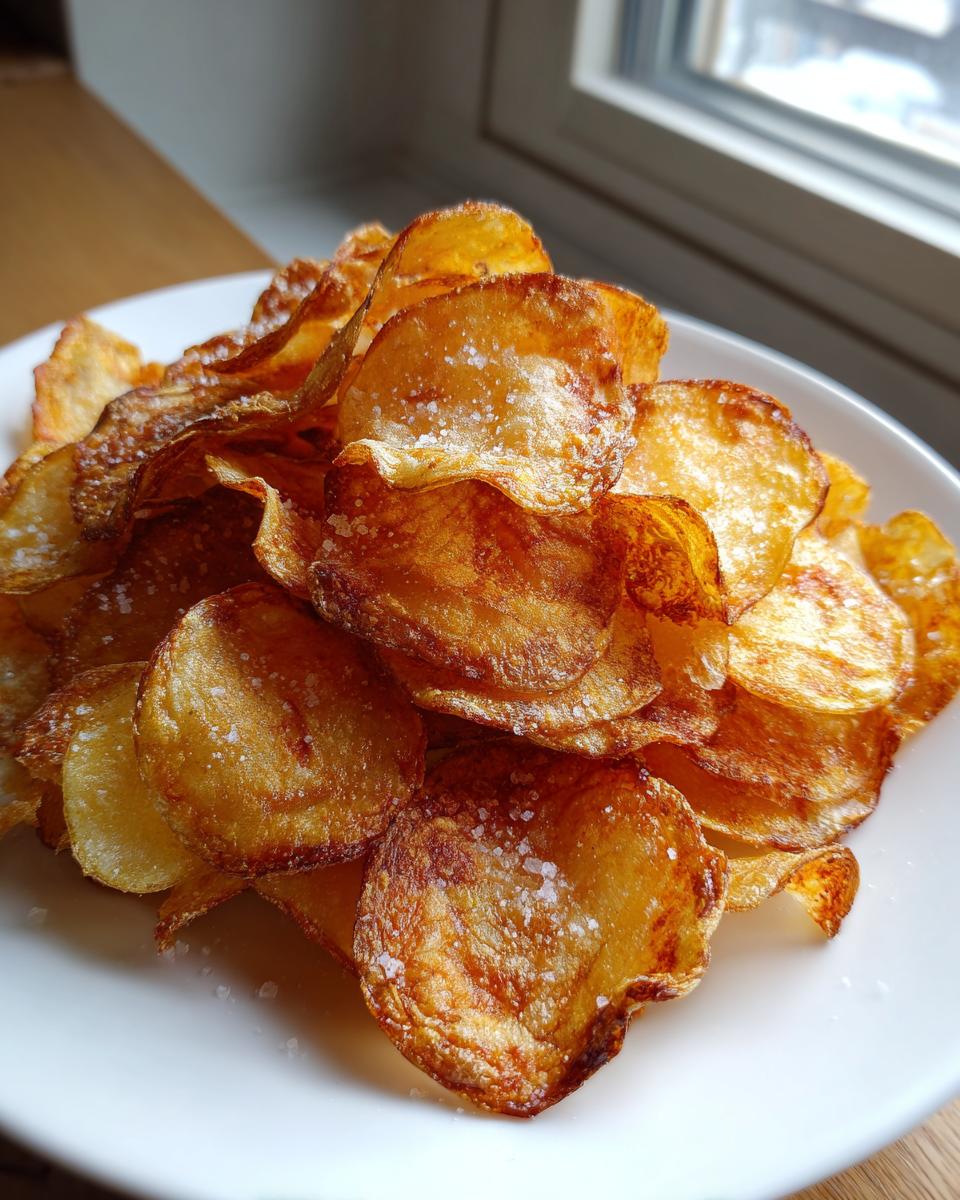
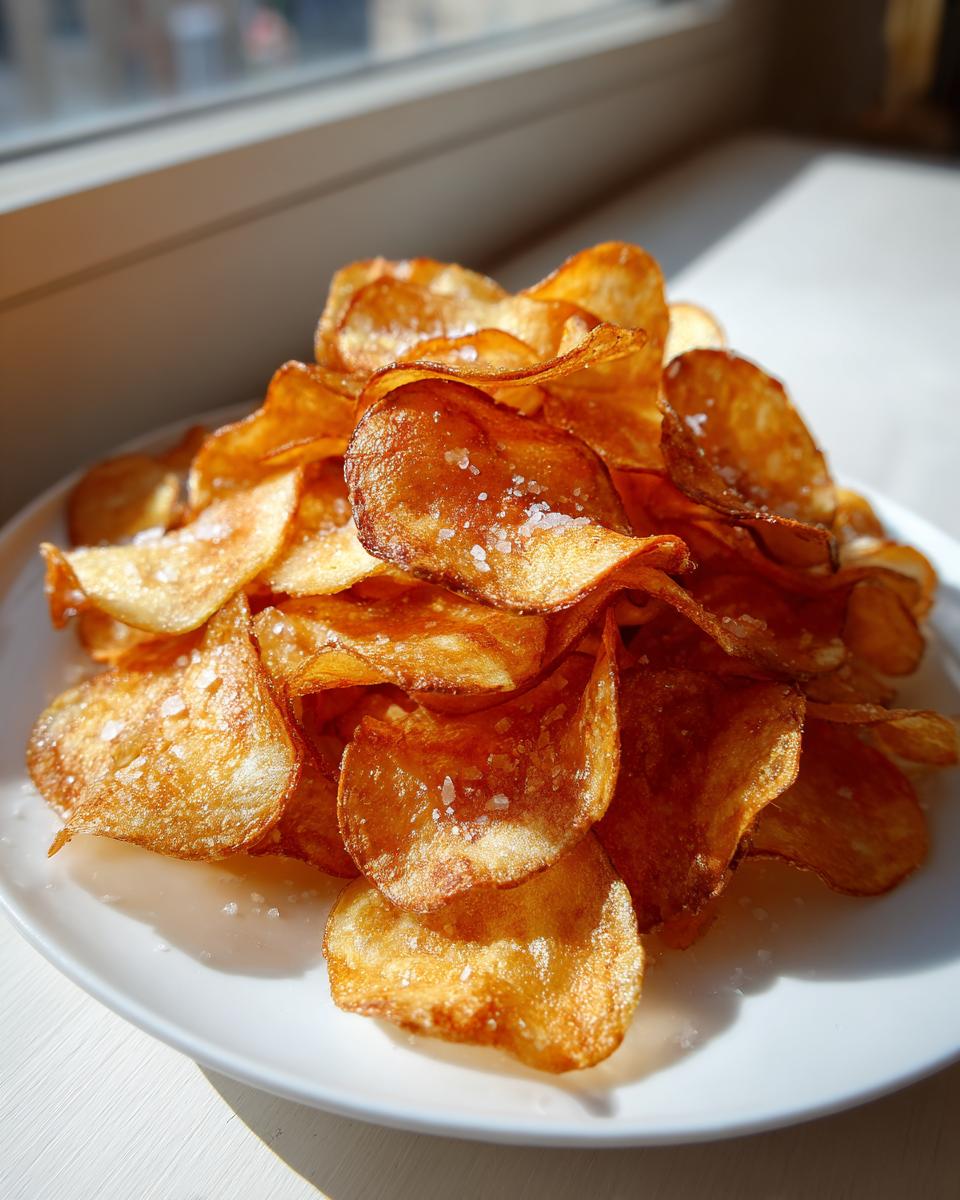
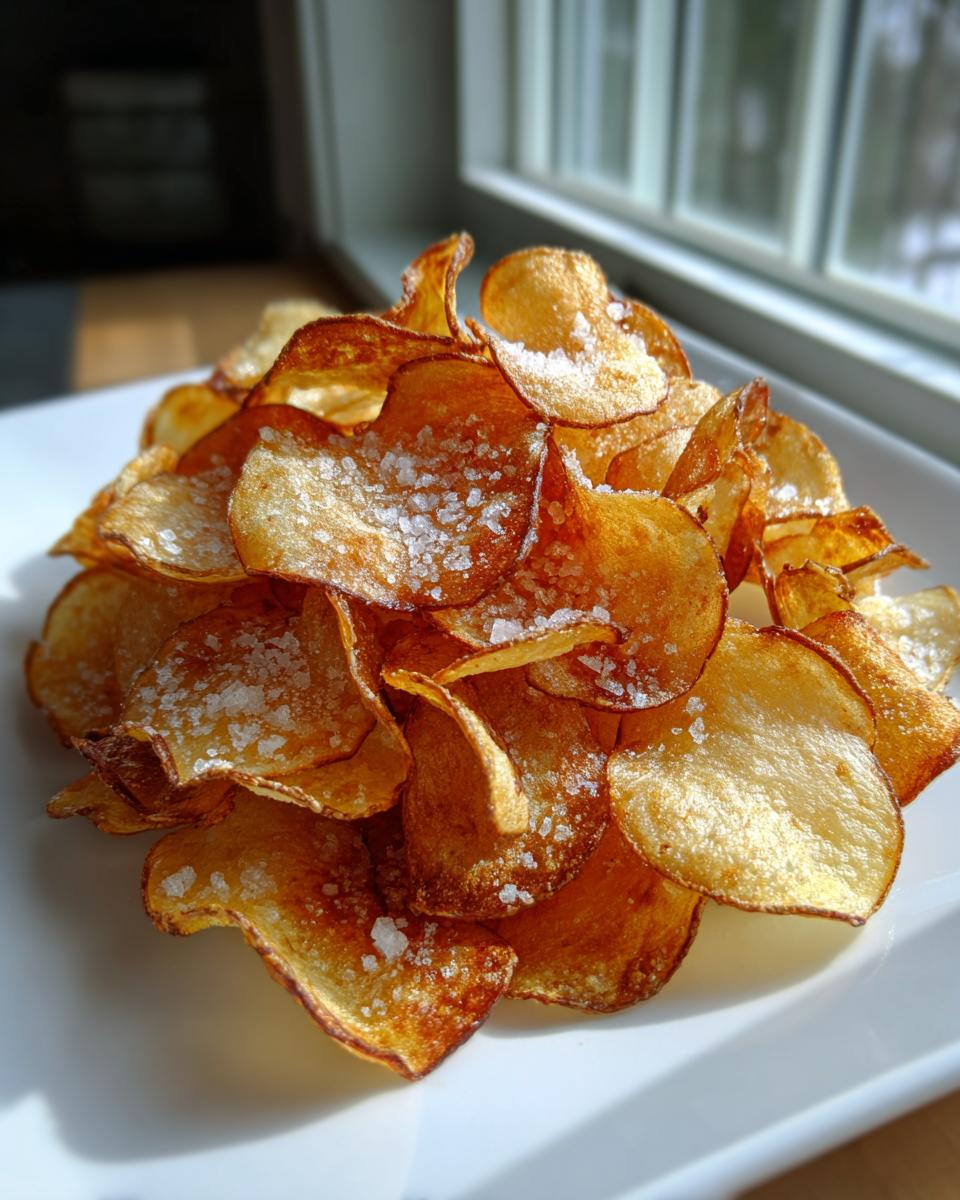
If you want that undeniable, greasy-spoon perfection, frying is your game. I use a heavy pot and pour in about two inches of vegetable oil. Get that oil up to exactly 350°F (175°C). This is key! If it’s too cool, the chips soak up oil and get floppy. Drop your perfectly dried slices in—but do it in *small batches*! Overcrowding drops the temp instantly. Stir them gently every minute or so until they turn that beautiful, classic pale golden brown. Once they float and look crisp, scoop them out fast onto paper towels. Give them a good, quick blot to remove excess grease; that step makes a difference!
Method 2: The Oven Baked Potato Chip Recipe
For me, this is the magic trick when I’m making a big batch for the kids but don’t want the cleanup of frying. Pop your oven up to 400°F (200°C). Toss your slices with just a touch of olive oil—enough to coat thinly, but not so much they swim! Arrange them on parchment-lined sheets in a perfect single layer. Seriously, if they touch, they steam instead of crisp. Bake for 15 to 20 minutes, but you absolutely *must* flip them halfway through. This oven baked potato chip recipe gives you a wonderfully sturdy and savory homemade chips experience.
Method 3: Air Fryer Potato Chips for Quick Crunch
If speed is your mission, the air fryer is unbeatable. Preheat your air fryer to 350°F (175°C). Again, toss those chips with just a whisper of olive oil. Here’s the trick they don’t always tell you: you have to cook these in very small layers in the basket. If you pile them up, you won’t get the circulation needed for crunchy homemade snacks. Once they are cooking, shake that basket vigorously every five minutes! This ensures every surface crisps up evenly. They usually take 10 to 15 minutes total. These air fryer potato chips are so light and satisfying, you hardly feel guilty eating a whole bowl!
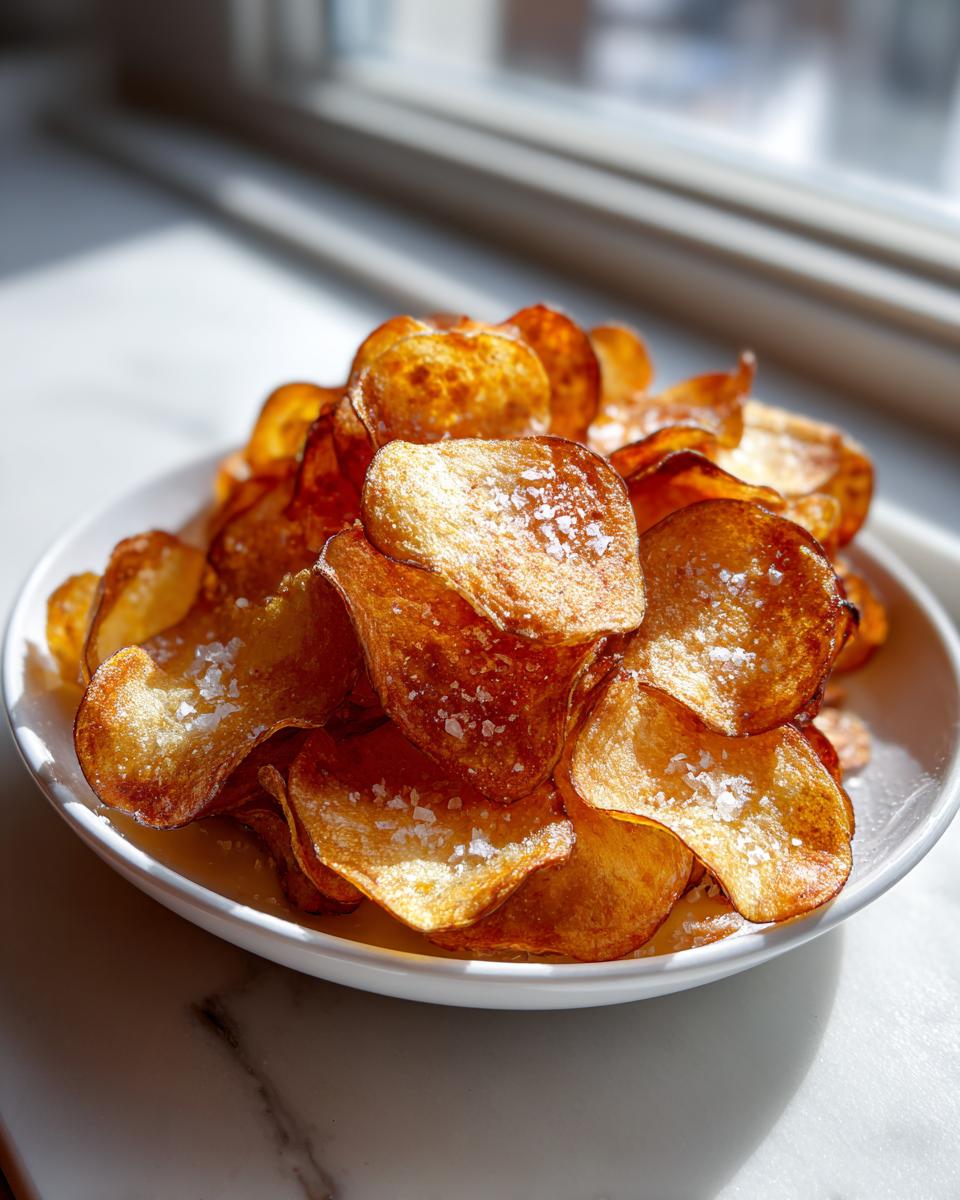
Best Potato Chip Seasoning and Final Seasoning Tips
Listen up, because this next part is the *moment* where your hard work pays off! Whether you fried, baked, or air-fried your potato chips, you must season them while they are still piping hot. If you wait even five minutes, the seasoning just slides right off. For the basic, perfect flavor, just toss them generously with fine sea salt immediately. That’s good, but we can do better, right?
If you want that kicked-up flavor, grab your garlic powder and paprika. Mix those right in with the salt. If you’re hoping to make smoky BBQ potato chips—which are incredible, by the way—you can whip up a quick seasoning blend. I often use smoked paprika, a tiny sprinkle of brown sugar (it melts right in!), and onion powder. If you want a full flavor profile, check out how I season my chicken wings in my oven BBQ chicken recipe; you can actually adapt some of those ratios for your chips!
The goal is to coat every single chip evenly. Don’t be shy! Toss them well in a big bowl so they get that perfect savory homemade chips coating you crave. If you still want more ideas on mastering homemade potato chips from scratch, check out this great resource here!
Potato Chip Making Tips and Tricks for Success
Phew! After all that hard work getting those potato slices perfect and choosing your cooking method, you don’t want to mess up the landing! I learned these lessons the hard way—usually involving throwing out a whole batch in frustration. First, let’s talk about consistency again: if you used a mandoline, fantastic! If you didn’t, trust me and go back for that drying step, no matter how dry they look. For the frying method, you *must* watch that oil temperature—350°F is the magic number!
Most importantly, stop waiting! These homemade potato chips absolutely must be seasoned the second they come out of the heat. They hold onto the salt or seasoning best when they are screaming hot. Serve them right away! They truly are the best crunchy homemade snacks when they are fresh. If you’ve ever wondered how to bake something perfectly moist but turn it into a side dish, my recipe for the ultimate moist chocolate cake has some surprisingly useful temperature tips, just flipped!
Storage and Reheating Instructions for Homemade Potato Chips
Look, here’s the hard truth: homemade potato chips are just built different—they peak right when they come out of the heat! We’re talking perfection only for about an hour. If you manage to have leftovers (which I doubt!), store them in a truly airtight container at room temperature. Don’t even think about the fridge; that humidity is poison for crispiness.
If you made the baked or air fryer potato chip recipe version, you can often bring back some crispness by popping them on a dry pan in a 300°F oven for just 5 minutes. It dries them out a bit. However, if you made the deep-fried batch, just eat them now! Seriously, fried snacks never reheat well, so enjoy those savory homemade chips right away!
Frequently Asked Questions About Making Potato Chips
I know you might still have some lingering doubts. Making truly amazing homemade potato chips from scratch can feel tricky sometimes, but once you nail these few points, you’ll be churning out crunchy homemade snacks for every game night! Here are the questions I get asked the most when people first try my recipes.
Can I make these potato chips without a mandoline?
Oh, gosh, I totally get it! Not everyone wants to invest in a mandoline. You *can* use a very sharp chef’s knife, but I must warn you: consistency is going to be a real struggle. If your slices aren’t uniform, some will burn while others stay soft. If you have to use a knife, take your time! Remember, for those extra crispy potato chips, thinness matters way more than speed. It’s just harder to get that perfect 1/16th inch slice by hand.
Which method yields the crispiest potato chips?
If you are chasing that maximum, undeniable, slightly decadent crunch—the kind that takes you right back to your childhood—deep frying is still the reigning champion. The oil completely surrounds the starch, pushing out all the moisture instantly. However, if you’re looking for the best healthy alternatives to store bought chips, the air fryer gets surprisingly close if you don’t overlap the slices! It’s the closest you’ll get without the oil bath.
What is the best type of potato for homemade snacks?
For classic, savory homemade chips, you absolutely want the Russet potato. They are wonderfully high in starch and lower in water content compared to waxy new potatoes. That starch is your best friend because it puffs up nicely when cooked, giving you that light, crispy texture we love in potato chips. Don’t try this with boiling potatoes; they just get sad and greasy!
If you’re looking for other quick, easy-to-master recipes, you should definitely check out my guide on easy chicken fried rice—it’s another weeknight savior!
Sharing Your Crunchy Homemade Snacks
That’s it! You now have all my secrets for making the ultimate crispy homemade potato chips, whether you chose the quick air fryer route or the classic fried version. I truly hope these become a staple family favorite chip recipe in your house, just like they are in mine! Go ahead and try it out, leave me a star rating below, and tell me which cooking method you loved most! If you need more ideas for getting the family around the table, don’t forget to scroll through my family dinner recipes section. And if you want to try a loaded chip concept I saw recently, check out this inspiration too!
PrintThe Ultimate Crispy Homemade Potato Chips: Comparing Fry, Bake, and Air Fryer Methods

Learn how to make the crispiest homemade potato chips using three popular methods: deep frying, oven baking, and air frying. Get the tips you need to achieve that satisfying crunch every time.
- Prep Time: 20 min
- Cook Time: 20 min
- Total Time: 40 min
- Yield: 4 servings 1x
- Category: Snack
- Method: Frying, Baking, Air Frying
- Cuisine: American
- Diet: Vegetarian
Ingredients
- 3 large Russet potatoes
- Vegetable oil, for frying (if using the fry method)
- 1 tablespoon olive oil (for baking or air frying)
- 1 teaspoon fine sea salt, or to taste
- 1 teaspoon garlic powder (optional)
- 1/2 teaspoon paprika (optional)
Instructions
- Prepare the potatoes: Wash and dry the potatoes completely. You do not need to peel them for a rustic chip.
- Slice thinly: Use a mandoline slicer to cut the potatoes into very thin, uniform slices, about 1/16 inch thick. Uniformity is key for even cooking.
- Soak and dry: Place the potato slices in a large bowl of cold water for at least 30 minutes to remove excess starch. This step helps prevent sticking and promotes crispiness. Drain the water.
- Dry thoroughly: Spread the slices in a single layer on clean kitchen towels or paper towels. Pat them completely dry. Moisture is the enemy of crisp chips.
- Choose your method:
- For Frying: Heat 2 inches of vegetable oil in a heavy-bottomed pot to 350°F (175°C). Fry the chips in small batches, stirring occasionally, until golden brown and crisp (about 3-5 minutes). Remove with a slotted spoon and drain on paper towels.
- For Baking: Preheat your oven to 400°F (200°C). Toss the dry slices with 1 tablespoon of olive oil, salt, and any desired seasonings. Arrange the slices in a single layer on baking sheets lined with parchment paper. Bake for 15-20 minutes, flipping halfway, until golden and crisp.
- For Air Frying: Preheat your air fryer to 350°F (175°C). Lightly toss the slices with 1 tablespoon of olive oil and seasonings. Place the chips in the air fryer basket in a single layer (work in batches). Cook for 10-15 minutes, shaking the basket every 5 minutes, until golden brown and crunchy.
- Season immediately: While the chips are still hot, transfer them to a large bowl and sprinkle evenly with salt and your chosen seasonings. Toss gently to coat.
- Serve immediately for the best crunch.
Notes
- For the crispiest results, ensure your potato slices are as thin as possible; a mandoline is highly recommended for this task.
- If you are baking or air frying, a light coating of oil is necessary to help them crisp up and brown properly.
- To make BBQ potato chips, toss the cooked chips with a mixture of smoked paprika, a pinch of brown sugar, garlic powder, and onion powder.
Nutrition
- Serving Size: 1 cup
- Calories: 180
- Sugar: 0.5
- Sodium: 250
- Fat: 10
- Saturated Fat: 1.5
- Unsaturated Fat: 8.5
- Trans Fat: 0
- Carbohydrates: 22
- Fiber: 2
- Protein: 2
- Cholesterol: 0