
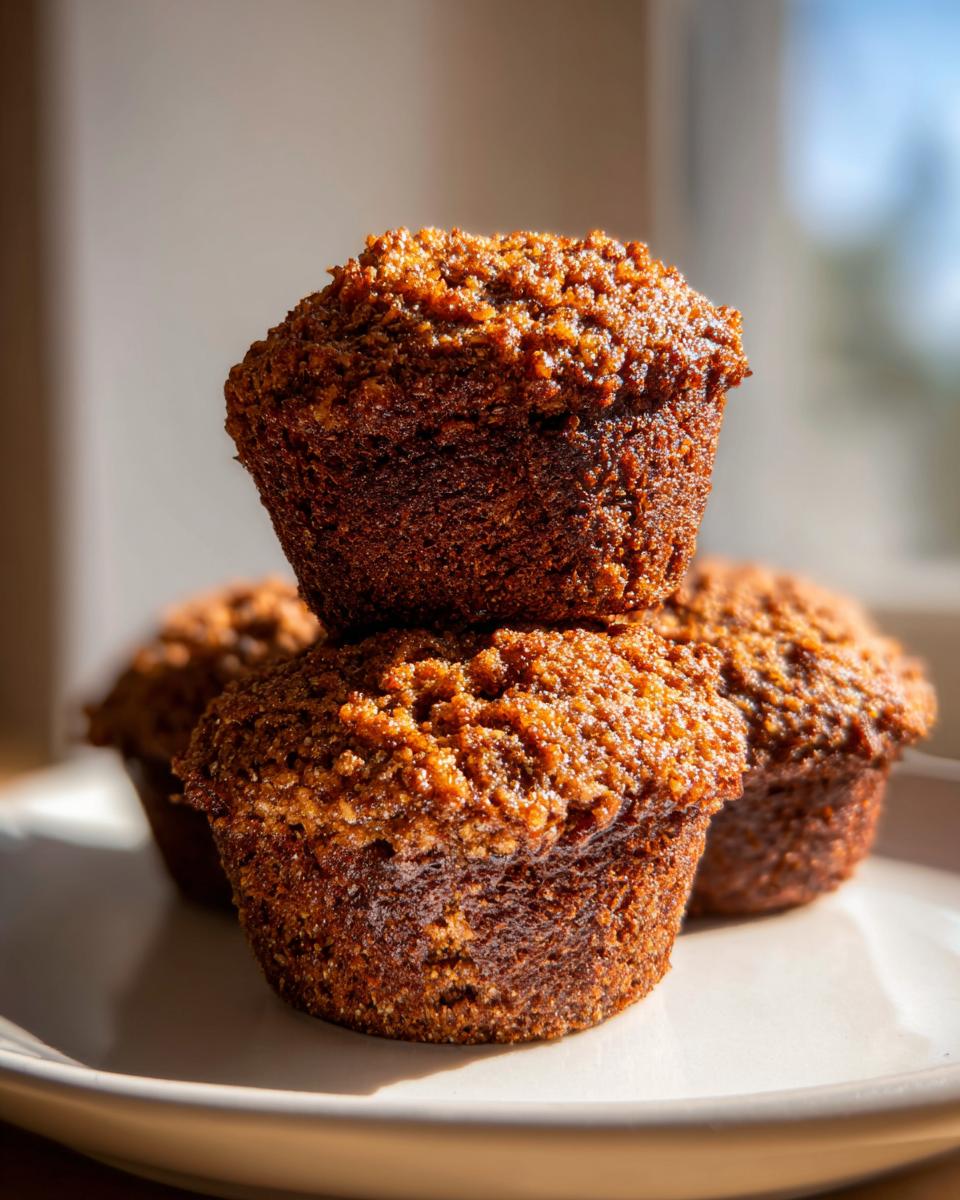
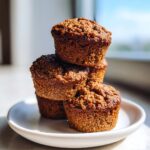
When life gets hectic, I swear the hardest thing to manage is breakfast that actually keeps you full and doesn’t leave you reaching for a sugary pastry by 10 AM. That’s why I spent ages perfecting these bran muffins. My goal was always to take my family’s simple baked goods tradition and adapt them for my real, busy life. Stop by my About Page to read more about how I approach recipes for modern challenges! These are wonderfully moist, packed with fiber, and honestly, they’re the greatest thing you can bake on a Sunday night for a grab and go breakfast all week long. Stop settling for cardboard muffins—let’s get baking!
- Why These Bran Muffins Are Your New Favorite Healthy Breakfast Muffins
- Gathering Ingredients for Your Homemade Bran Muffins
- Ingredient Notes and Substitutions for Wheat Bran Recipes
- Step-by-Step Instructions for Moist Bran Muffins
- Tips for Success with Your Classic Bakery Muffins
- Making and Storing Freezer Friendly Muffins
- Variations: Turning Your Bran Muffins into Oat Bran Muffins Idea
- Estimated Nutritional Data for Bran Muffins
- Share Your Experience Baking These Bran Muffins
Why These Bran Muffins Are Your New Favorite Healthy Breakfast Muffins
If you’ve been searching for the “best bran muffins,” stop looking right now. I mean it! These are the ones that actually taste good while delivering the serious fiber punch you need. We’re hitting all the major goals here—texture, nutrition, and speed. It’s why they earned a permanent spot in my rotation.
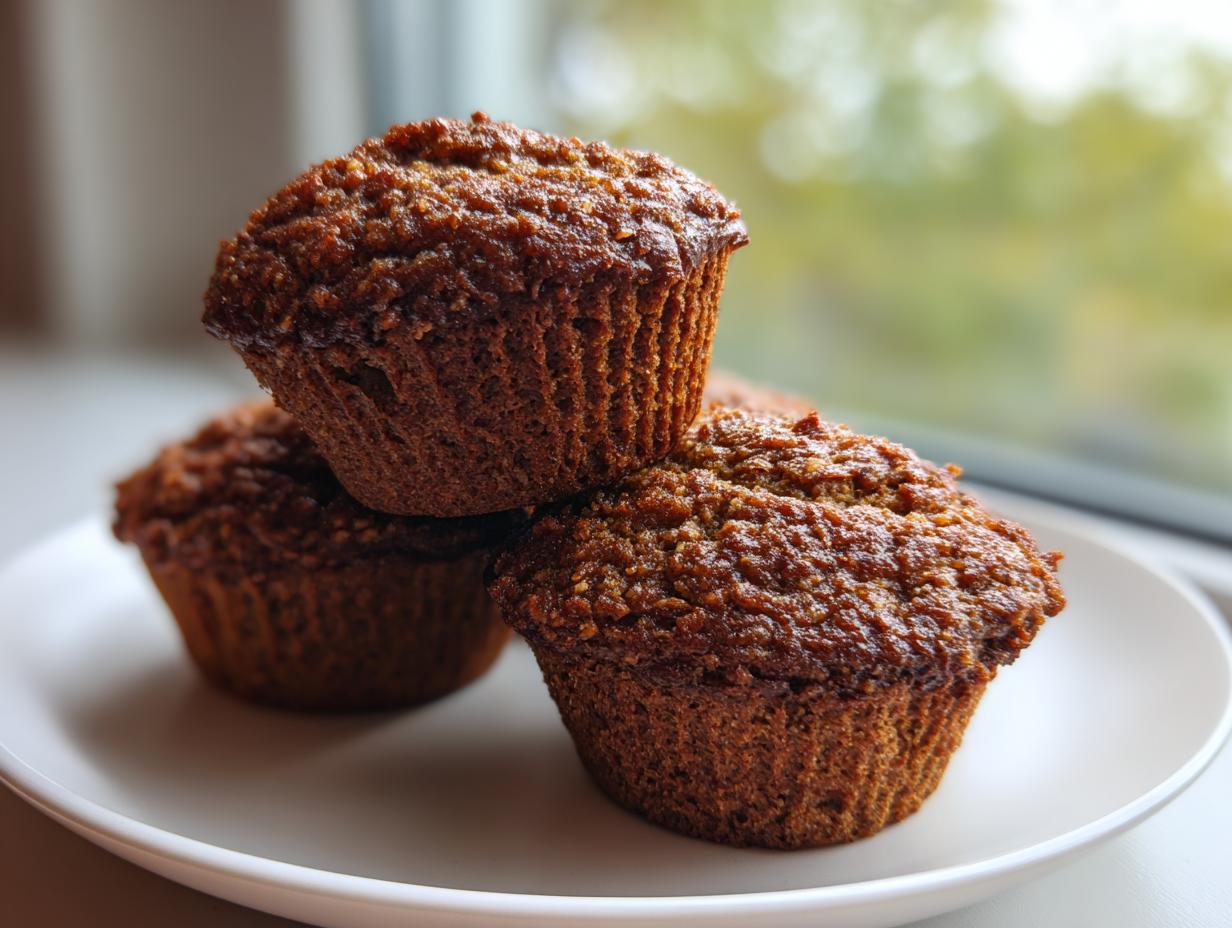
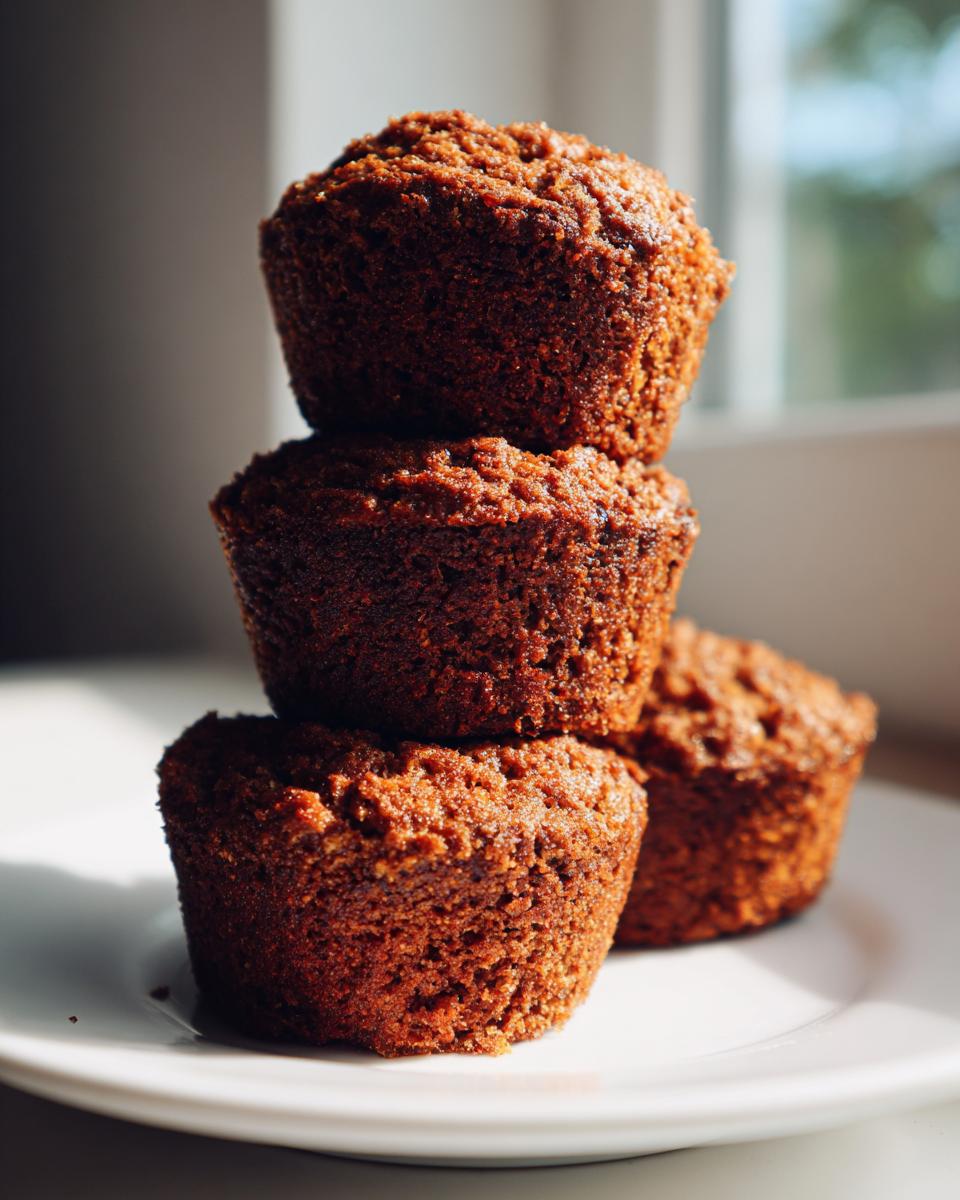
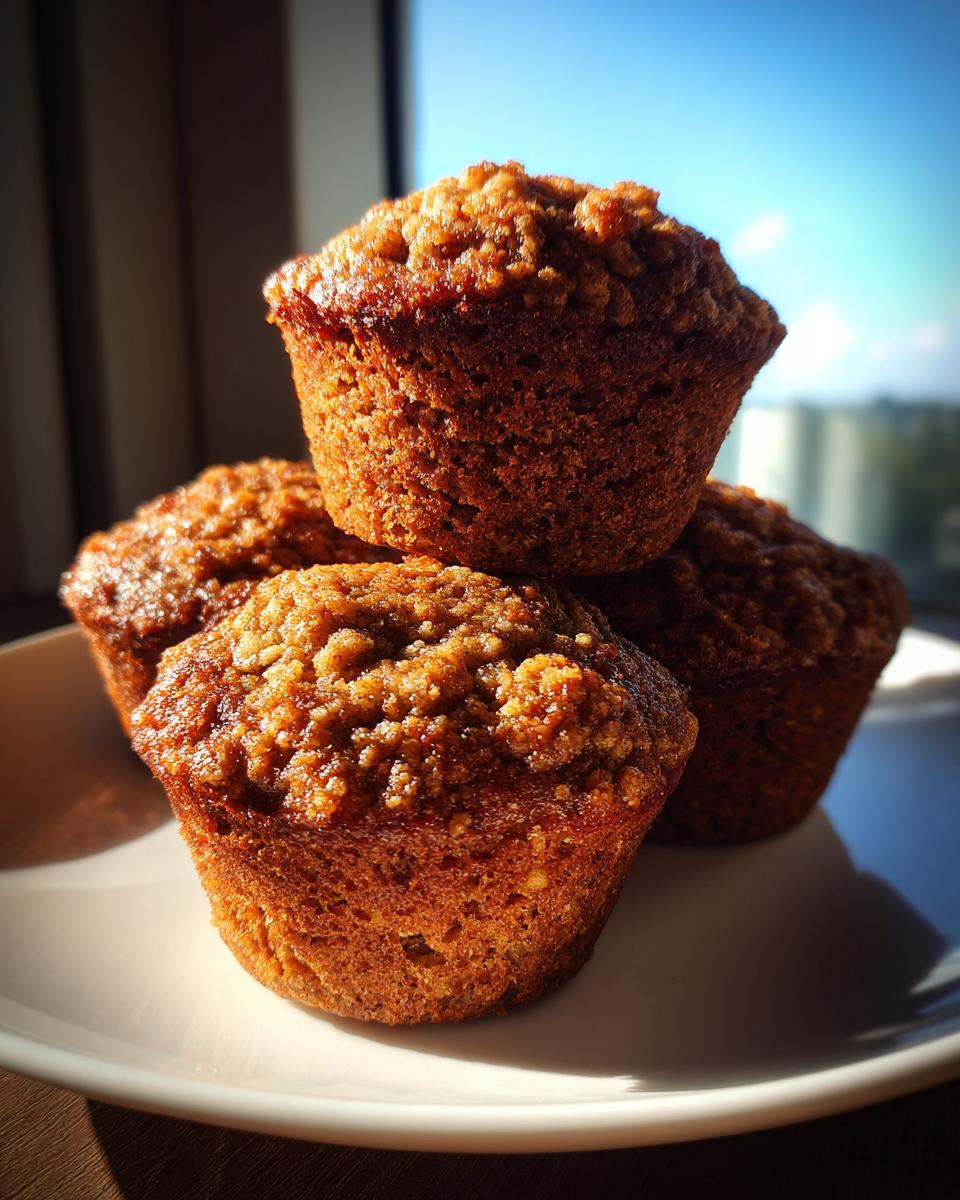
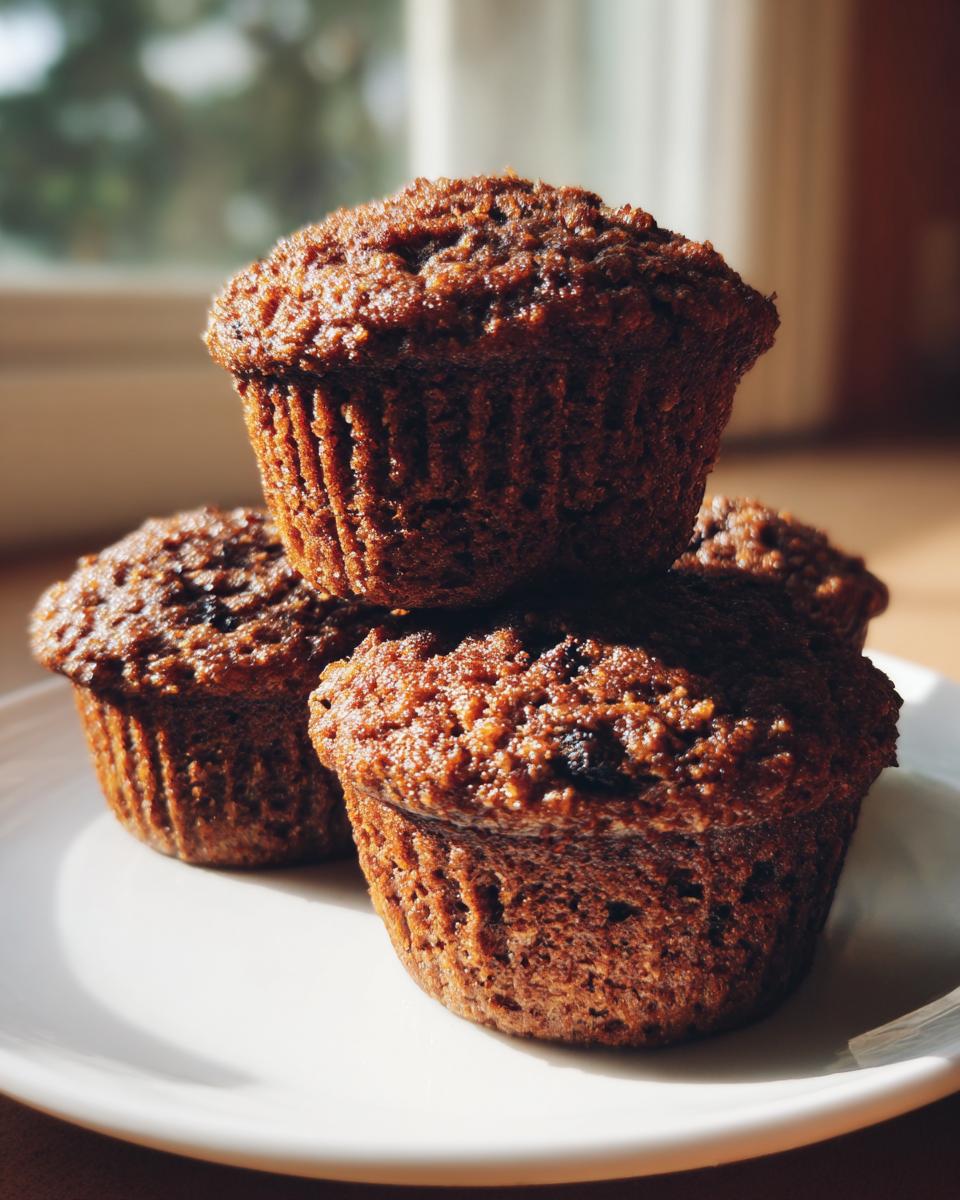
- They are true Moist Bran Muffins—no ifs, ands, or buts about it. Say goodbye to dry, crumbly breakfasts!
- They are satisfyingly dense, thanks to all the great wheat bran, making them fantastic High Fiber Muffins.
- The total time commitment is crazy low. These bake up faster than you can set the table for breakfast!
Achieving That Perfect Moist Bran Muffins Texture
The secret to avoiding that brick texture is the liquid trio: boiling water to wake up the bran, plus buttermilk and applesauce. That combination works magic, swelling those wheat bits so they soak everything up. Trust me, this isn’t your grandma’s dry bran loaf; this is genuinely moist!
Simple Muffin Baking for Grab And Go Breakfast
Since you only spend about 15 minutes mixing everything up, these are perfect for when you need a healthy snack or a grab and go breakfast option. I mix them up right after the kids go to school, and they’re ready to cool before I have to start tackling dinner prep. It’s efficiency at its finest!
Gathering Ingredients for Your Homemade Bran Muffins
We don’t mess around with fancy, hard-to-find items here. My philosophy is all about accessible, good-for-you ingredients that you can grab on your regular grocery run. This recipe is designed to be sturdy and wholesome, exactly what you need for reliable homemade bran muffins. Also, good news—this batter yields exactly 12 servings, so one batch covers most of the week!
Ingredient List for Classic Bran Muffins
Give everything on this list a look. It sounds like a lot, but once you see it all together, you’ll realize that it’s just the basics needed to create something truly wholesome.
- 1 1/2 cups wheat bran
- 1 cup boiling water
- 1 cup buttermilk
- 1/2 cup unsweetened applesauce
- 1/4 cup vegetable oil
- 1 large egg
- 1/2 cup packed brown sugar
- 1 teaspoon vanilla extract
- 1 1/2 cups all-purpose flour
- 1 teaspoon baking soda
- 1/2 teaspoon salt
- 1/4 cup ground flaxseed (this bit is optional, but trust me, it boosts those high fiber muffins numbers!)
Ingredient Notes and Substitutions for Wheat Bran Recipes
Okay, now that you have the core ingredient list, let’s talk about making these your own. Sometimes we reach into the pantry and realize we are missing exactly one thing, or maybe you just want to make these a little healthier. That’s totally fine! My whole philosophy here at The YumMagnet Recipe Box is adapting recipes for your real life, not the other way around. We can absolutely make swaps and variations without losing the incredibly moist texture we worked so hard to set up in the first step.
If you’re curious how others have gotten creative with texture, check out some ideas for variations on All-Bran muffins out there for inspiration!
Making Naturally Sweetened Muffins Swaps
If you’re trying to skip refined sugar, I have a great suggestion. You can ditch the brown sugar and use maple syrup instead. This is perfect for those who want naturally sweetened muffins. Here’s the key measurement: swap the 1/2 cup of brown sugar for about 1/3 cup of pure maple syrup. Those two sweeteners behave differently when mixing, so you need a slight adjustment on the liquid side.
Because maple syrup is thinner than sugar, the batter might look a little runnier than usual if you just swap it straight across. To compensate, try pulling back just by a tablespoon or two from the 1 cup of buttermilk. You want the batter to be thick enough that it holds its shape when you scoop it. You’ll still get those amazing classic flavors, but with a slightly different, healthier sweetness profile. Experimentation is part of the fun!
Step-by-Step Instructions for Moist Bran Muffins
Alright, let’s get these into the oven! I know that for some people, baking feels intimidating, but I promise these bran muffins recipe instructions are straightforward. This is where that whole ‘easy muffin recipes’ thing really shines—it’s mostly just stirring things together. If you want to jump ahead a little, you can check out some great tips over at Tastes Better From Scratch, but I’ll walk you through my process right here!
First things first: get that oven heated up! We want it nice and hot at 400°F (200°C). Go ahead and line that 12-cup tin now, or if you’re feeling speedy, just spray it really well with cooking spray. Having the pans ready means you can mix and pour super fast when the batter is finally ready.
Mixing the Wet and Dry Components of Your Bran Muffins Recipe
The biggest moment for texture happens right at the start. You need to combine the wheat bran with that boiling water first. Don’t skip this part! Let that mixture sit for a full 10 minutes. This gives the bran time to soak up that liquid and get plump—that’s the secret to stopping dry muffins dead in their tracks.
After the soak time, stir in your buttermilk, applesauce, oil, egg, and brown sugar. Mix that until it’s just happy. Then, take your flour mixture (with the baking soda and salt) and gently fold it into the wet stuff. And here is the golden rule for moist baked goods: stop mixing the second you don’t see white streaks of flour anymore. Seriously, don’t overmix! A few small lumps are totally fine—they are proof you didn’t overwork the gluten, and that keeps things tender.
Baking Time and Testing for Doneness
Spoon that lovely thick batter evenly into your 12 cups—fill them about two-thirds full so they have room to dome nicely. Now, pop them into that hot 400°F oven. They bake fast, usually between 15 to 18 minutes. Because they bake quickly at a slightly higher temperature, they get a great dome without drying out the middle.
When the timer goes off, you test them! Insert a toothpick right into the center of one of the tallest muffins. If it comes out clean or with just a few moist crumbs clinging to it, you’re done! They are perfect. Let them sit in the pan for five minutes before moving them to a cooling rack. You want them mostly cooled before you store or freeze them, remember!
Tips for Success with Your Classic Bakery Muffins
I’ve learned a few little quirks over the years of making these classic bakery muffins, tricks that make the difference between an okay batch and a truly spectacular one. It’s not about the recipe itself—though this one is already rock solid—it’s about the little things you do right before the oven gets involved that really seal the deal, especially for texture.
If you’re having trouble filling those cups evenly, try this little trick: use an ice cream scoop! Seriously, I have a small, spring-loaded scoop in my baking drawer just for muffins. It keeps the batter distribution perfectly equal across all 12 cups. This ensures every single muffin bakes for the exact same amount of time, leading to uniformity, which I love.
Also, regarding that batter consistency we talked about: if you look in the bowl and it seems stiffer than you expected once the flour is mixed in, don’t panic! That’s actually a good thing for these fiber-heavy muffins. They need that thickness to support all that bran. If you feel the overwhelming urge to thin it out, stop right there. Thin batter leads to flat tops and less satisfying structures. Keep it thick!
For more inspiration on keeping your simple recipes consistently great, I always refer back to some of the established bloggers like those at Taste and Tell when I’m looking for simple presentation ideas. It makes your everyday bake look polished!
Making and Storing Freezer Friendly Muffins
One of the main reasons these became my staple recipe? They last forever, which means less baking during the week! I hate having to rush breakfast, so I always bake a double batch of these freezer friendly muffins. Having that wholesome goodness ready to go is a total lifesaver for busy school mornings or when you need a quick afternoon snack.
But you cannot just toss a warm muffin into the freezer—trust me, I’ve learned that lesson the hard way! The key to keeping that famous moisture intact is proper cooling and sealing. If you wrap them while they are still warm, you end up with a soggy, icy mess when you pull them out later, and we don’t want that.
First, you *must* let them cool completely on the rack—I mean stone cold! Once they are totally cool, I take each muffin and wrap it tightly in plastic wrap. You want a really good seal, like you’re protecting a little treasure. After they are individually wrapped, toss them into one large zip-top freezer bag. They should easily last three months in the freezer, maybe longer if you can keep your hands out of the bag!
When you need one, pull it out the night before and let it thaw on the counter, or just pop it into the microwave for about 15-20 seconds. It comes out tasting like it just came out of the oven. If you want some great tips on how others structure their meal prep around seeded versions, you should check out the idea on Savory Mom’s Kitchen for their seed additions!
Variations: Turning Your Bran Muffins into Oat Bran Muffins Idea
While I stand by this recipe as the absolute *best* starting point, I know you might be itching to customize your bran muffins. That’s the beauty of home baking, right? You can tailor it exactly to what you’ve got on hand or what your family loves. The texture holds up remarkably well, so feel free to experiment!
The most common question I get is about swapping textures, like turning these into oat bran muffins idea batch. It’s super easy! You can substitute half of the wheat bran listed in the main recipe with standard oat bran. Since oat bran is softer, it might absorb moisture slightly differently, but the applesauce and buttermilk should handle it just fine. I would still stick to the original 10-minute soaking time just to be safe.
Also, if you love that little surprise texture from fruit, definitely try tossing some in! I’ve made batches where I fold in about a cup of blueberries right before pouring the batter. That adds a pop of flavor and another layer of moisture, too.
I saw a wonderful recipe recently that used apple and cinnamon, which is just divine together. If you want a real flavor upgrade for your next batch, check out the amazing ideas over at Savour Spot for their apple cinnamon version. Mixing fruit into these high fiber muffins is such a great way to add natural sweetness and keep things feeling fresh!
Estimated Nutritional Data for Bran Muffins
Now, I know that for some of us, these aren’t just for taste—they are foundational to a healthy routine. Since these are designed to be Wholesome Baked Goods and a fantastic source of fiber, I want to give you a rough idea of what you’re looking at per muffin so you feel good about grabbing one for your healthy breakfast muffins rotation.
Remember, my kitchen philosophy is about real food, not lab-tested precision, so these numbers are based on the exact measurements in the recipe above, where we used the standard brown sugar instead of maple syrup. Always remember that these are estimates, and if you make swaps (like adding fruit or using honey), your totals will change!
- Serving Size: 1 muffin
- Calories: 180
- Sugar: 10g
- Fat: 6g (only 1g saturated!)
- Fiber: 5g—that keeps you full, I promise!
- Protein: 5g
I love that one muffin packs 5 grams of fiber. That’s huge for making sure your morning feels satisfying. These numbers just confirm that these are a smart choice for a quick, nutritious start, whether you eat them immediately or save them as freezer friendly muffins for next week!
Share Your Experience Baking These Bran Muffins
That’s it! Your batch of perfectly moist, high-fiber bran muffins is baked, cooled, and either wrapped up for the freezer or ready to eat right now. Honestly, there’s nothing more satisfying than having a delicious, wholesome breakfast ready without having to dirty dishes during the busy work week. This is what practical home cooking is all about—making life easier but keeping the quality high.
I truly hope this recipe becomes a staple for your family, just like it is for mine. If you’ve tried them, please tell me what you thought! I live for hearing about your results, especially if you nailed that perfect, tender texture we were aiming for. Drop a comment below!
And hey, if you loved them, please share this recipe with a friend who is always scrambling for a healthy grab and go breakfast. It helps my little corner of the internet grow, and it helps spread good, reliable food advice. If you need to get in touch with me directly for any recipe questions, you can always use the contact form!
Happy Baking, friends—I’ll see you in the kitchen!
PrintMoist, High-Fiber Bran Muffins for Grab And Go Breakfast
Bake a batch of these classic bran muffins. They are moist, high in fiber, and perfect for meal prepping as a freezer friendly breakfast or wholesome snack.
- Prep Time: 15 min
- Cook Time: 18 min
- Total Time: 33 min
- Yield: 12 servings 1x
- Category: Breakfast
- Method: Baking
- Cuisine: American
- Diet: Vegetarian
Ingredients
- 1 1/2 cups wheat bran
- 1 cup boiling water
- 1 cup buttermilk
- 1/2 cup unsweetened applesauce
- 1/4 cup vegetable oil
- 1 large egg
- 1/2 cup packed brown sugar
- 1 teaspoon vanilla extract
- 1 1/2 cups all-purpose flour
- 1 teaspoon baking soda
- 1/2 teaspoon salt
- 1/4 cup ground flaxseed (optional, for extra fiber)
Instructions
- Preheat your oven to 400°F (200°C). Line a 12-cup muffin tin with paper liners or grease well.
- In a medium bowl, combine the wheat bran and boiling water. Let this mixture sit for 10 minutes to soften the bran.
- To the bran mixture, add the buttermilk, applesauce, oil, egg, brown sugar, and vanilla extract. Stir until just combined.
- In a separate large bowl, whisk together the flour, baking soda, and salt. If using, add the ground flaxseed here.
- Add the wet ingredients to the dry ingredients. Mix only until the dry ingredients are incorporated. Do not overmix; a few lumps are fine.
- Divide the batter evenly among the prepared muffin cups, filling each about two-thirds full.
- Bake for 15 to 18 minutes, or until a toothpick inserted into the center of a muffin comes out clean.
- Let the muffins cool in the pan for 5 minutes before transferring them to a wire rack to cool completely.
Notes
- For a naturally sweetened version, you can substitute the brown sugar with maple syrup, using 1/3 cup of maple syrup for the 1/2 cup of sugar, and reduce the buttermilk slightly if the batter seems too thin.
- These are excellent freezer friendly muffins. Cool completely, then wrap individually in plastic wrap and place them in a freezer bag. They reheat well in the microwave.
- If you want oat bran muffins, substitute half of the wheat bran with oat bran.
Nutrition
- Serving Size: 1 muffin
- Calories: 180
- Sugar: 10g
- Sodium: 180mg
- Fat: 6g
- Saturated Fat: 1g
- Unsaturated Fat: 5g
- Trans Fat: 0g
- Carbohydrates: 30g
- Fiber: 5g
- Protein: 5g
- Cholesterol: 20mg