
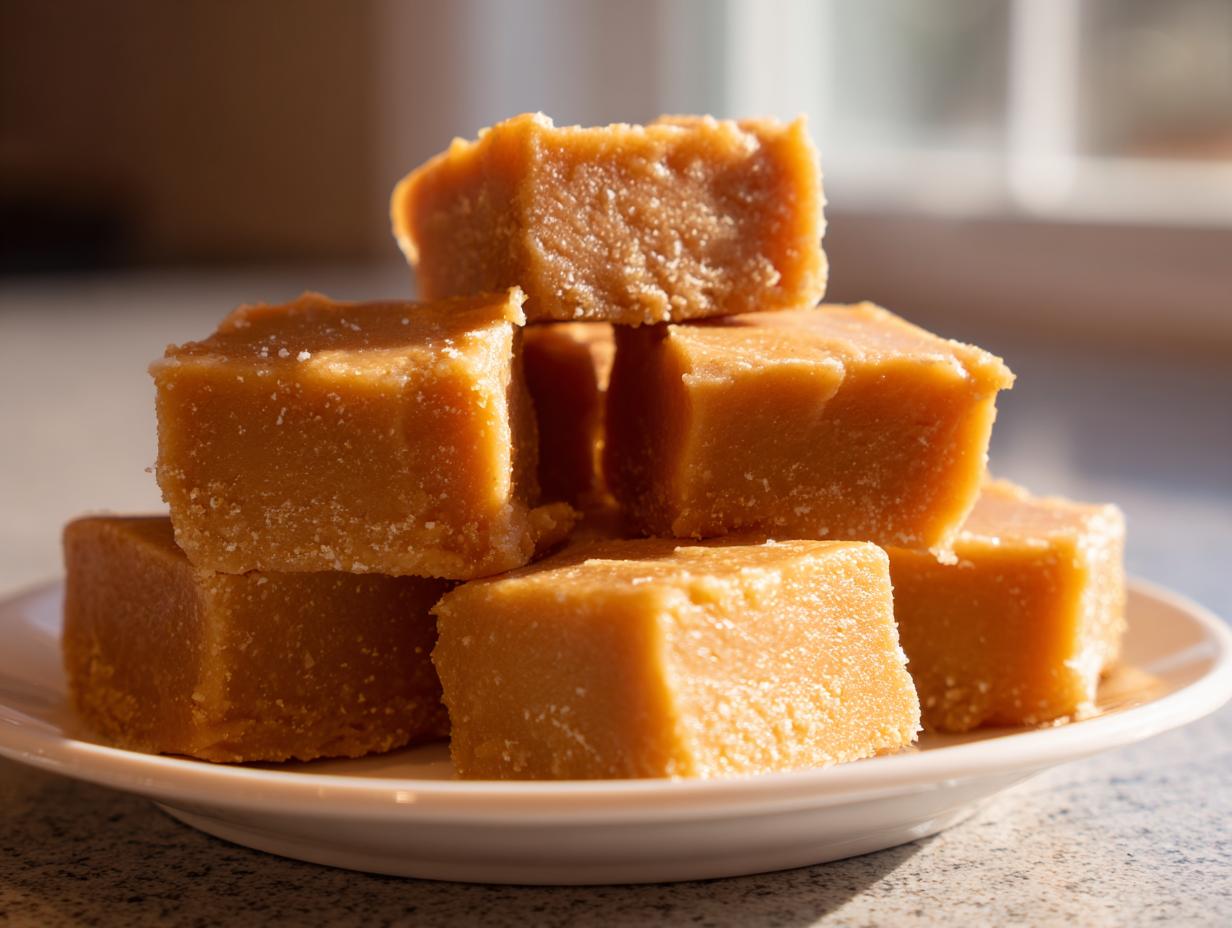
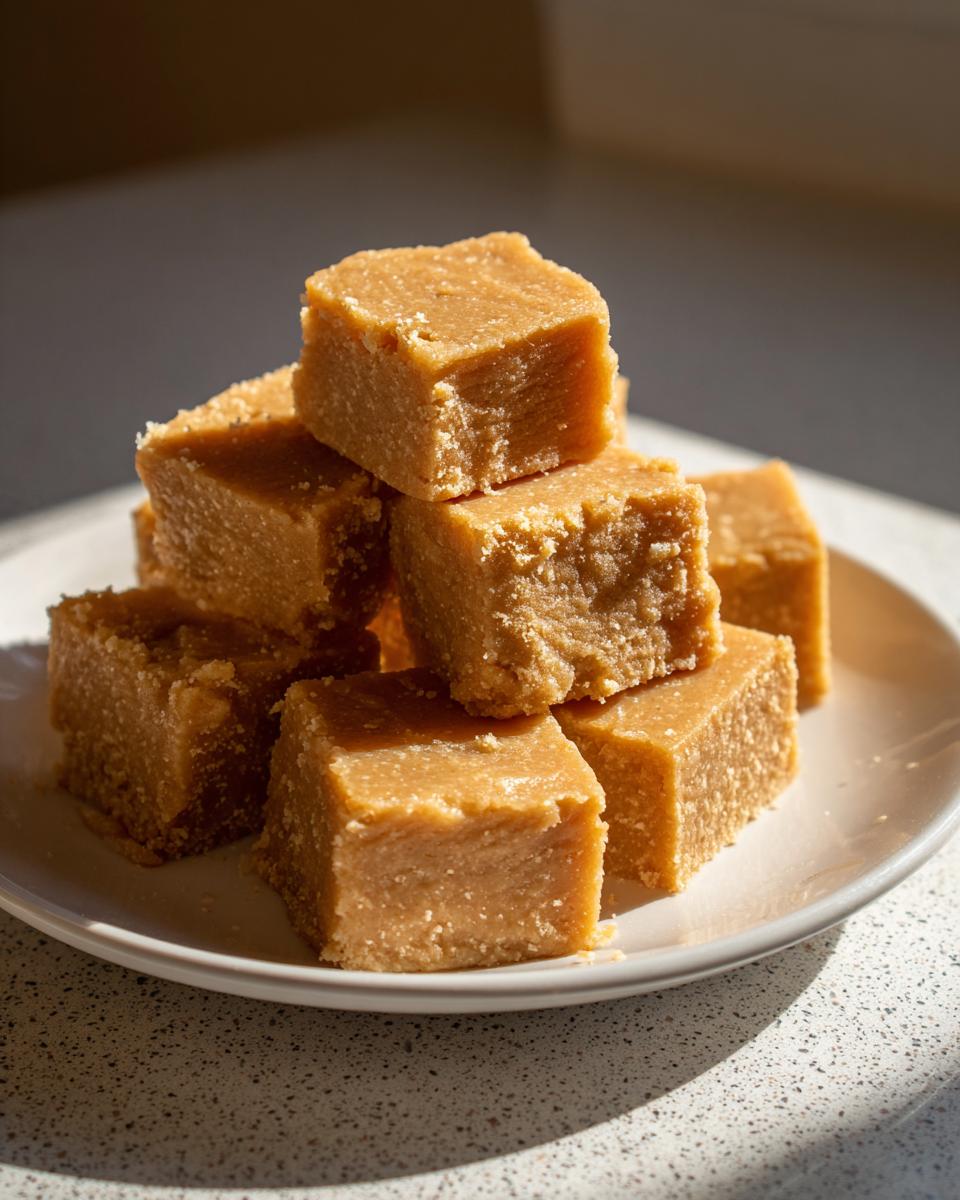
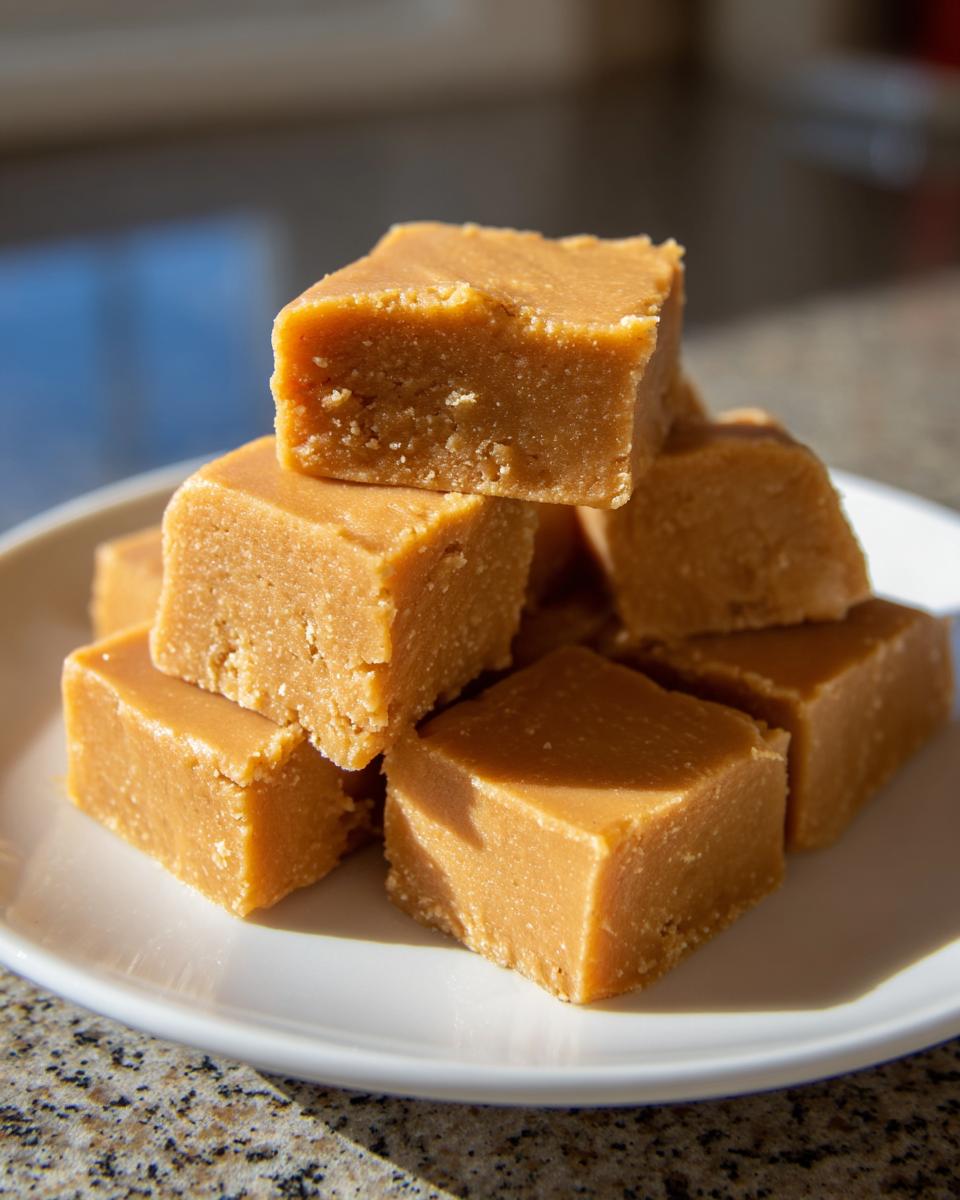
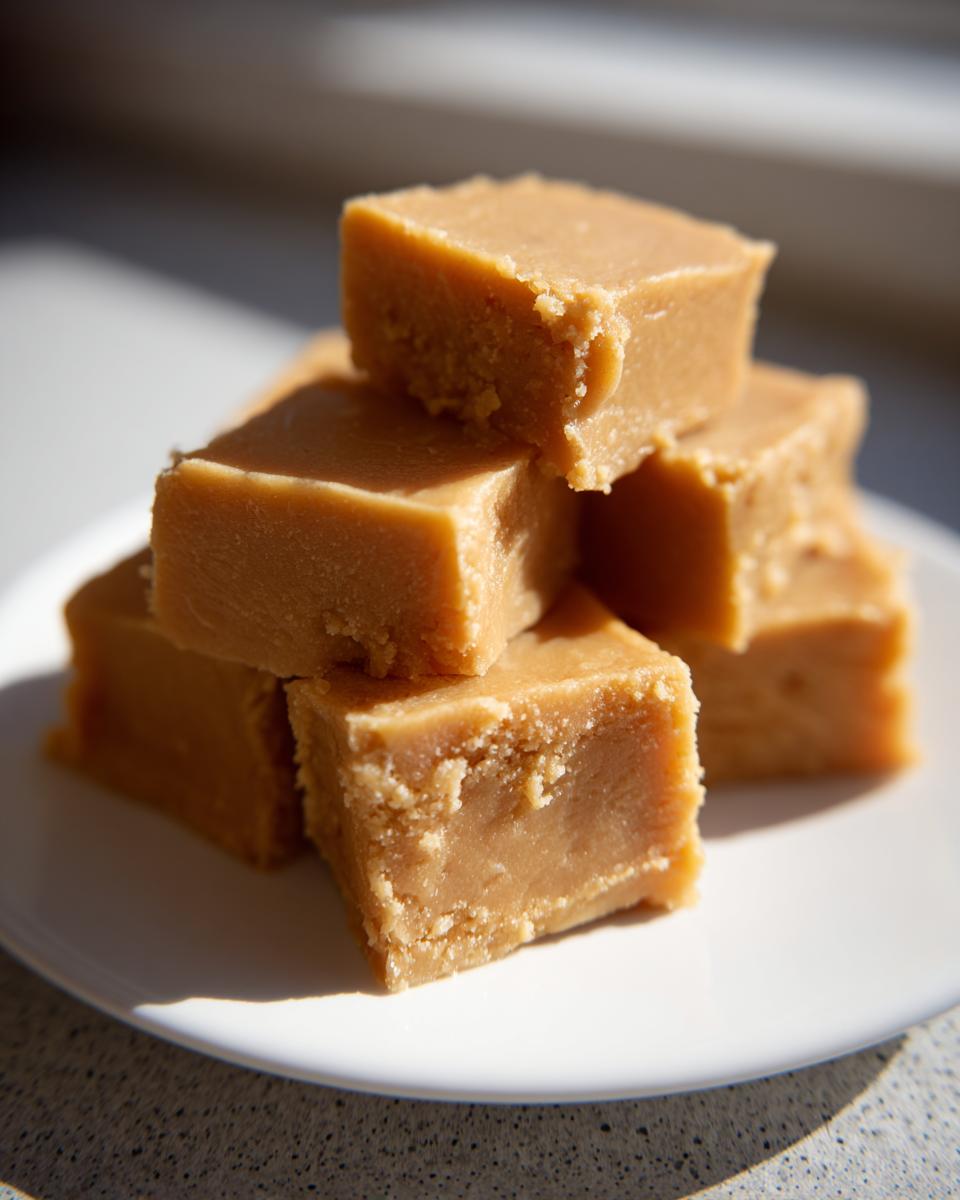
When I think back to my childhood Christmases, my grandmother wasn’t pulling out chocolate; she was carefully protecting a tin of pale, creamy candy that smelled like caramelized dreams. That, my friends, is the magic of penuche fudge. So many people try homemade fudge and end up with something grainy or crumbly, and honestly, it breaks my heart! That’s why I treasure this particular batch of delicious dessert recipes. This isn’t just any candy; this is my family’s foolproof approach to classic Brown Sugar Fudge. We focus on the technique—the temperatures and the cooling—so you get that unbelievably smooth, melt-in-your-mouth texture every single time. Forget the fuss; this recipe is ready for your kitchen.
- Why This Old Fashioned Penuche Fudge Recipe Works
- Gathering Ingredients for Creamy Penuche Fudge
- Step-by-Step Instructions for Perfect Penuche Fudge Recipe
- Expert Tips for Flawless Old Fashioned Fudge
- Serving Suggestions for Your Caramel Fudge Recipe
- Storage and Gifting Fudge Ideas
- Frequently Asked Questions About Penuche Fudge
- Nutritional Information for Simple Fudge Squares
- Share Your Penuche Fudge Success
Why This Old Fashioned Penuche Fudge Recipe Works
If you’ve ever worried about making candy that turns out gritty, toss that worry out the window! This penuche fudge is my go-to because it promises the best results even when you’re intimidated by sugar cooking. Trust me, this is the recipe that delivers pure, buttery perfection.
We give you all the know-how to nail this confection:
- It’s foolproof: Say goodbye to grainy candy and hello to creamy fudge!
- It’s true to tradition: Yes, Brown Sugar Fudge is just another name for Penuche, and this version respects that classic, nostalgic flavor.
- It’s economical: We rely on basics you already have on hand for this rich treat.
Achieving Melt In Your Mouth Candy Texture
The absolute secret to that dreamy, melt in your mouth candy texture isn’t stirring wildly; it’s the temperature! We are aiming precisely for the soft-ball stage, which is 234°F. This chemical reaction keeps the sugar crystals from forming large, noticeable grains. It’s a tiny moment of focused heat that gives you big rewards later on!
Simple Ingredients for Classic Penuche Fudge
I love how this recipe shows off simple ingredients. Since we are making a no chocolate fudge, the flavor has to come purely from the quality of the sugar and the cream. You won’t find any weird extra things in here—just the pure essence of buttery, caramel-like goodness that makes penuche fudge so famous.
Gathering Ingredients for Creamy Penuche Fudge
For this gorgeous, creamy adventure into penuche fudge, you don’t need a whole specialized pantry! I always keep these staples ready because you never know when a candy craving will strike. Grab your heaviest saucepan; that’s important for even heating. Remember, precision is key here, so please measure out exactly what you need before you start heating everything up. Getting your ingredients prepped ensures you nail that perfect texture later!
- 2 cups granulated sugar
- 1 cup packed light brown sugar (don’t skimp on packing it in!)
- 1 cup heavy cream (the full-fat version, please!)
- 1 tablespoon butter (real butter makes a difference, trust me!)
- 1 teaspoon vanilla extract
- Pinch of salt
Step-by-Step Instructions for Perfect Penuche Fudge Recipe
Okay, deep breath time! Making candy sounds scary, but I promise, these steps for our penuche fudge are your map to success. We’re going to handle this mixture gently, especially around the temperature milestones. If you follow my lead here, you’ll have the smoothest, most fantastic squares you’ve ever tasted. Getting this Caramel Fudge Recipe right is all about trusting the thermometer and then trusting the process.
Preparing the Pan and Initial Cooking
First thing’s first: get that 8×8 pan ready! Line it with parchment paper, making sure you leave some overhang sticking up on two sides. That overhang is your built-in handle for liftoff later—don’t skip it! Now, grab your heavy saucepan. Combine the white sugar, light brown sugar, and heavy cream. Stir this over medium heat constantly until you see those sugars completely dissolve and the mixture starts to bubble gently. The absolute second it begins to boil, STOP STIRRING! Seriously, pull your spoon out. Stirring once it boils encourages crystallization. Now, clip on that candy thermometer; we’re heading into serious cooking territory.
The Critical Temperature Drop for Penuche Fudge
We need that syrup to hit exactly 234 degrees Fahrenheit—that’s the magic spot for soft-ball candy. This usually takes about 10 to 15 minutes, but watch it like a hawk! As soon as that thermometer hits 234°F, snatch the whole pan off the heat. Stir in your tablespoon of butter until it vanishes, followed by that vanilla extract. Now, this part is crucial for creamy results: you have to let it cool undisturbed until it drops down to 110°F. If you try to beat it warm, you end up with gritty Brown Sugar Fudge. Just let it sit until it’s warm to the touch.
Beating and Setting Your Homemade Candy
Once it hits 110°F, drop in that pinch of salt and get ready to mix! This is where the transformation happens. You need to beat this mixture hard with a sturdy wooden spoon or use your mixer on the lowest setting. You’re looking for visual cues: the mixture will start to look dull instead of glossy, and it’ll feel like it’s gathering itself up and thickening. It takes about 5 to 10 minutes of serious whipping until it’s visibly stiff. Work fast! Pour it immediately into your prepped pan and spread it smooth. For the best delicious dessert recipes results, let it set completely at room temperature for a few hours. Enjoy that perfectly formed melt in your mouth candy!
Expert Tips for Flawless Old Fashioned Fudge
Look, I know some of you are scrolling down here looking for a way to skip the candy thermometer. I totally get it—we’re all aiming for that quick fudge recipe! But if you want this old fashioned fudge to truly melt in your mouth like the batch my mother made, you have to treat the temperature seriously. That 234°F stage is the difference between heaven and a messy fail. We’re building layers of flavor here, not just sugar crystals!
Troubleshooting Common Penuche Fudge Issues
If you cook your syrup past 236°F, you’re definitely going to end up with hard, crumbly candy instead of the smooth penuche fudge we’re aiming for. On the flip side, if you pull it off the heat too early, your fudge won’t thicken properly when you beat it. If you don’t have a thermometer, use the cold water test—it should form a soft, pliable ball that flattens when you poke it. That’s your signal!

Also, when it comes to cooling, patience is everything. If you try to beat the mixture before it hits 110°F, you’ll never get that beautiful, dull set. Don’t rush that cooling time, or you’ll ruin all the hard work you put into creating this buttery fudge!
For gifting inspiration, check out some of the fun ideas they have over at this site! Small wraps make this classic dessert candy feel extra special.
Serving Suggestions for Your Caramel Fudge Recipe
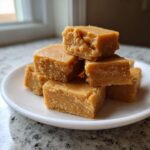
Now that you’ve achieved fudgy perfection, how should you serve up this amazing penuche fudge? Since this candy is incredibly rich and sweet, I find that smaller servings are the way to go. Aim for 36 simple fudge squares from your pan—they look elegant and satisfy that sweet tooth instantly. I love lining a small, flat serving tray with some pretty parchment paper or even a little lace doily, just like my grandmother used to do for her holiday spread.
This Caramel Fudge Recipe also plays wonderfully with texture. A light dusting of finely chopped walnuts or pecans right before it sets adds a wonderful crunch that contrasts the creamy center. It’s fantastic alongside a hot cup of coffee or as part of a bigger dessert platter, which you can check out more ideas for over at our overall dessert section!
Storage and Gifting Fudge Ideas
Since this buttery fudge is made without corn syrup or other super-stabilizing ingredients, storage is important if you want to keep that incredible texture intact. The key is airtight containment! Once your penuche fudge has completely cooled and set—and I mean thoroughly cooled, not slightly warm—wrap those simple fudge squares individually in wax paper or small squares of plastic wrap. This prevents them from sticking together, which is a major issue with fudges this creamy!
Pop the individually wrapped squares into a reusable airtight container. You can keep them on the counter for about a week, and they should stay perfectly soft. If you are making a big batch for holiday treats or want them to last longer, storing them in the refrigerator is a good move. Just remember to let them come back to room temperature for about 15 minutes before serving so they soften up just a touch—that’s when they really achieve that perfect melt.
When it comes to gifting fudge ideas, this is where penuche fudge really shines! Because it’s naturally light in color, it looks so elegant next to darker chocolates. Wrap small bundles of three or four squares in festive cellophane bags tied with a nice ribbon. They look homemade, sophisticated, and absolutely delicious. It’s the perfect neighbor gift or addition to a cookie exchange platter without being overwhelming like some heavy chocolate candies can be. Everyone loves a good piece of homemade candy!
Frequently Asked Questions About Penuche Fudge
I know when you’re trying a classic dessert candy that’s new to you, questions pop up! That’s totally normal. My goal here is to make sure your first batch of penuche fudge turns out exactly like mine—super creamy and perfectly sweet. Don’t hesitate to double-check these common concerns before you start heating up that sugar cream!
Is Penuche Fudge the same as Brown Sugar Fudge?
Yes, absolutely! That’s the simplest way to think about it. If you see a recipe called Brown Sugar Fudge, chances are it’s Penuche. The name varies depending on the region or the family recipe card, but the core ingredients—brown sugar, cream, and butter—remain the same. So if you are looking for a traditional, no chocolate fudge experience, this is it!
Can I make this Easy Homemade Fudge without a Candy Thermometer?
You certainly *can*, although I really push the thermometer because it removes all the guesswork for that perfect creamy fudge texture. If you don’t have one, you must rely on the cold water test for the soft-ball stage. Take a tiny spoonful of the boiling syrup and drop it straight into a cup of ice-cold water. If it instantly forms a soft, pliable ball that flattens a little when you press it between your fingers, it’s ready! If it’s too hard or crumbles, it was cooked too long.
Nutritional Information for Simple Fudge Squares
Now, I always tell folks that when we’re talking about homemade candy, we aren’t exactly aiming for low-calorie treats! This is real, old-fashioned goodness, made with real sugar and real butter. But because so many of you have asked, I’ve pulled together the estimated breakdown for one of our simple fudge squares.
Please remember this information is based purely on the ingredients listed above and a conservative estimate of 36 squares per batch. Treat this as a general guide, not like something you’d find on a certified nutrition label!
- Serving Size: 1 square
- Calories: About 140
- Total Fat: 4g (Watch those saturated fats!)
- Carbohydrates: 26g
- Protein: 1g
- Sugar Content: 25g (It *is* a candy, after all!)
It’s higher in sugar than other baked goods, which is why we cut these into smaller portions. A little bit of this rich, buttery fudge goes a long, long way. I usually keep these stored for sharing, but if you have leftovers, enjoy them sparingly with your morning coffee!
Share Your Penuche Fudge Success
Honestly, the moment you cut into that pan and see those smooth, creamy squares, I want to know about it! That’s the payoff after all that careful temperature management. I’m Jessica, and I put my heart into making sure these family recipes work for everyone, so your feedback is gold to me.
Did you nail the soft-ball stage? Did your Brown Sugar Fudge set up beautifully without any grittiness? Please jump down into the comments section below and let me know how your batch turned out! Seeing your success stories is what makes building The YumMagnet Recipe Box worthwhile.
If you have a picture of your perfect, melt-in-your-mouth candy, I would absolutely love to see it! Feel free to tag us on social media or reach out to us directly through our contact page. Knowing that I helped you create a sweet memory with this old fashioned fudge truly makes my day. Happy baking, and thank you for trusting my kitchen secrets!
PrintOld-Fashioned Penuche Fudge Recipe: Creamy Brown Sugar Candy
Make classic Penuche fudge, also known as Brown Sugar Fudge. This old-fashioned recipe delivers a creamy, melt-in-your-mouth texture with rich caramel flavor using simple ingredients.
- Prep Time: 15 min
- Cook Time: 15 min
- Total Time: 180 min
- Yield: 36 squares 1x
- Category: Dessert
- Method: Stovetop Cooking
- Cuisine: American
- Diet: Vegetarian
Ingredients
- 2 cups granulated sugar
- 1 cup packed light brown sugar
- 1 cup heavy cream
- 1 tablespoon butter
- 1 teaspoon vanilla extract
- Pinch of salt
Instructions
- Line an 8×8 inch baking pan with parchment paper, leaving an overhang for easy removal. Lightly grease the paper.
- Combine the granulated sugar, brown sugar, and heavy cream in a heavy-bottomed saucepan.
- Stir the mixture constantly over medium heat until the sugars dissolve and the mixture begins to boil.
- Stop stirring once boiling begins. Attach a candy thermometer to the side of the pan.
- Cook the mixture without stirring until it reaches 234 degrees Fahrenheit (soft-ball stage). This usually takes about 10 to 15 minutes.
- Remove the pan from the heat immediately. Stir in the butter and vanilla extract until the butter is fully melted.
- Let the mixture cool undisturbed until it reaches 110 degrees Fahrenheit. Do not rush this cooling step; it is crucial for texture.
- Once cooled to 110 degrees Fahrenheit, add the pinch of salt. Begin beating the mixture vigorously with a wooden spoon or an electric mixer on low speed.
- Continue beating until the fudge loses its glossy appearance, thickens significantly, and starts to set. This process takes about 5 to 10 minutes.
- Quickly pour the thickened fudge into the prepared pan. Spread it evenly.
- Allow the fudge to cool completely at room temperature until firm, about 2 to 3 hours.
- Lift the fudge out of the pan using the parchment overhang, cut it into small squares, and serve your homemade candy.
Notes
- Cooking to exactly 234°F is key for a creamy, non-grainy texture. If you cook it hotter, the fudge may become crumbly.
- If you do not have a candy thermometer, test for the soft-ball stage by dropping a small amount of the syrup into cold water; it should form a soft, pliable ball that flattens when pressed.
- For gifting fudge ideas, wrap individual squares in small pieces of wax paper or cellophane.
Nutrition
- Serving Size: 1 square
- Calories: 140
- Sugar: 25g
- Sodium: 15mg
- Fat: 4g
- Saturated Fat: 2.5g
- Unsaturated Fat: 1.5g
- Trans Fat: 0g
- Carbohydrates: 26g
- Fiber: 0g
- Protein: 1g
- Cholesterol: 15mg