
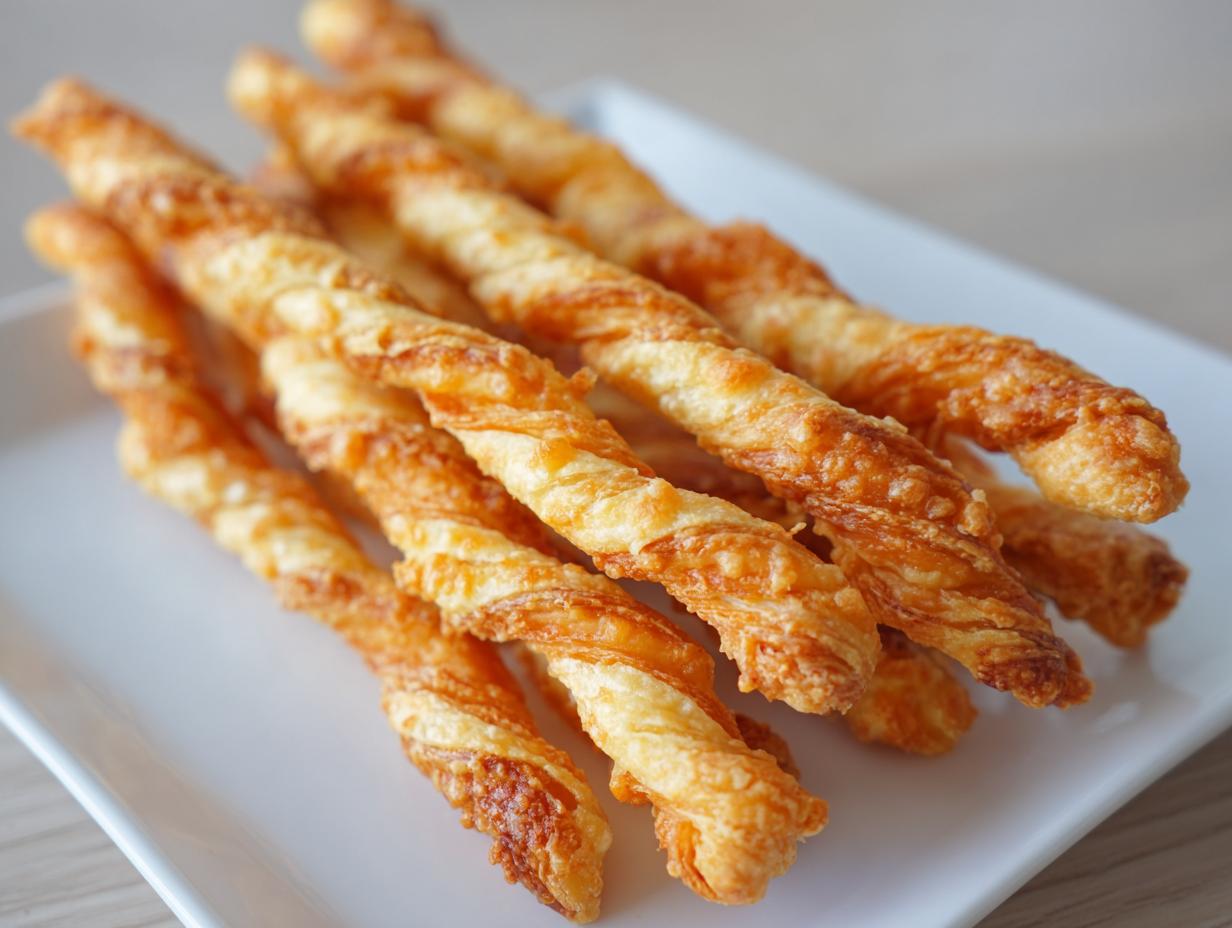
If you’re hosting even a small gathering, you know the drill: you set out the snacks, turn around to check the oven, and when you look back, the savory stuff is already gone! That’s why I’m sharing my go-to cheese straws recipe today. This is my Quick & Crispy Southern Cheddar Cheese Straws recipe, made specifically for busy people like us. As I built The YumMagnet Recipe Box, my whole mission was figuring out how to take those cherished family flavors—like this classic appetizer—and make them work for real life. Trust me, these buttery, cheesy bites vanish instantly!
- Why This Quick & Crispy Cheese Straws Recipe Works for Entertaining
- Ingredients for Your Homemade Cheese Straws Recipe
- How to Prepare Quick & Crispy Southern Cheese Straws
- Expert Tips for the Best Cheese Straws Recipe Results
- Variations on the Classic Cheese Straws Recipe
- Storage and Reheating Instructions for Your Cheese Straws
- Serving Suggestions for These Cheesy Appetizers
- Frequently Asked Questions About This Cheese Straws Recipe
- Nutritional Estimate for This Recipe
Why This Quick & Crispy Cheese Straws Recipe Works for Entertaining
When I’m planning a party or a game day spread, I need appetizers that deliver big flavor but don’t demand my entire afternoon. That’s exactly what this recipe delivers. It’s my secret weapon for keeping the kitchen stress-free while still serving up incredible savory party snacks.
- They’re reliably delicious every single time because the steps are straightforward.
- You are making homemade quality treats that feel elevated, but they truly count as quick appetizers for a crowd.
- The cleanup is minimal because we use parchment paper—a lifesaver for any busy host!
Speed and Simplicity: Making Easy Cheese Straws
You absolutely cannot beat the total time listed here—we’re looking at maybe 20 minutes for prep, and then they bake up fast. Since we aren’t dealing with yeast or a complicated pastry dough here, you can whip up the dough while your guests are still walking in the door. That’s my definition of easy cheese straws!
Achieving the Perfect Crispy Texture in This Cheese Straws Recipe
Crispiness is non-negotiable for me with cheese straws, and we nail it thanks to a few key actions. First, everything stays cold—cold butter is crucial for flakiness! Second, we roll the dough nice and thin, about 1/8th of an inch. Those few extra seconds it takes to roll thin pay off big time when they come out of the oven perfectly crisp, not soft and chewy.
Ingredients for Your Homemade Cheese Straws Recipe
Okay, let’s talk about what goes into these little flavor bombs. Because this cheese straws recipe is so simple, the quality of your cheddar really shines through. I only ever use a genuinely sharp cheddar here; that extra bite is what makes them taste authentic and not just sad, mild crackers.
- 1 cup all-purpose flour
- 1/2 teaspoon salt
- 1/4 teaspoon cayenne pepper (This gives it that little Southern kick, trust me!)
- 1/4 teaspoon paprika
- 1 cup sharp cheddar cheese, shredded (Hand-shredded is always better than the bag, if you have time!)
- 1/2 cup (1 stick) cold unsalted butter, cut into small pieces
- 1 large egg white, lightly beaten
- 1 tablespoon cold water
Don’t skip chilling that butter, folks! That coldness is what gives you those flaky layers when it bakes up, just like when I make my favorite cheddar broccoli salad.
How to Prepare Quick & Crispy Southern Cheese Straws
This is the fun part! Honestly, watching the dough come together is so satisfying. Remember, the key here is speed with the wet stuff, so the butter stays cold. We want flaky, not tough, okay? Follow these steps precisely, and you’ll have these cheesy appetizers on a platter in no time at all!
Preparing the Dough for Your Cheddar Cheese Straws
First things first, make sure that oven is heating up to 400 degrees Fahrenheit, and get your baking sheets lined with parchment paper. That parchment is non-negotiable for easy cleanup, just like when I make my crispy mashed potato cakes.
In a big bowl, whisk your flour, salt, cayenne, and paprika together first. Once that’s mixed, toss in the shredded sharp cheddar. Now for the butter: use a pastry blender or just your fingertips to cut that cold butter in until you have coarse crumbs. Don’t mush it with your hands; keep those pieces small! Finally, pour in the egg white and cold water. Mix it until it *just* forms a shaggy dough. Stop right there! If you overmix, you lose the crisp factor we are aiming for. Gather it up, flatten it into a little disk, wrap it tight, and chill it for 15 glorious minutes.
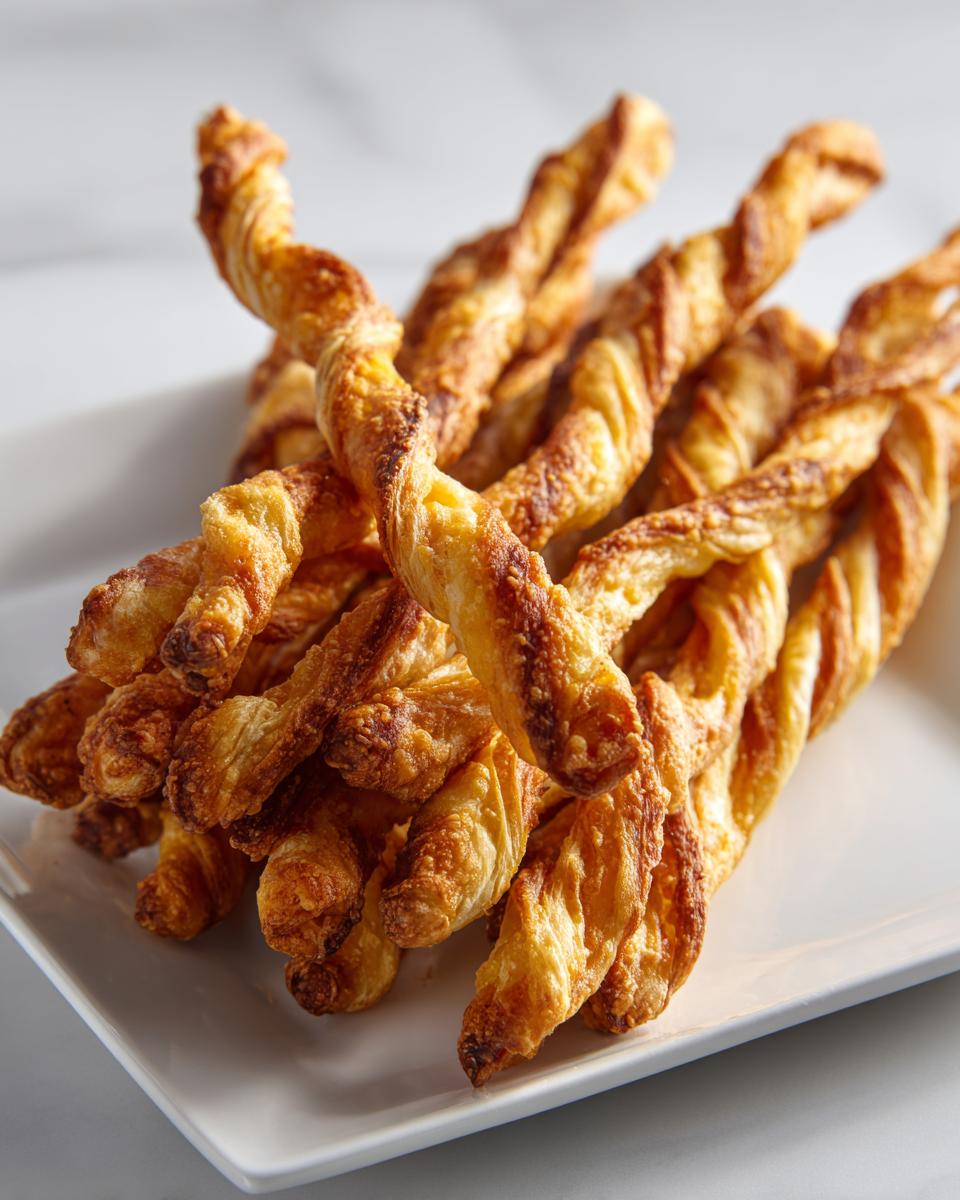
Shaping and Twisting the Cheese Straws
Once that dough has chilled, you’re ready to roll. Lightly flour your counter—you don’t want sticking here! Roll the dough out until it’s pretty thin, about 1/8-inch thick is perfect. Now, take your knife or pizza cutter and slice those strips. You want them about a half-inch wide but nice and long—maybe 5 or 6 inches each.
This is where they earn the name ‘straws.’ Pick up one strip and give it a gentle twist, just two or three times. It doesn’t need to be perfect, but that little twist catches the heat and gives you wonderful texture later. Lay them out on your prepared sheets, making sure they have about an inch of breathing room between each one so they can bake evenly.
Baking Cheese Straws to Golden Perfection
Slide those trays into that hot 400°F oven. They really cook fast! Keep an eye on them—about 10 to 12 minutes is all it takes for them to turn gorgeously golden brown. They need to look cooked through and feel firm.
The absolute most important part of baking homemade cheese straws is cooling them correctly. Transfer them immediately onto a wire rack. They might feel slightly soft right out of the oven, but don’t panic! As they cool completely, they firm up and transform into those crackly, crispy cheese straws we love. Be patient for 10 minutes, and you’ll get the payoff!
Expert Tips for the Best Cheese Straws Recipe Results
Even though this cheese straws recipe is beautifully straightforward, I always have a few tricks up my sleeve from years of making these for parties. These little secrets elevate them from good snack status to ‘Where did you buy these?!’ status. You know I want you to succeed on your first try, so listen close!
One of my grandmother’s established notes, which I still follow religiously, is the addition of dry mustard powder. If you have some lying around, throw about 1 teaspoon of dry mustard powder in with your flour mixture. Trust me, it doesn’t taste like mustard; it just magically deepens that sharp cheddar flavor. It’s one of those subtle additions that make people wonder what your secret ingredient is. You can find my favorite way to use butter in seasonings here: easy garlic butter recipe homemade spread.
For texture, if you really want that ultimate flakiness—something almost pastry-like—try swapping out half of your all-purpose flour for cake flour. Cake flour has less protein, which means less gluten development, which equals a more tender, flaky bake. Be careful not to overdo this, though, or they’ll crumble too much!
Now for my personal tip on preventing any burning, especially if your oven runs hot like mine does. Since we are twisting these delicate strips, the pointy ends can sometimes brown way faster than the middle. I highly suggest pulling the baking sheets out halfway through baking—maybe around the 6-minute mark—and giving the straws a quick, gentle turn around with tongs. That ensures every side gets that perfect golden-brown crispness without scorching the tips!
Variations on the Classic Cheese Straws Recipe
The beauty of this base cheese straws recipe is that it’s just begging for you to play around with it! While these Southern Cheddar Straws are legendary on their own, sometimes you want a slightly different flavor profile for your spread, especially around the holidays. Since we focused on cheddar, making swaps is super simple because the technique stays the same—thank goodness for keeping things consistent!
I love trying out new herbs or cheeses, especially when I’m serving them alongside different cocktails. If you’re looking for something a little herbaceous or maybe something with a bit more fire, stick right here; you don’t need a whole new recipe, just simple adjustments to this fantastic dough.
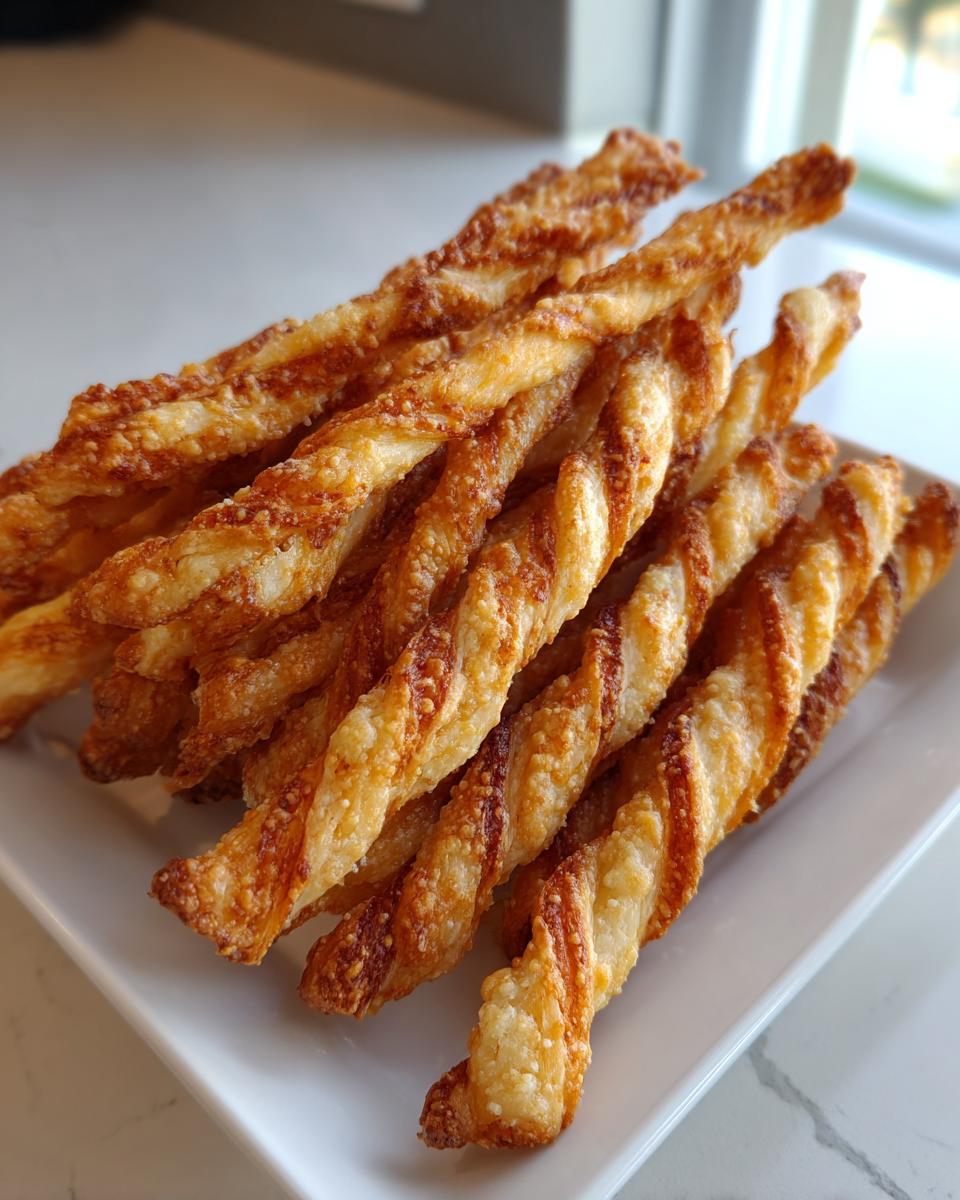
Making Parmesan Cheese Straws
If you prefer a nuttier, saltier flavor profile over the sharp tang of cheddar, swapping to Parmesan is a breeze. You don’t have to replace all the cheese, though! I find that replacing half of the sharp cheddar with freshly grated Parmesan cheese gives you the best of both worlds—the structure from the cheddar and that deep, nutty flavor from the Parm.
Make sure you grate the Parmesan finely. If you’re buying it pre-grated in a shaker can, skip that! We need the real stuff here because those anti-caking agents mess up the texture of the dough, and we are aiming for flaky goodness. A mix of cheddar and parmesan makes for genuinely lovely savory finger foods.
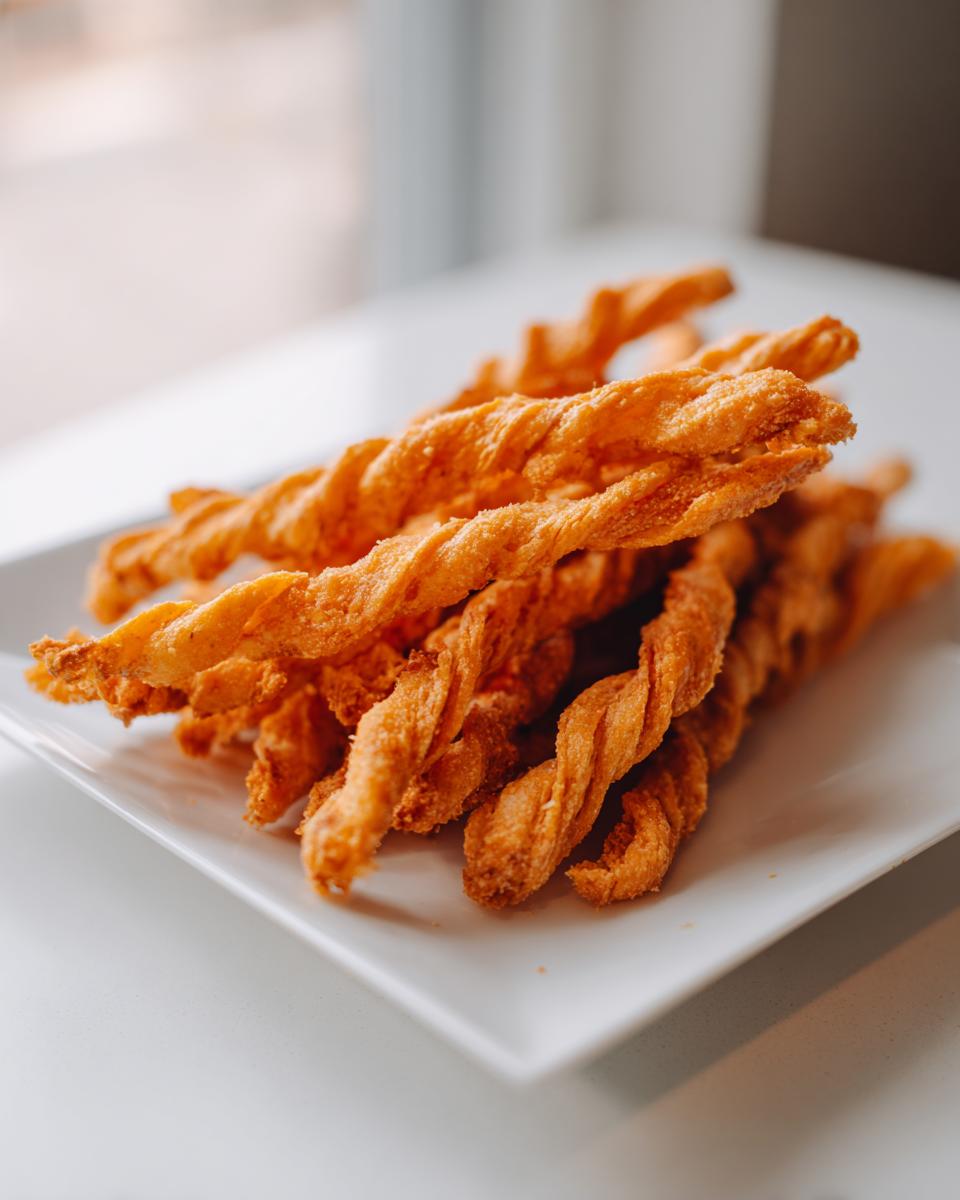
Adding Heat: Spicy Cheese Straws
Are you hosting a game day crowd that loves a little punch? It’s so easy to turn these into spicy cheese straws! The original recipe only calls for 1/4 teaspoon of cayenne pepper, which is just a little background warmth. To ramp it up, you can double that cayenne to 1/2 teaspoon.
Or, for a deeper, smokier heat, try adding about 1/4 teaspoon of chipotle powder right in with your dry ingredients. If you want visible flecks of heat, toss in a small pinch of red pepper flakes. Experiment a little bit here; this dough handles flavor additions really well!
Storage and Reheating Instructions for Your Cheese Straws
One of the best things about this cheese straws recipe is that they are excellent for making ahead! Who doesn’t want one less thing to worry about right before the doorbell rings? You can definitely bake these days in advance, which is a huge win when you’re prepping for holidays or big game days.
As the provided note says, the key to keeping them fantastic is airtight storage. Once they are completely cool—and I mean 100% cool, or you’ll steam them in the container—tuck them into a sturdy, sealed container at room temperature. They usually stay perfectly crisp and buttery for about a week. If you’ve got any leftover savory party snacks, this storage advice applies!
But let’s be real; sometimes life gets in the way, and they end up left out, or maybe the humidity got to them. If your homemade cheese straws have gone slightly soft, don’t panic and don’t throw them out! That texture just means they absorbed a little moisture in the air.
Here is the magic trick for bringing back that glorious snap: just pop them back onto a clean baking sheet (no need to grease anything) and stick them in a 300°F oven for about 5 minutes. Seriously, five minutes is usually all it takes. That gentle heat evaporates the moisture right out. Pull them out, let them cool for just a minute on the pan, and you’ll have that wonderful, satisfying crunch back again. It’s almost like making them fresh!
Serving Suggestions for These Cheesy Appetizers
Now that you have this amazing batch of crispy cheese straws, the fun part is deciding what to serve them with! These aren’t just for nibbling solo, although I certainly won’t judge you if you eat the whole batch yourself straight from the cooling rack. Because these have that lovely Southern, sharp cheddar base, they pair beautifully with a lot of classic pairings.
Think about what you serve at parties or when you have friends over for wine. These straws are sturdy—they won’t snap in half reaching for a dip! They are fantastic standing on their own, especially when you have someone bringing a punch or a bright cocktail, but they also provide that necessary crunch against soft items.
For something truly Southern, serve them alongside a bowl of pimento cheese. It’s cheese-on-cheese heaven! Or, if you’re serving them alongside soup while the weather is cooler, they are the perfect replacement for a standard cracker. They are incredible dipped into my creamy peanut sauce if you want to give your guests a slightly unexpected, savory kick that I sometimes bring out when I want something different.
If you’re serving wine, look for something dry like a crisp Sauvignon Blanc to cut through the richness of the butter and cheese. I often see these served with peppadew peppers or olive tapenades, too—anything tangy really makes the sharp cheddar pop. You can check out some inspiration on how others serve similar bites over at Restless Chipotle!
Honestly, though, my favorite way to serve these cheesy appetizers is right beside a bowl of something creamy, like a chilled cucumber dip or even just a simple cream cheese spread laced with chives. Just be prepared that no matter what you pair them with, they usually disappear first!
Frequently Asked Questions About This Cheese Straws Recipe
I always find that answering customer questions is half the battle, right? Even with a recipe as simple as this one, little details can make you pause before you start mixing. Here are a few things I hear people ask all the time when they are gathering the ingredients for these savory party snacks.
Can I use pre-shredded cheese in this cheese straws recipe?
Oh, I really, really advise against it, sweetheart. Listen, I get it—it’s convenient! But when you buy cheese already shredded from the bag, they toss it in things like potato starch or cellulose to keep it from clumping up in the package. Those anti-caking agents work against us here! They prevent the cheese from melting smoothly into the dough, which means you end up with a less flavorful, slightly gritty texture instead of those beautifully melted pockets of cheese that make these straws so addictive.
What is the best cheese besides cheddar for making cheese straws?
While sharp cheddar is the irreplaceable base for that true Southern flavor, you can absolutely mix it up! If I want something a little more sophisticated for a wine night, I like to swap out about half of the cheddar for Gruyère. Gruyère melts beautifully and brings a wonderful nutty, earthy sweetness that complements the sharpness of the cheddar perfectly. Aged white cheddar is another brilliant option if you just want a different color but still want that sharp flavor punch. Using a mix just means you get layers of flavor in every bite of your homemade cheese straws!
Can I make these cheese straws ahead of time for a party?
Yes, you absolutely can! That’s why I consider this one of my favorite quick appetizers for a crowd—minimal stress on the day of the event. You have two excellent options here. You can bake them completely, let them cool, and store them airtight for up to a week, just like I detailed in the storage section. Honestly, I think they taste even better on day two!
If you’re really prepping far out, you can wrap up the dough disk tightly after chilling and freeze it for up to a month. When you want to bake them, just let the dough thaw in the fridge overnight. You might need to roll it out slightly longer since it’s cold, but the quality will be perfect. I recommend these for making ahead because they are such a wonderful, easy option when you are preparing something big, like my chicken pozole!
Nutritional Estimate for This Recipe
When you’re whipping up batch after batch of these savory party snacks, it’s always good to have a ballpark idea of what’s going into them. Remember, these are totally homemade, so the exact count can change based on how sharp your cheddar is or exactly how much butter you managed to sneak into the dough (kidding… mostly!).
This information is based on serving size being about 3 straws:
- Serving Size: 3 straws
- Calories: 95
- Fat: 7.5g
- Saturated Fat: 4.5g
- Carbohydrates: 3.5g
- Protein: 3.0g
- Sugar: 0.2g
- Sodium: 110mg
Just a quick word on these numbers, because I know we all watch what we eat sometimes. Because this cheese straws recipe has zero added sugar outside of what’s naturally in the cheese and flour, the sugar content is super low—which is great! This estimate is just a guide, though. If you decide to add that dry mustard or swap to Gruyère, you might see minor shifts. But hey, they are perfect for any occasion, whether you’re looking for a light snack like my easy breakfast recipes, or something richer to serve guests!
PrintQuick & Crispy Southern Cheddar Cheese Straws Recipe

Make these easy, homemade cheese straws using sharp cheddar cheese. They are crispy, buttery, and perfect as a savory party appetizer or game day snack.
- Prep Time: 20 min
- Cook Time: 12 min
- Total Time: 32 min
- Yield: About 3 dozen 1x
- Category: Appetizer
- Method: Baking
- Cuisine: American
- Diet: Vegetarian
Ingredients
- 1 cup all-purpose flour
- 1/2 teaspoon salt
- 1/4 teaspoon cayenne pepper
- 1/4 teaspoon paprika
- 1 cup sharp cheddar cheese, shredded
- 1/2 cup (1 stick) cold unsalted butter, cut into small pieces
- 1 large egg white, lightly beaten
- 1 tablespoon cold water
Instructions
- Preheat your oven to 400 degrees Fahrenheit. Line two baking sheets with parchment paper.
- In a large bowl, whisk together the flour, salt, cayenne pepper, and paprika.
- Add the shredded cheddar cheese to the dry ingredients and mix briefly to combine.
- Cut in the cold butter using a pastry blender or your fingertips until the mixture resembles coarse crumbs.
- Add the egg white and cold water. Mix until the dough just comes together. Do not overmix.
- Gather the dough into a ball, flatten it into a disk, wrap it in plastic wrap, and chill for 15 minutes.
- On a lightly floured surface, roll the chilled dough out to about 1/8-inch thickness.
- Use a knife or pizza cutter to cut the dough into strips about 1/2-inch wide and 5 to 6 inches long.
- Take each strip and gently twist it two or three times to form a straw shape. Place the twisted straws on the prepared baking sheets, leaving about 1 inch between them.
- Bake for 10 to 12 minutes, or until the cheese straws are golden brown and crisp.
- Transfer the straws to a wire rack to cool completely. They will crisp up as they cool.
Notes
- For extra flavor, you can add 1 teaspoon of dry mustard powder to the flour mixture.
- If you want a flakier texture, substitute half of the all-purpose flour with cake flour.
- These savory party snacks are best stored in an airtight container at room temperature for up to one week.
Nutrition
- Serving Size: 3 straws
- Calories: 95
- Sugar: 0.2
- Sodium: 110
- Fat: 7.5
- Saturated Fat: 4.5
- Unsaturated Fat: 3.0
- Trans Fat: 0.1
- Carbohydrates: 3.5
- Fiber: 0.1
- Protein: 3.0
- Cholesterol: 18