
You know that moment when you bring out the snacks for Game Day, and everyone swoons over the texture? That’s what we’re bringing to your table today! Getting truly extra crispy chicken wings that snap when you bite them shouldn’t require hauling out the deep fryer; that’s just too much clean-up when you’re already juggling appetizers and company. Trust me, I get it—juggling a busy schedule like the one I had when I first started developing these recipes means shortcuts need to deliver on flavor and texture, not just speed. This technique, which relies on a simple box of baking powder, is my absolute game-changer for achieving perfectly crunchy wings right in the regular oven. It’s simple, it’s nearly mess-free, and it turns humble chicken wings into a total showstopper every single time. This is exactly the kind of practical magic I learned to develop when I started figuring out how to simplify our family favorites for the modern kitchen; you can read more about that whole journey over on our About Page!
- Why This Baking Powder Method Creates the Best Crispy Chicken Wings
- Ingredients for Extra Crispy Baked Chicken Wings
- Step-by-Step Instructions for Oven Baked Wings
- Flavor Variations: Saucing Your Baked Chicken Wings
- Making These Chicken Wings a Crowd Pleaser Appetizer
- Storage and Reheating Instructions for No Fry Chicken Wings
- Frequently Asked Questions About Crispy Chicken Wings
- Nutritional Estimates for Homemade Chicken Wings
- Share Your Perfect Chicken Wings Experience
Why This Baking Powder Method Creates the Best Crispy Chicken Wings
Okay, let’s talk science for a second—but don’t worry, it’s the fun kind that results in amazing food! When you coat these chicken wings in baking powder (and please, if you can find it, use the aluminum-free kind, though any will work in a pinch!), you’re doing something brilliant. Baking powder is alkaline, which means it raises the pH level right on the skin’s surface.
What does that weird pH change do? It helps break down those proteins just enough so that when the heat hits them in the oven, they dry out really fast. That quick drying is what creates that shatteringly crisp skin—way better than just hoping oil does the trick! We get the crunch of frying without having to deal with a vat of boiling oil. Honestly, mastering this chemical trick is the Best Chicken Wing Technique to remember.
Achieving Juicy Inside Crispy Outside Chicken Wings
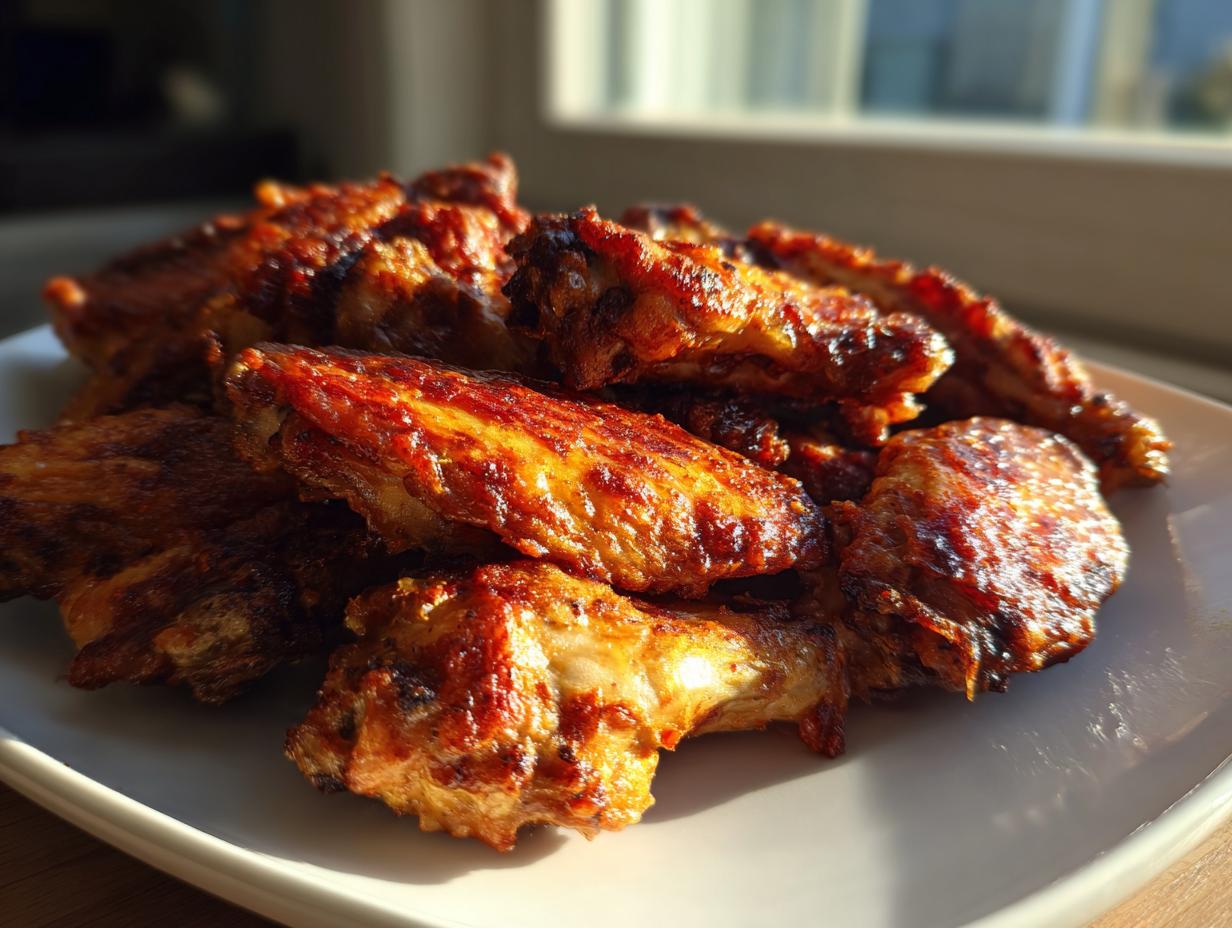
This method is truly focused on achieving that perfect textural contrast. Because the baking powder dries the surface so efficiently at the start, the skin crisps up beautifully during that first blast of high heat. Simultaneously, the inside stays protected and steams gently with its own juices.
It’s pure magic! That’s how you get the legendary Oven Baked Wings that manage to be incredibly juicy and tender underneath a shell that screams crunch. You simply can’t beat that combination for a perfect party appetizer.
Ingredients for Extra Crispy Baked Chicken Wings
You don’t need a pantry full of exotic spices for this recipe to work its magic! Honestly, the real secret sauce here is the baking powder, but we still need our basics to bring the flavor. When you gather your supplies, make sure everything is measured out and ready to go so we can coat these wings quickly!
For this recipe, you’ll need about three pounds of raw chicken wings, separated into those little flat and drumette pieces. Then, grab your crucial crisping agent, which is baking powder—and yes, I always try to grab the aluminum-free kind if I’m grabbing it off the shelf. We’re also using basic salt, pepper, garlic powder for a little savory depth, and a tiny pinch of cayenne if you like a little warmth!
Step-by-Step Instructions for Oven Baked Wings
Alright, this is where the magic really happens! Don’t overthink this section; just follow the flow, and you’ll end up with the most satisfying Oven Baked Wings you’ve ever made without touching a drop of oil. The key here is airflow in the oven and making sure those wings are bone dry before they hit the spice mixture. It sounds fussy, but trust me, these small things are why we get that incredible crunch we’re aiming for!
Preparation and Coating for Maximum Crispiness on Chicken Wings
First things first: preheat your oven way up high to 425°F (220°C). Make sure your baking sheet is lined with foil—that’s for easy clean-up later—and top that with a wire rack. Now, grab your wings and dry them. I mean really dry them. Pat them down with paper towels until you think they can’t possibly get any drier; this is non-negotiable for crunch!
In a big bowl, mix up your baking powder, salt, pepper, and spices. Toss those dry wings right in there. You have to get the coating even on every single piece. Once they’re coated, lay them out on that wire rack. Don’t let them touch! Air needs to circulate around the whole wing, or you’ll just end up steaming them instead of crisping them.
Baking Times and Temperature Adjustments for Perfect Chicken Wings
We’re going to bake these wings in two distinct phases. Pop that rack into the 425°F oven and bake them hard for 25 minutes straight. This initial heat shock starts rendering that fat beautifully.
After 25 minutes, you need to flip every single wing over. Then, reduce your oven temperature down to 400°F (200°C). Let them bake for another solid 20 to 25 minutes. Keep an eye on them; you want them deeply golden brown and looking undeniably crispy. Total cook time is usually around 45 minutes, but oven heat varies, so look for the visual cues!
Flavor Variations: Saucing Your Baked Chicken Wings
Now that you have these perfectly crunchy, flavorful, dry-coated wings—which are fantastic just as they are, by the way, especially with a side of ranch—it’s time to sauce ‘em up! It feels like cheating, but coating them after they come out of the oven is how we keep that amazing crisp layer intact, because trust me, coating them before baking just turns into sweet, gummy skin. No thank you!
You can go classic Buffalo, which is always a winner, or try mixing up some simple DIY sauces. If you love that tangy sweet combo, whipping up some Honey Garlic Wings is so easy right on the stovetop. And if you’re into that bright, zesty flavor, you absolutely have to check out this amazing guide for Lemon Pepper Wings! The beauty of this no-fry method is you can use any sauce you love, whether it’s BBQ or a spicy Hot Honey glaze; just make sure you use the right technique to lock it in!
Quick Tip for Setting the Glaze on Your Chicken Wings
This is my favorite little trick for making homemade sauced wings look like they came straight from a fancy sports bar. Once you’ve tossed your piping hot wings in your chosen sauce—Buffalo, BBQ, whatever—don’t just stop there! You need to set that glaze.
Quickly arrange the sauced wings back on the wire rack, and slide them under your broiler for about two to three minutes, watching carefully! This intense, direct heat caramelizes the sugars in the sauce, making it sticky and shiny, while sealing in all that wonderful wet flavor right onto the crispy skin we worked so hard to create.
Making These Chicken Wings a Crowd Pleaser Appetizer
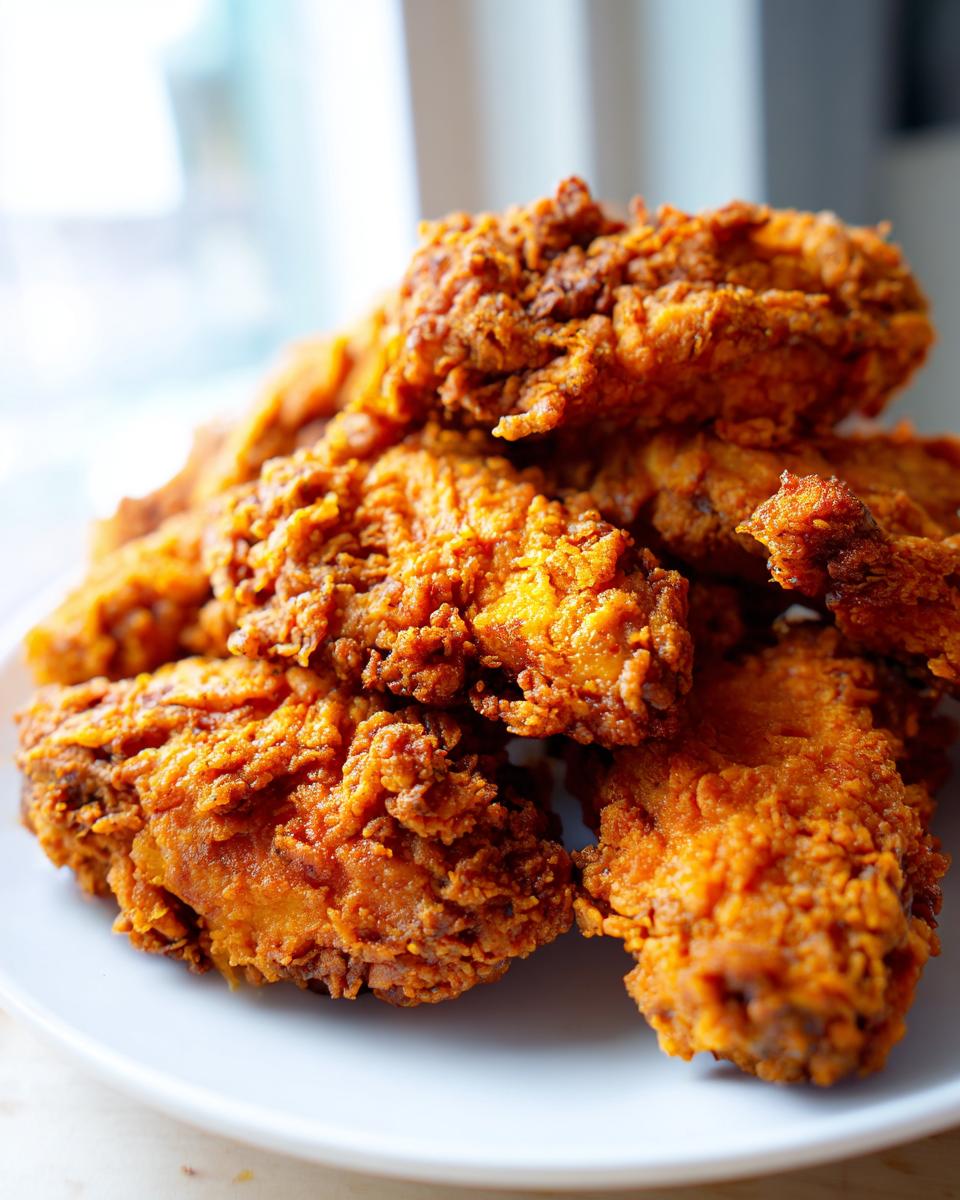
You know, when I first started making these crispy baked wings, I mostly made them because I wanted a quick weeknight dinner that didn’t leave my house smelling like a fast-food frying station! But wow, once I brought them to a Super Bowl party last year, I realized I had stumbled onto the ultimate Crowd Pleaser Appetizers.
Everyone asked if I had deep-fried them because the crunch was just unreal. People actually skipped the basket of traditional fried wings we also had out! Scaling these up is wonderfully easy too; just grab another baking sheet, use two racks, and increase your spice mix. You get a huge yield of amazing Party Appetizer Wings without the stress of managing hot oil.
If you’re looking for something incredibly savory that goes perfectly with a big bowl of ranch dip, these baked beauties are it. You can even check out some great ideas for ranch seasoning on wings over at Tasty Tales when you’re looking for inspiration for your next setup! These Crispy Baked Ranch Chicken Wings are also a fantastic flavor direction for your next big game night.
Storage and Reheating Instructions for No Fry Chicken Wings
Look, if you’re lucky enough to have leftovers of these No Fry Chicken Wings, you’ve got to treat them right when reheating them! The biggest enemy of leftover crispy skin is the microwave—it turns everything instantly sad and rubbery. Don’t even think about it unless you are truly desperate!
The best way to bring back that glorious crunch is to use the same equipment that made them crispy in the first place. Pop any leftover wings into the air fryer for just about three or four minutes at 380°F. If you don’t have an air fryer, the oven works great too; just spread them back out on a foil-lined sheet and bake them at 375°F for about 8 minutes until they tighten up again. Store any leftovers in an airtight container in the fridge for up to three days.
Frequently Asked Questions About Crispy Chicken Wings
I know you probably have a few last-minute questions swimming around before you dive into making your first batch of these incredible wings! That’s totally normal. When you find a technique that seems too good to be true—like getting crispy wings without frying—you need to know the details! Ask away, and if I haven’t covered something, feel free to toss a question down in the comments for me to look into, or send us a note through the contact page!
Can I use this baking powder technique for Air Fryer Chicken Wings?
Oh, absolutely you can! In fact, this coating is even more amazing in an air fryer. Just follow the exact same coating steps we covered—pat dry, toss in the powder mix. For the cooking, set your air fryer to about 380°F. You’re looking at maybe 18 to 20 minutes total for the perfect Air Fryer Chicken Wings, shaking the basket halfway through. Super fast!
What is the best way to serve these Easy Wing Recipes?
For these Easy Wing Recipes, you always need the classics on hand for dipping! I always make sure I have crisp celery sticks and carrots piled high on the platter. And you absolutely need a big bowl of really good blue cheese dressing or, my personal choice, a cool, thick ranch dressing right next to them to cut through the seasoning.
Nutritional Estimates for Homemade Chicken Wings
I always like to give folks a rough idea of what they’re looking at, nutritionally, for these Homemade Chicken Wings, but please remember this is just an estimate! This chart is based on serving size: four wings before any heavy sauce gets added.
The numbers change dramatically once you toss them in a gallon of sticky BBQ sauce, right? So, these estimates—280 calories, 27 grams of protein—reflect the wings coated in our baking powder mixture only. If you’re comparing brands or loading up on a heavy glaze, do keep that in mind!
Share Your Perfect Chicken Wings Experience
Seriously, I can’t wait for you to try this baking powder trick! Once you bite into that crunch, you’ll never go back. Did you try a Ranch coating or a spicy Lemon Pepper variation?
Let me know how these chicken wings turned out for your game night or quick dinner—drop a comment below and rate your crispiness level!
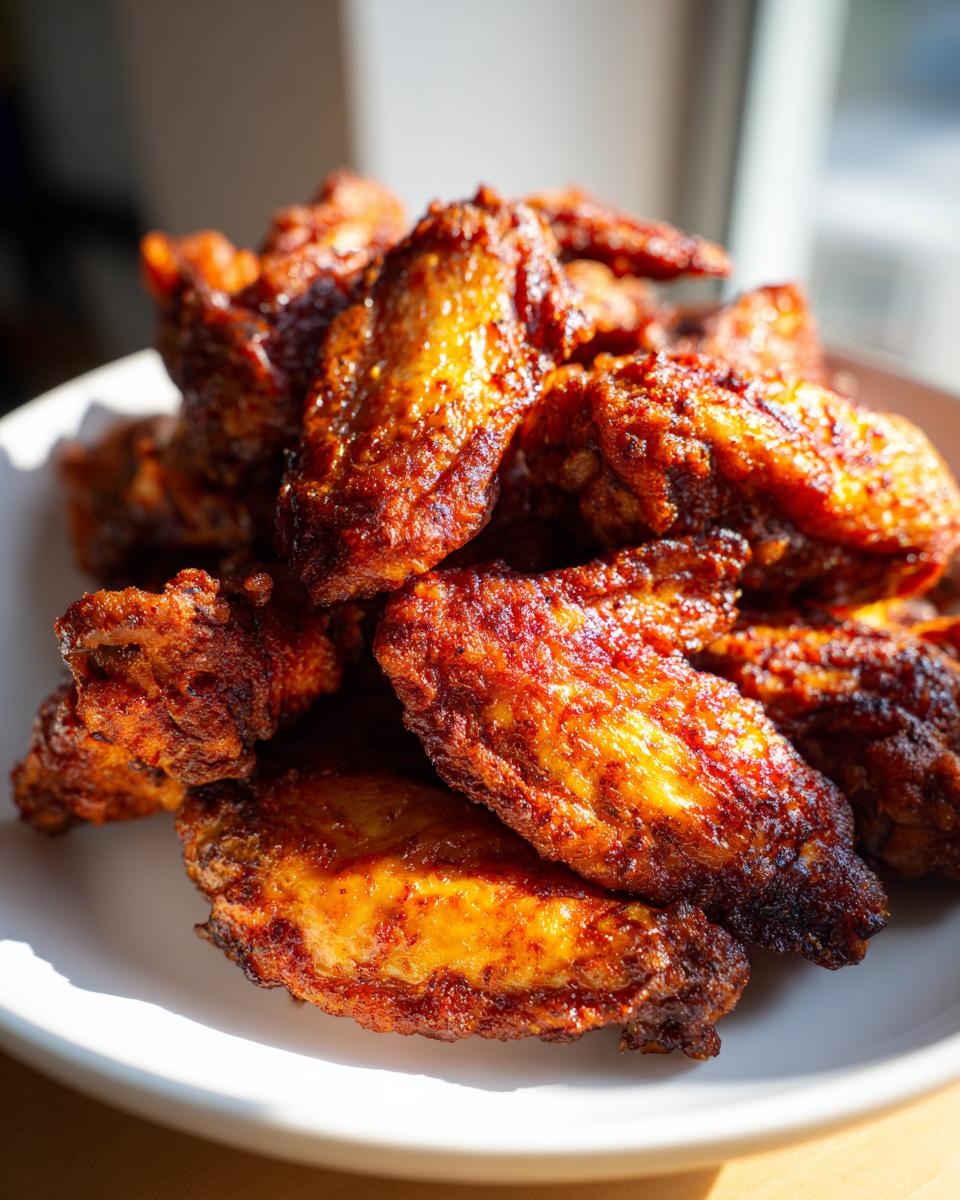
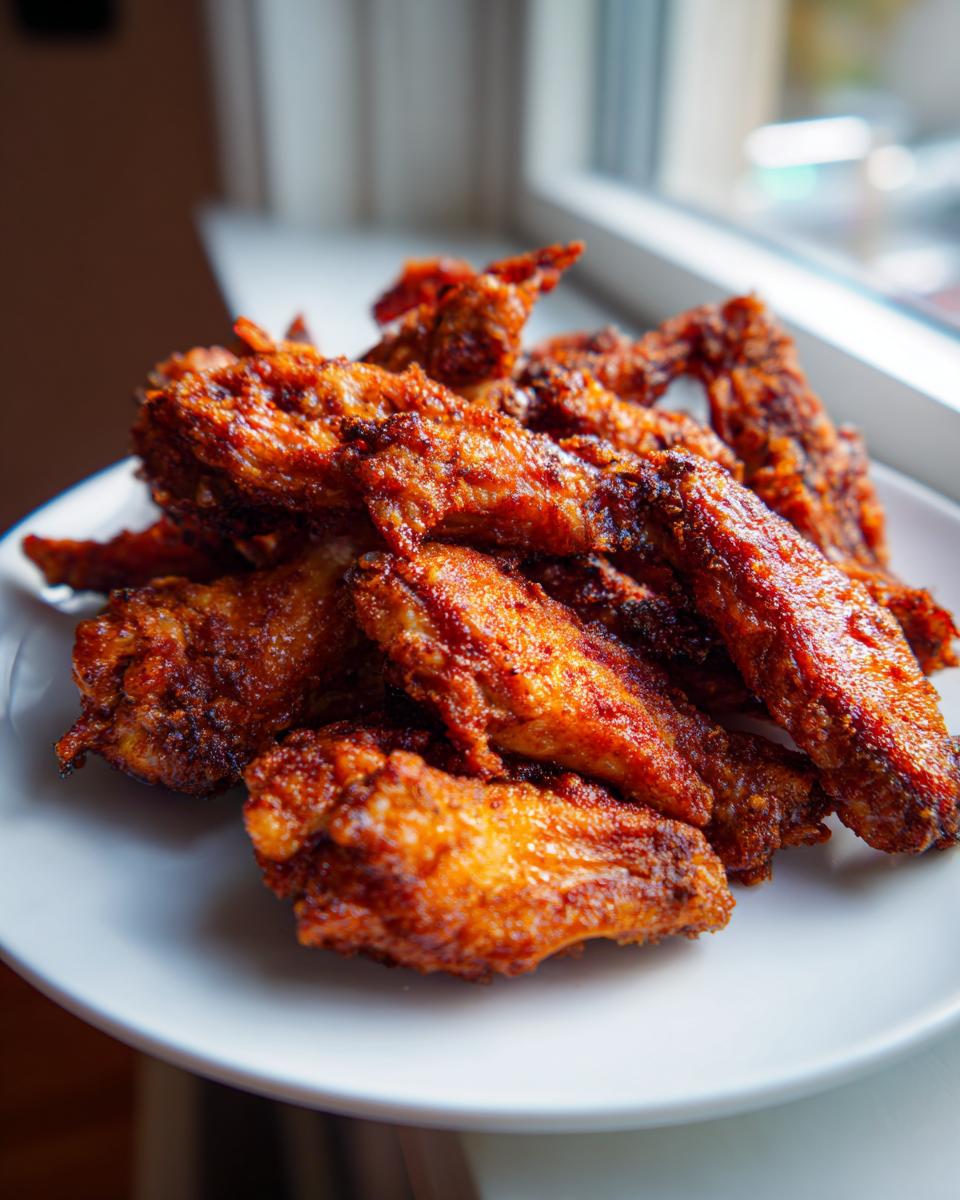
PrintExtra Crispy Baked Chicken Wings with Baking Powder

Make ultra crispy chicken wings in the oven without deep frying. This simple technique uses baking powder to achieve a crunchy exterior and juicy interior, perfect for game day or quick dinners.
- Prep Time: 15 min
- Cook Time: 45 min
- Total Time: 60 min
- Yield: 4 servings 1x
- Category: Appetizer
- Method: Baking
- Cuisine: American
- Diet: Low Fat
Ingredients
- 3 lbs chicken wings, separated into flats and drumettes
- 1 tablespoon baking powder (aluminum-free preferred)
- 1 teaspoon salt
- 1/2 teaspoon black pepper
- 1/2 teaspoon garlic powder
- 1/4 teaspoon cayenne pepper (optional)
Instructions
- Preheat your oven to 425°F (220°C). Line a large baking sheet with aluminum foil and place a wire rack on top of the foil.
- Pat the chicken wings completely dry using paper towels. This step is crucial for crispiness.
- In a large bowl, combine the baking powder, salt, pepper, garlic powder, and cayenne pepper.
- Add the dried chicken wings to the bowl and toss thoroughly until every piece is evenly coated with the baking powder mixture.
- Arrange the coated wings in a single layer on the wire rack, ensuring there is space between each piece for air circulation.
- Bake for 25 minutes.
- Flip the wings over. Reduce the oven temperature to 400°F (200°C).
- Bake for another 20 to 25 minutes, or until the skin is deeply golden brown and very crispy.
- Remove from the oven. Toss immediately with your favorite sauce, such as Buffalo, Honey Garlic, or Lemon Pepper, or serve dry with a side of ranch dressing.
Notes
- For the crispiest results, do not skip drying the wings thoroughly before coating.
- If you prefer a saucier wing, toss them in sauce after they come out of the oven and return them to the oven under the broiler for 2-3 minutes to set the glaze.
- This method works well for making a large batch for a party appetizer.
Nutrition
- Serving Size: 4 wings
- Calories: 280
- Sugar: 1
- Sodium: 350
- Fat: 18
- Saturated Fat: 5
- Unsaturated Fat: 13
- Trans Fat: 0
- Carbohydrates: 1
- Fiber: 0
- Protein: 27
- Cholesterol: 95