
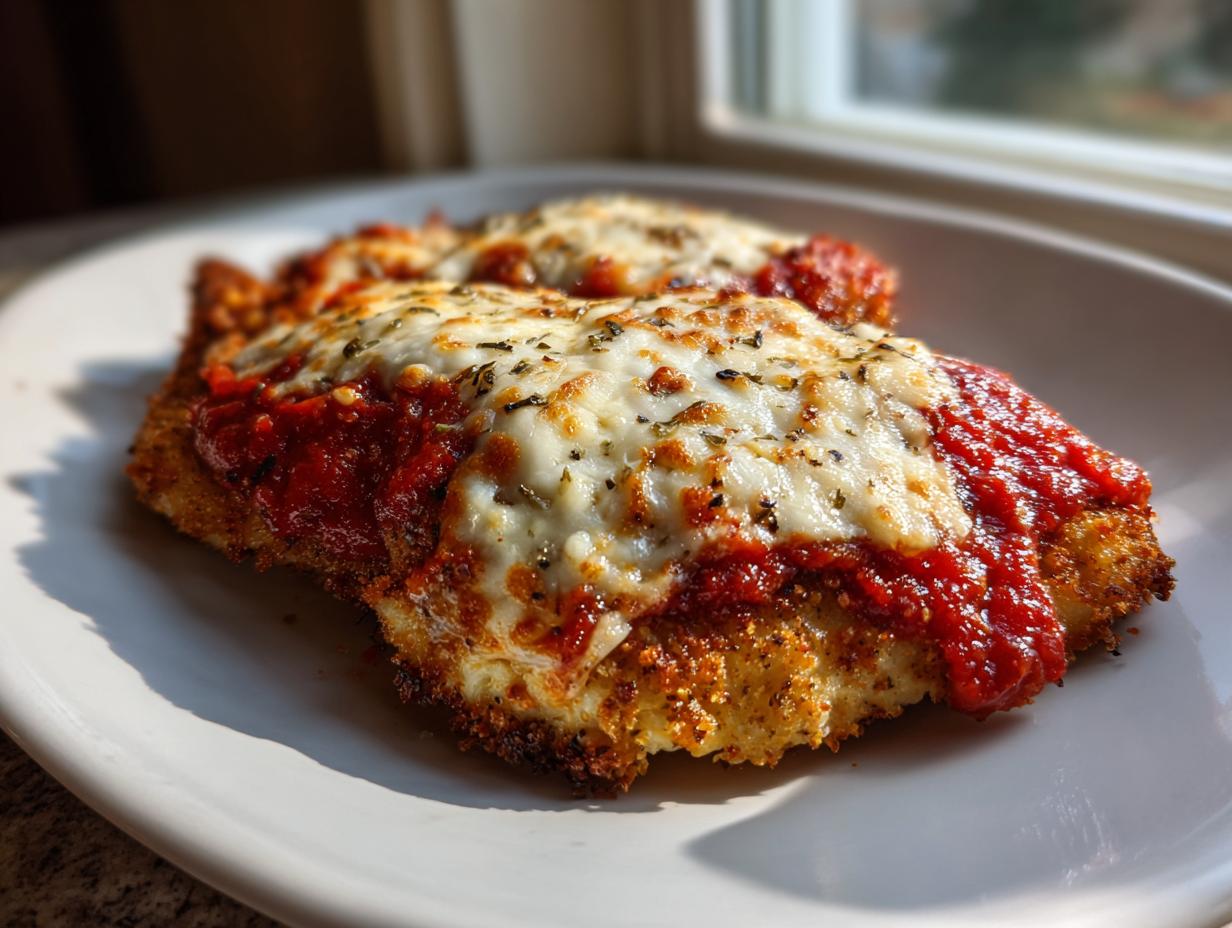
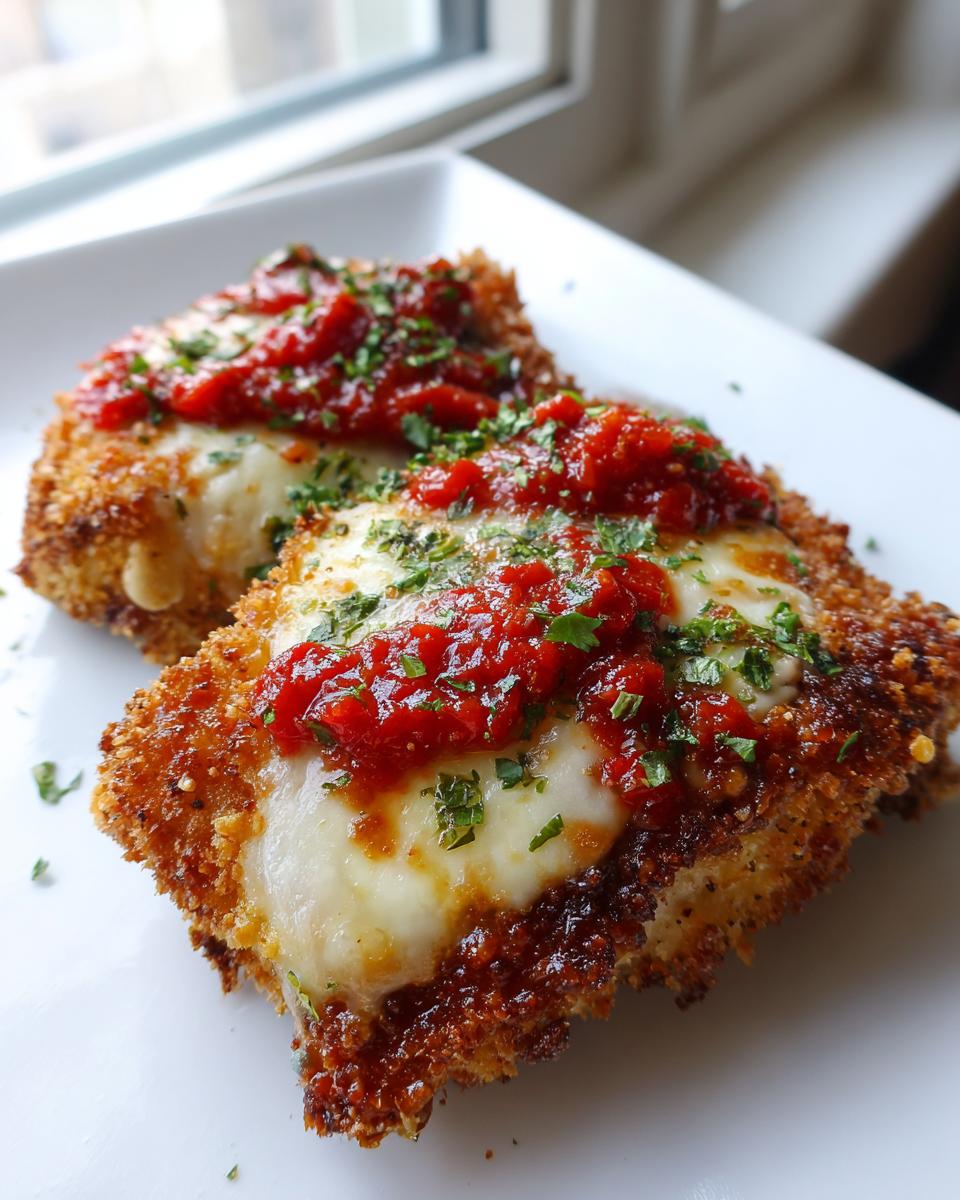
Oh, I totally get it. You’re craving that incredible, golden-brown, cheesy comfort of classic Italian food, but the thought of standing over a hot pan of spitting oil? Forget it! Not on a weeknight, anyway. That’s exactly why I perfected this **Easy chicken Parmesan**. This isn’t some fancy culinary school dish; this is Jessica Thompson’s mission in action—and you can read more about how we started here at The YumMagnet Recipe Box—taking a classic favorite and making it totally doable for your life right now. We believe cooking should be a joy, not a chore. Seriously, we’re talking incredible flavor and texture, and the whole thing is ready faster than you can order takeout. Trust me, this **baked chicken parm recipe** is about to become your go-to solution for a truly satisfying family meal.
- Why This Easy Chicken Parmesan is Your New Weeknight Hero
- Gathering Ingredients for Easy Chicken Parmesan
- Setting Up Your Breading Station for Perfect Easy Chicken Parmesan
- The Step-by-Step Guide to Baked Chicken Parm Recipe Success
- Tips for Making Italian Comfort Food at Home Truly Memorable
- Storage and Reheating Instructions for Leftover Easy Chicken Parmesan
- Frequently Asked Questions About This Quick Chicken Parmesan
- Estimated Nutritional Breakdown for Easy Chicken Parmesan
- Share Your Easy Chicken Dinner Idea
Why This Easy Chicken Parmesan is Your New Weeknight Hero
We all want that restaurant magic, but who has the time or energy for deep frying after a long day? That’s why I leaned hard into the baking method for this **quick chicken parmesan**. It delivers everything you want—the crunch, the cheese pull, the flavor—without the grease and fuss. You’re going to save this recipe, trust me.
- It comes together in under 40 minutes total! That makes it a perfect choice for any **family friendly pasta night**.
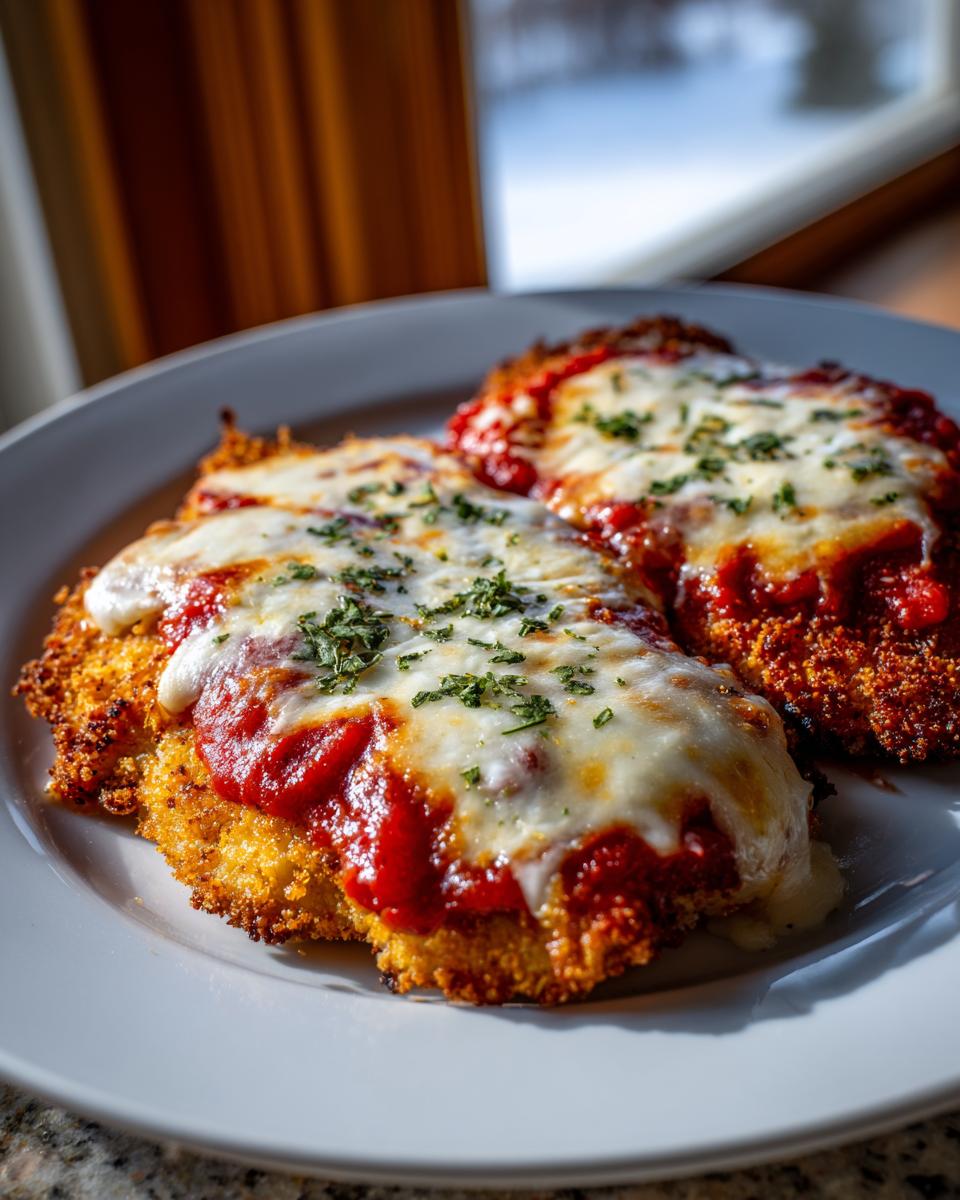
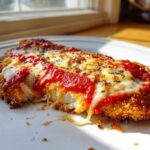
- The result is a genuinely **crispy breaded chicken breast** that manages to stay perfect even under the mozzarella blanket.
Fast Prep for a Family Friendly Pasta Night
Honestly, the prep takes maybe 15 minutes, which is insane for something that tastes this good. You’re setting up three simple dishes, coating the chicken, and then letting the oven do the heavy lifting. It truly is an **Easy chicken dinner idea** you can rely on when the takeout menu starts looking tempting.
Restaurant Quality Cheesy Chicken Cutlets Made Simple
When I say restaurant quality, I mean it! The trick here is using Panko breadcrumbs and making sure you drizzle that olive oil right onto the breading before it goes in. Baking them first allows the crust to set up beautifully, making these **cheesy chicken cutlets** satisfyingly crispy, not soggy.
Gathering Ingredients for Easy Chicken Parmesan
Okay, so for this killer **easy chicken parmesan**, you don’t need a trip to specialty stores. I made sure every single thing here is something you can grab on your regular grocery run. Remember, we’re keeping it simple but making sure we nail the texture and flavor. Don’t eyeball these measurements, though—precision matters when we’re baking instead of frying!
- 4 boneless, skinless chicken breasts, pounded to 1/2 inch thickness
- 1 cup all-purpose flour
- 2 large eggs, beaten
- 1 1/2 cups panko breadcrumbs
- 1/2 cup grated Parmesan cheese, plus more for topping
- 1 teaspoon garlic powder
- 1/2 teaspoon dried oregano
- 1/4 teaspoon salt
- 1/4 teaspoon black pepper
- 1 cup marinara sauce (your favorite jarred sauce works well)
- 8 ounces fresh mozzarella cheese, sliced
- 2 tablespoons olive oil
Essential Ingredient Notes and Substitutions
Listen to me: the crunch factor comes entirely from the Panko breadcrumbs. Do not substitute those with plain old dry breadcrumbs, okay? Panko is lighter and crispier, which is exactly what we need when we aren’t doing the deep-fry thing. Also, the marinara sauce is the heart of the flavor here, so use a high-quality jarred sauce that you actually like the taste of. If you taste-test it and think, ‘Yeah, this is good,’ then your final dish will be amazing.
Another little secret I use sometimes because my boys are picky about chicken breast? This whole process works beautifully with thin-sliced turkey cutlets, too! Just use them in place of the chicken, and you’re good to go. The flavor changes slightly, but the crispy coating holds up perfectly.
Setting Up Your Breading Station for Perfect Easy Chicken Parmesan
This is where the magic starts for getting that unbelievable crust without soaking the chicken in oil! When you’re aiming for a truly satisfying crunch in your **easy chicken parmesan**, you absolutely have to build a proper breading station. It’s a simple three-step lineup, but doing it right means you get an even, secure coating every single time. Don’t pile everything onto one plate; we need separation so we don’t end up with gummy chicken!
First, you need your flour dish. This is just plain flour, and it’s step one for a reason. The flour is what gives the egg something to grab onto. Shake off any clumpiness, give the cutlets a quick dredge, and then tap off the excess sharply. You don’t want thick layers of flour—that just makes the crust pasty.
Next up is the middle station: the beaten eggs. This acts as the glue. Dip that floured chicken right into the egg mixture. Again, let the extra drip back into the bowl before moving on. We want it coated, not swimming!
Finally, the star of the show: the seasoned Panko. This is where you pack in the flavor. We mixed the Panko with some Parmesan, oregano, salt, and pepper. Press that egg-coated chicken firmly into this mix. Seriously, press it in! This ensures a thick, protective layer. When you pull that beauty out, you’ll see exactly what I mean—it’s ready for the oven!
The Step-by-Step Guide to Baked Chicken Parm Recipe Success
Okay, we have our perfectly coated cutlets, and now it’s time to pull out the big guns: the oven! Since we ditched the deep fryer, we get to enjoy this flavor powerhouse without all the mess, which is a win in my book. But listen closely, because timing is everything here to ensure we get that golden crust and safe cooking temperatures. You absolutely have to preheat that oven to 400 degrees Fahrenheit before anything touches a pan. It makes a huge difference!
I always slightly grease my baking sheet or, even better, line it with parchment paper. This makes cleanup practically nonexistent, and honestly, when you’re trying to get out a **baked chicken parm recipe** on a Tuesday night, we take all the shortcuts we can find that don’t sacrifice quality!
Achieving Crispy Breaded Chicken Breast Before Topping
This first bake is crucial for getting that **crispy breaded chicken breast** texture we love. You’ll lay those breaded beauties out on the prepared sheet and then grab your olive oil and drizzle it lightly over the top of everything. I mean light—we aren’t frying it! For next-level crispiness, sometimes I cheat and use cooking spray right over the tops too, just to seal that crust before it sets.
Pop them into that hot oven for exactly 15 minutes. Don’t rush it! This time cooks the chicken most of the way through, firming up that crust before we introduce the sauce and cheese. When 15 minutes is up, pull the pan out carefully. We’re halfway to heaven!
Melting the Mozzarella for the Ultimate Cheesy Finish
This is the Italian part! Spoon just a ladle-full—about a quarter cup—of your favorite marinara sauce right over the center of each cutlet. You don’t want to drown it, just coat the top nicely. Then, lay on those slices of fresh mozzarella. I always finish this with a generous little shower of extra grated Parmesan cheese for that salty, nutty bite on top.
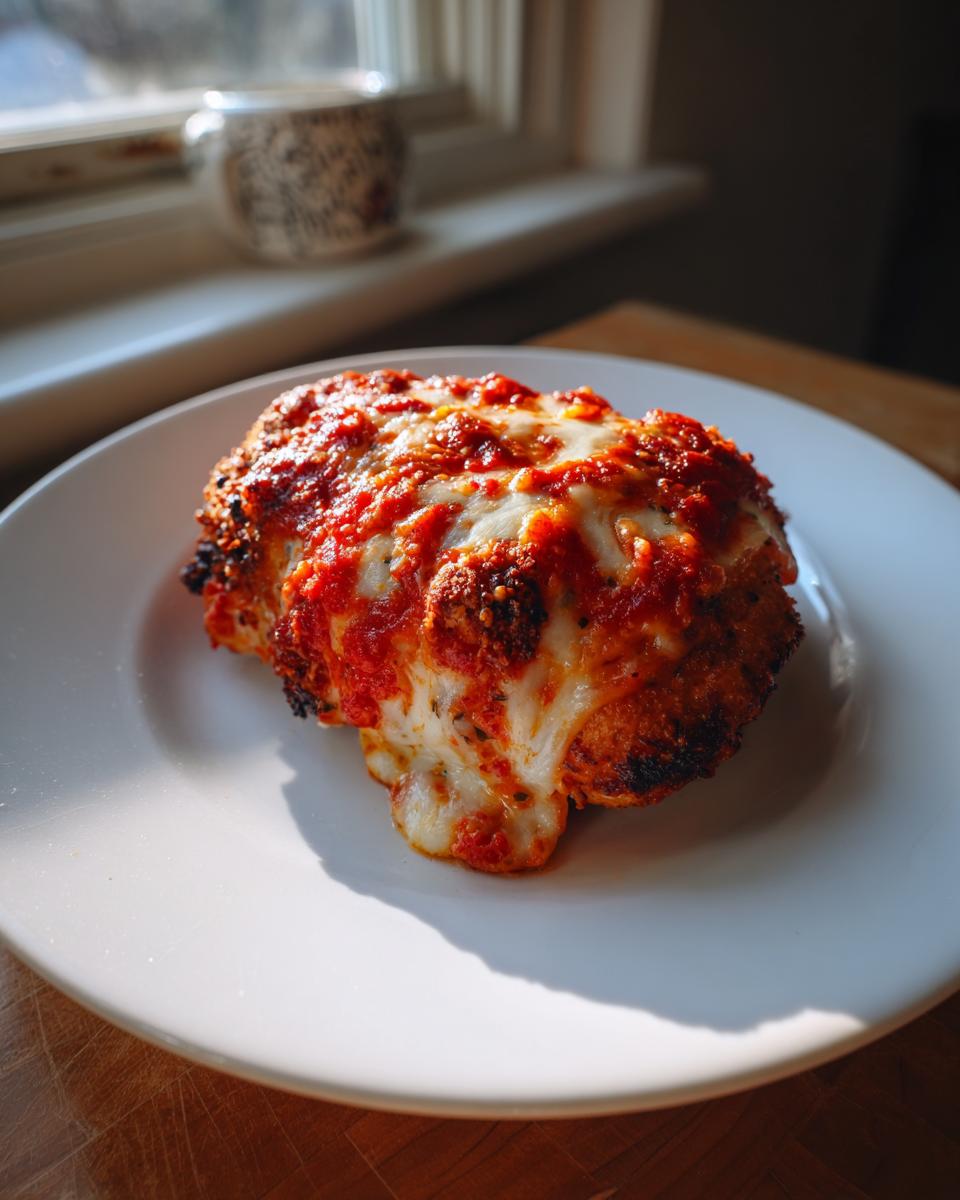
Back into the 400-degree oven they go! This second round only takes about 5 to 8 minutes. You’re watching for two things: the cheese on top is completely melted, bubbly, and showing a few tiny golden-brown spots. More importantly, if you have a meat thermometer, you need to make sure the chicken hit that safe 165 degrees Fahrenheit internally. Serve this immediately, piled high over spaghetti, and you’ve done it!
Tips for Making Italian Comfort Food at Home Truly Memorable
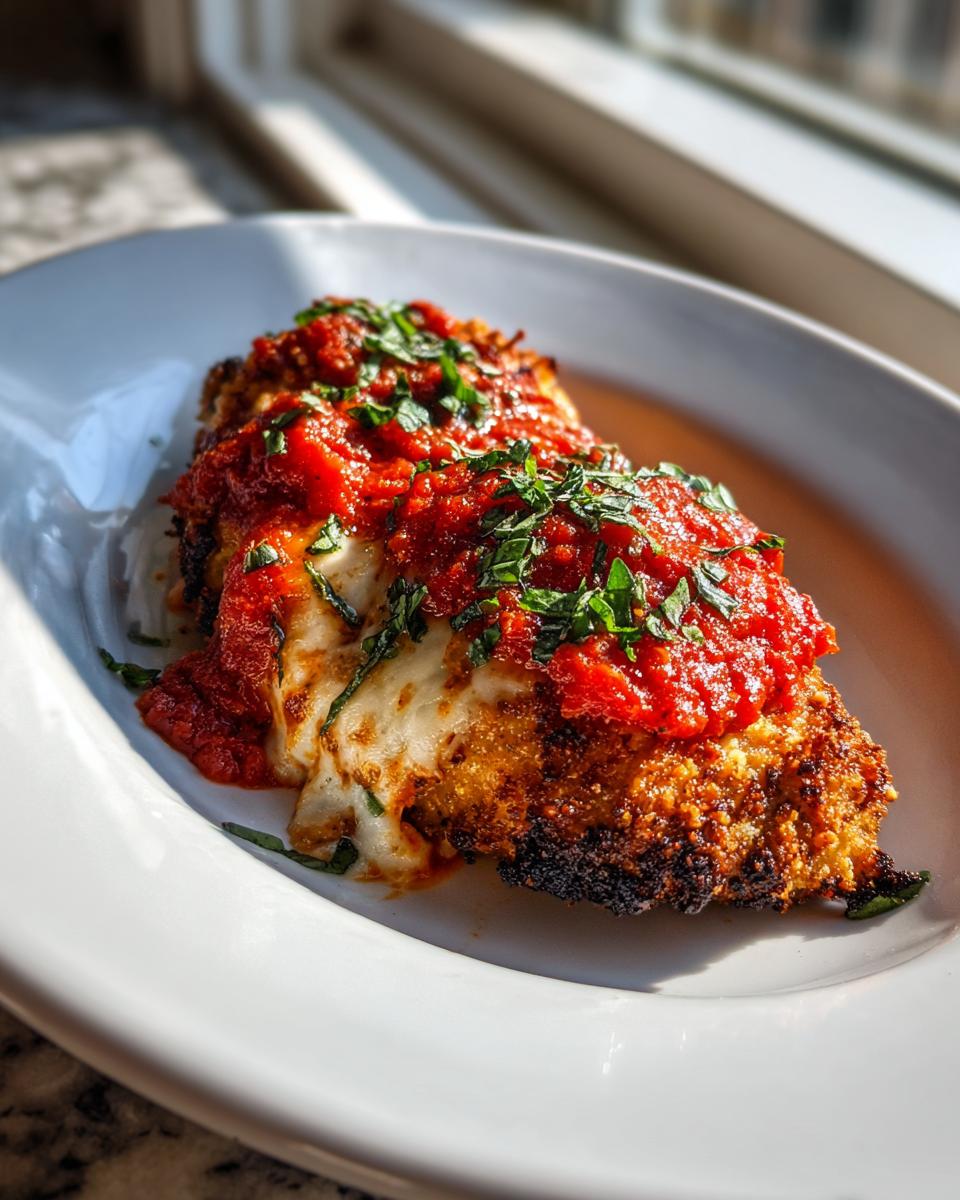
I know the recipe gives you all the steps, but since this is all about taking those weeknight dinners and making them feel special—like real, quality **Italian comfort food at home**—I want to share a few things I learned from trial and major error. These little tweaks are what separate a good chicken parm from one that makes everyone go, “Wow, where did you eat out last night?”
First up: Pounding the chicken. Seriously, don’t skip this. If you try to bread a thick chicken breast, the ends will burn while the center is still raw, or vice versa. Get yourself a meat mallet or even a heavy rolling pin wrapped in plastic wrap. Lay that chicken breast between two sheets of plastic wrap and gently, but firmly, pound it out until it’s an even half-inch thick all the way across. Even thickness means even cooking, and that directly leads to that perfect internal temperature and crisp crust we talked about.
My biggest non-negotiable secret for flavor, though? That marinara sauce. I said use your favorite jarred sauce, and I meant it. If you’re in a hurry, don’t waste time making a full sauce, but please, for the love of Italian grandmothers everywhere, make sure the sauce you buy is actually good! Taste it plain before you start. If it tastes bland or too acidic straight from the jar, it’s only going to taste worse when baked under cheese. Spend an extra dollar or two on a brand with better tomatoes; you will taste the difference immediately in this **easy chicken parmesan**.
Another small thing that helps seal the deal? Don’t let your cutlets sit around after you bread them. If they linger on the counter while you finish the last few, that egg glue starts getting gummy. You want to bread them and get them straight onto the oiled baking sheet. Remember, speed and care in the breading steps pay off hugely when you bite into that final cheesy cutlet!
Storage and Reheating Instructions for Leftover Easy Chicken Parmesan
Okay, let’s talk about the absolute best part of making an **easy chicken parmesan**: having leftovers! While this dish is definitely best enjoyed fresh out of the oven, I always make sure I have a couple of pieces hiding in the fridge for lunch the next day. But here’s the tricky part: that beautiful crust we worked so hard to achieve can get soggy if you just toss it all into one container.
When you’re packing leftovers, try your best to keep the components separate. Never store the chicken right on top of the pasta, especially if you had any extra sauce clinging to the noodles. If you can, put the sauced and cheesed chicken cutlets in a separate airtight container from the leftover pasta. This one small step makes reheating a million times better.
The Best Way to Reheat for Maximum Crisp
Now, listen to me very carefully: you absolutely cannot reheat this in the microwave. I know it’s fast, but microwaving this beautiful **crispy breaded chicken breast** will turn it into sad, steamed rubber. We need heat that circulates and dries out the breading quickly to bring that crunch back.
Your best tool for leftovers is a toaster oven or a standard oven. Preheat it to about 350 degrees Fahrenheit. Lay the cutlets directly on a wire rack set over a baking sheet—this lets air circulate all around the chicken, which is key! Bake them for about 10 to 12 minutes. They heat through perfectly, and that crust firms right back up. It’s totally satisfying!
Using the Air Fryer for Quick Reheating
If you have an air fryer, you’ve hit the big time with leftovers! The air fryer is frankly the champion of bringing back that golden crunch. Set your machine to 375 degrees Fahrenheit. Place the cutlets in a single layer—don’t crowd the basket, or they steam! Heat them for about 5 to 7 minutes. Check them around the 5-minute mark, because air fryers cook fast! They come out almost as good as fresh, and you’re still moving faster than waiting for water to boil!
Frequently Asked Questions About This Quick Chicken Parmesan
Since I hear from so many of you in the comments, I thought I’d gather the questions I get most often about making this **quick chicken parmesan** work for busy lives. These are the real-world hurdles people face, and I want you to feel totally confident tackling this **easy chicken dinner idea**. Need to review our site rules? You can always check out the Terms of Use!
Can I make the chicken ahead of time?
Yes, you absolutely can prep ahead, but you have to be smart about it! I recommend setting up your breading station and coating all the chicken cutlets exactly as described in the steps. Then, instead of baking them, just place the coated cutlets on a baking sheet lined with parchment paper, cover them tightly, and stick them in the fridge for up to 24 hours. When you’re ready to eat, drizzle with oil and bake as written! This makes getting a gorgeous **family friendly pasta night** on the table practically instant.
Can I use chicken thighs instead of breasts?
You definitely can substitute chicken thighs for the breasts if that’s what you prefer! Thigh meat stays super moist, which is great. The main thing? Chicken thighs are usually thicker and have more variance in shape than breasts. You’ll want to trim off any excess fat, and I’d recommend pounding them a little thinner and maybe adding an extra 3 to 5 minutes to that initial baking time, just to be safe. You still need to hit that 165-degree internal temperature, so always check!
What wine pairs well with this dish?
I love pairing this rich, tomato-based dish with Italian reds, but nothing too heavy that overpowers the chicken. A medium-bodied Chianti is the classic, safe bet—it has that lovely acidity to cut through the richness of the mozzarella and Parmesan. If you prefer white wine, go for a crisp, dry white like a Pinot Grigio. It’s refreshing against the tomato sauce! It really elevates the entire **Italian comfort food at home** experience!
What is the best way to get perfectly melted cheese?
You want that beautiful blanket of melted cheese without burning the panko underneath, right? The trick I use, and this is linked to the two-step baking process, is waiting until the chicken is almost done cooking before adding the sauce and the mozzarella slices. The initial 15-minute bake sets the crust. Then, when you add the toppings, the residual heat from the already-cooked chicken, combined with that final 5-to-8 minute blast, melts the cheese perfectly without giving you any bitter, burned bits. Make sure you’re using fresh mozzarella slices if you can get them; they melt much better!
Estimated Nutritional Breakdown for Easy Chicken Parmesan
I always get asked about the numbers, and while I truly believe we should focus on the joy of the meal over the macros, it’s smart to know what you’re working with, especially when serving family. These numbers are based on our standard recipe and serving size, but remember, they are just estimates! What brand of mozzarella you use, or whether you use a little extra olive oil, changes things instantly.
For this specific recipe, using our technique to bake the **easy chicken parmesan** instead of frying helps keep the fat down while keeping the protein nice and high. That’s a definite win for a satisfying dinner!
- Serving Size: 1 cutlet
- Calories: 450
- Sugar: 8g
- Sodium: 650mg (Watch this if your marinara is high in salt!)
- Fat: 18g
- Saturated Fat: 8g
- Unsaturated Fat: 10g
- Trans Fat: 0g
- Carbohydrates: 25g
- Fiber: 2g
- Protein: 48g (Look at that protein! Great for a filling meal.)
- Cholesterol: 130mg
Just keep in mind that serving this over a big pile of pasta adds significantly to the carb and calorie count, so balancing that with a nice side salad is always my go-to recommendation. It keeps the meal balanced and keeps that **easy chicken dinner idea** feeling light!
Share Your Easy Chicken Dinner Idea
That’s it! You’ve officially conquered the deep fryer and brought home one of the most satisfying, weeknight-friendly meals possible. I truly hope this **Easy chicken Parmesan** becomes as much of a staple in your house as it is in mine. I absolutely live to hear how these practical recipes work out for you all!
Once you’ve put this whole **easy chicken dinner idea** on the table, please, please come back and let me know how it went. Did the Panko get extra crispy for you? Did the kids devour it? Leave me a star rating right here on the page, and tell me all the details in the comments below. Seriously, seeing your success stories is the fuel that keeps me experimenting in the kitchen!
If you snap a picture while you’re serving it up over pasta—maybe with some garlic bread on the side—tag me on social media! I love seeing your plating and hearing about your family’s favorite pasta choices. If you have any specific questions about adapting the breading or timing, don’t hesitate to reach out directly through our Contact Page. Happy cooking, friends!
PrintEasy Baked Chicken Parmesan
Make restaurant-quality chicken parmesan at home with this simple baked recipe. You get crispy, cheesy cutlets without the fuss of deep frying.
- Prep Time: 15 min
- Cook Time: 23 min
- Total Time: 38 min
- Yield: 4 servings 1x
- Category: Dinner
- Method: Baking
- Cuisine: Italian
- Diet: Vegetarian
Ingredients
- 4 boneless, skinless chicken breasts, pounded to 1/2 inch thickness
- 1 cup all-purpose flour
- 2 large eggs, beaten
- 1 1/2 cups panko breadcrumbs
- 1/2 cup grated Parmesan cheese, plus more for topping
- 1 teaspoon garlic powder
- 1/2 teaspoon dried oregano
- 1/4 teaspoon salt
- 1/4 teaspoon black pepper
- 1 cup marinara sauce (your favorite jarred sauce works well)
- 8 ounces fresh mozzarella cheese, sliced
- 2 tablespoons olive oil
Instructions
- Preheat your oven to 400 degrees Fahrenheit. Lightly grease a baking sheet or line it with parchment paper.
- Set up a standard breading station with three shallow dishes. Place the flour in the first dish. Whisk the eggs in the second dish. In the third dish, combine the panko breadcrumbs, 1/2 cup Parmesan cheese, garlic powder, oregano, salt, and pepper.
- Dredge each chicken cutlet first in the flour, shaking off any excess. Dip the floured cutlet into the egg mixture, letting excess drip off. Finally, press the cutlet firmly into the breadcrumb mixture to coat both sides completely.
- Place the breaded cutlets on the prepared baking sheet. Drizzle the tops lightly with olive oil.
- Bake for 15 minutes.
- Remove the pan from the oven. Spoon about 1/4 cup of marinara sauce over the top of each cutlet. Top each with slices of mozzarella cheese and a sprinkle of extra Parmesan cheese.
- Return the chicken to the oven and bake for another 5 to 8 minutes, or until the cheese is melted, bubbly, and lightly golden, and the chicken reaches an internal temperature of 165 degrees Fahrenheit.
- Serve immediately over your favorite pasta for a complete family friendly pasta night.
Notes
- For extra crispy chicken cutlets, you can lightly spray the tops of the breaded chicken with cooking spray before the first bake.
- Use high-quality marinara sauce; this makes a big difference in the final flavor.
- This recipe works well with thin-sliced turkey cutlets if you want a variation.
Nutrition
- Serving Size: 1 cutlet
- Calories: 450
- Sugar: 8
- Sodium: 650
- Fat: 18
- Saturated Fat: 8
- Unsaturated Fat: 10
- Trans Fat: 0
- Carbohydrates: 25
- Fiber: 2
- Protein: 48
- Cholesterol: 130