
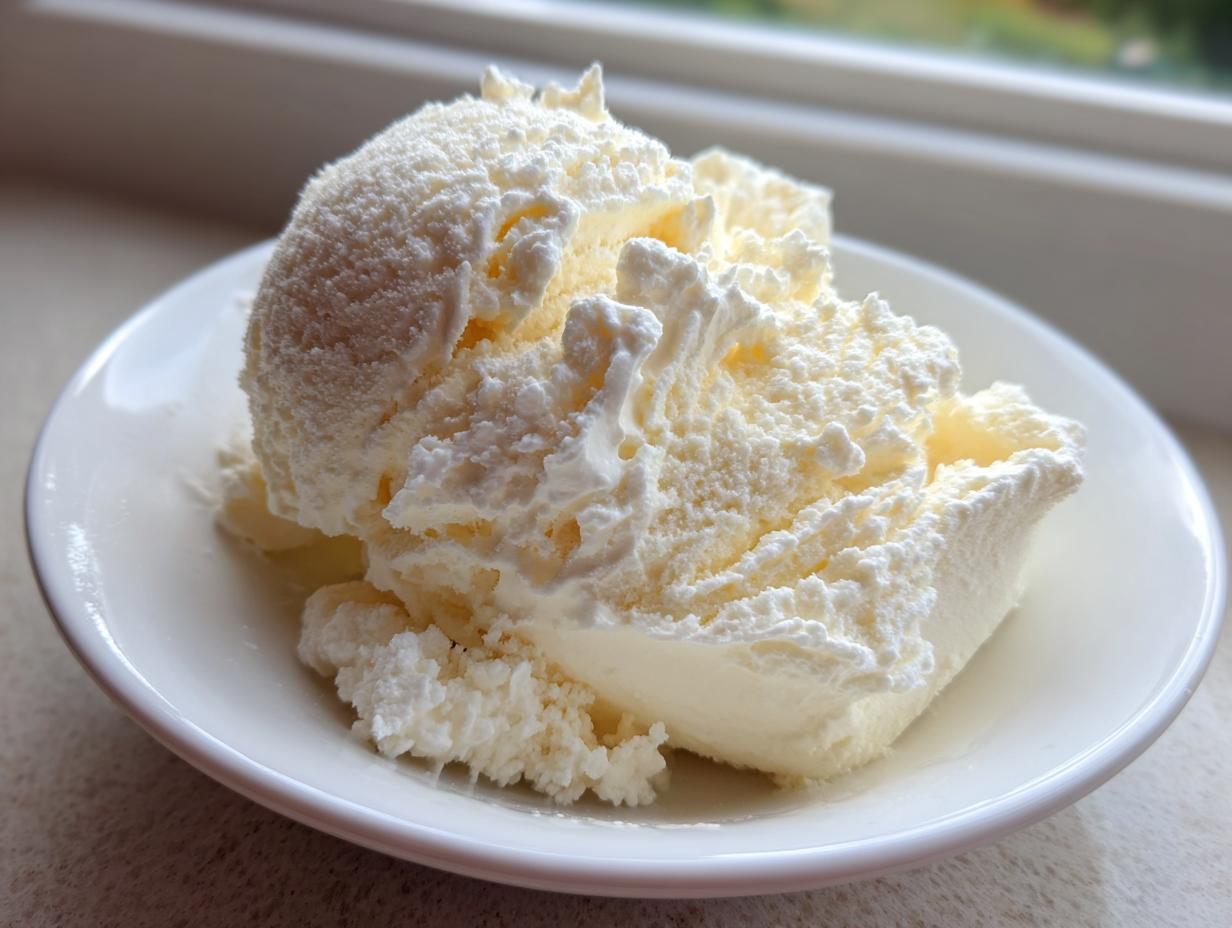
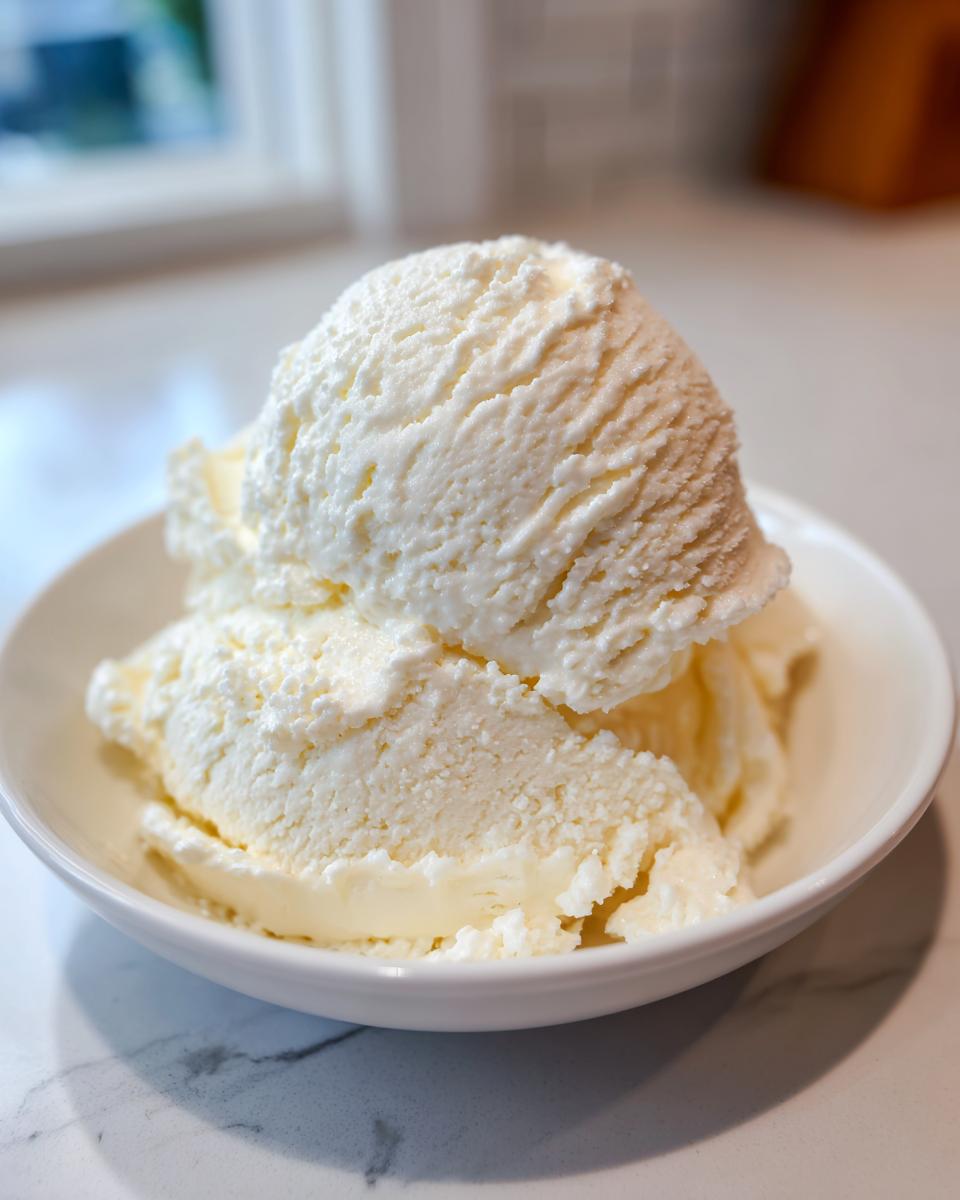
When the sweet craving hits, I feel like I’m facing the same dilemma my mother always did: satisfy the need right now, or derail all my hard work during the week? If you’re like me, you want a real solution, not some chalky, weird-textured compromise. That’s why I’m thrilled to show you this incredible protein ice cream you can whip up in about five minutes with virtually no actual cooking—just blending! Seriously, this cottage cheese ice cream is a game-changer. It uses just four simple ingredients you probably have on hand. It’s the ultimate high protein dessert, clocking in at about 20 grams of protein per serving, and it’s shockingly creamy. Trust me, this little healthy ice cream hack is about to become your go-to treat.
- Why This 4-Ingredient protein ice cream is a Viral Protein Treat (EEAT)
- Gathering Ingredients for Your Creamy protein ice cream
- The Blender Ice Cream Method: Making Perfect protein ice cream
- Expert Tips for the Creamiest cottage cheese ice cream
- Flavor Variations for Your protein ice cream
- Storage and Reheating Instructions for Leftover protein ice cream
- Frequently Asked Questions About This Healthy Ice Cream Hack
- Nutritional Estimates for This Low Sugar Ice Cream
- Share Your Experience Making This Viral Protein Treat
Why This 4-Ingredient protein ice cream is a Viral Protein Treat (EEAT)
Honestly, I’ve tried so many supposedly ‘healthy’ frozen desserts, and they always end up tasting like flavored ice or cardboard. The reason this one went totally viral protein treat status in my feed—and now yours—is pure accessibility. We are using four straightforward ingredients. That’s it! No complicated chilling times or weird additives usually found in these recipes.
When Jess developed this, it was about solving the real-world problem of wanting something decadent but needing the protein to keep up with a busy day. This quick healthy ice cream hack proves you don’t need hours of effort to get that satisfying, high-protein fix. It works because the blender smooths the cottage cheese completely—it’s the secret weapon!
It’s powerful because it’s simple and effective. If you want to know more about our philosophy on making life easier in the kitchen, check out our About Page!
Gathering Ingredients for Your Creamy protein ice cream
The best part about moving toward a quick, high-protein dessert is how little you actually have to shop for! With only four core items, this is the easiest ingredient gathering you’ll do all week. We aren’t hoarding exotic items; we are using stuff you can find at whatever grocery store you run into between soccer practice and your weekly meeting.
Core Components for the protein ice cream Base
These are the must-haves. Don’t skip these, or you won’t get that perfect cottage cheese ice cream base we are aiming for. Trust me on the quality here!
- One cup of low-fat cottage cheese (this provides the bulk and protein structure).
- About a quarter cup of whatever milk you keep stocked—dairy or non-dairy works fine.
- A tiny splash of vanilla extract—you only need a teaspoon, but it boosts the flavor immensely.
- Two tablespoons of your preferred sweetener. I usually lean toward stevia or monk fruit because they keep the sugar count down, which is important for a low sugar ice cream!
Optional Add-ins for Flavor and Texture
Now for the fun customization part! If you want to push that protein number even higher, toss in one optional scoop of your favorite plain or vanilla protein powder. Just know that adding powder can make the final texture a bit firmer when it freezes—we fix that later!
If you’re aiming for a fruit flavor, use about half a cup of frozen berries or mango. And for those days when you need chocolate, 1 tablespoon of cocoa powder is magic in this base.
The Blender Ice Cream Method: Making Perfect protein ice cream
This is where the magic happens, and honestly, it’s the best part of using a high-speed blender for this whole process. Forget churning or waiting hours for ice crystals to break down—this is pure speed and power creating our blender ice cream. The technique here is everything; if you don’t blend it long enough, you end up with gritty sweet cheese instead of dessert!
Blending for Smoothness
First, get all your core ingredients—cottage cheese, milk, vanilla, and sweetener—right into the blender jar. Don’t be shy; use the pulse setting a few times to get things moving, and then crank it up to high. You’re going to need to stop it down once or twice to scrape the sides. I mean it, scrape those sides! Lumps of cottage cheese clinging to the wall are the enemy of creamy ice cream.
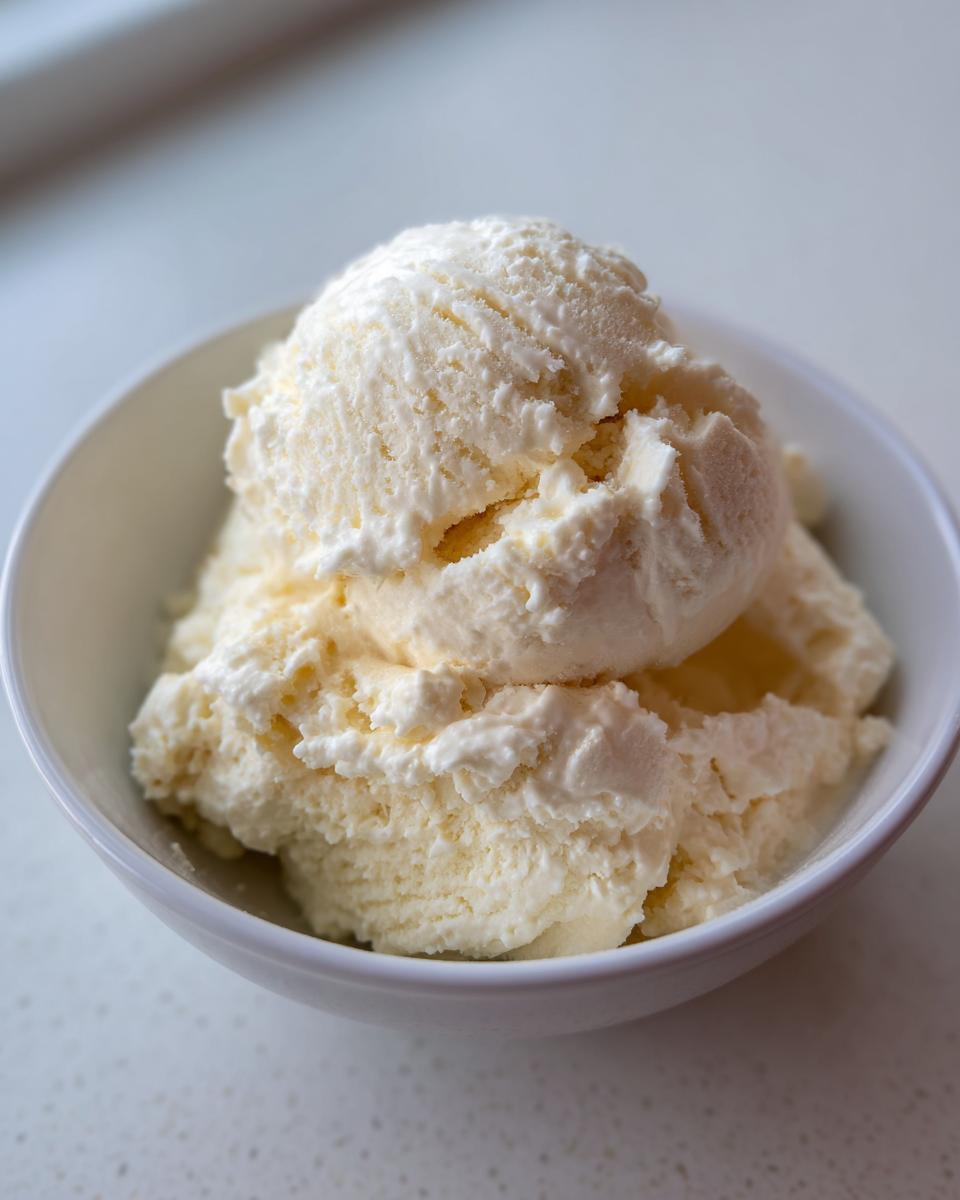
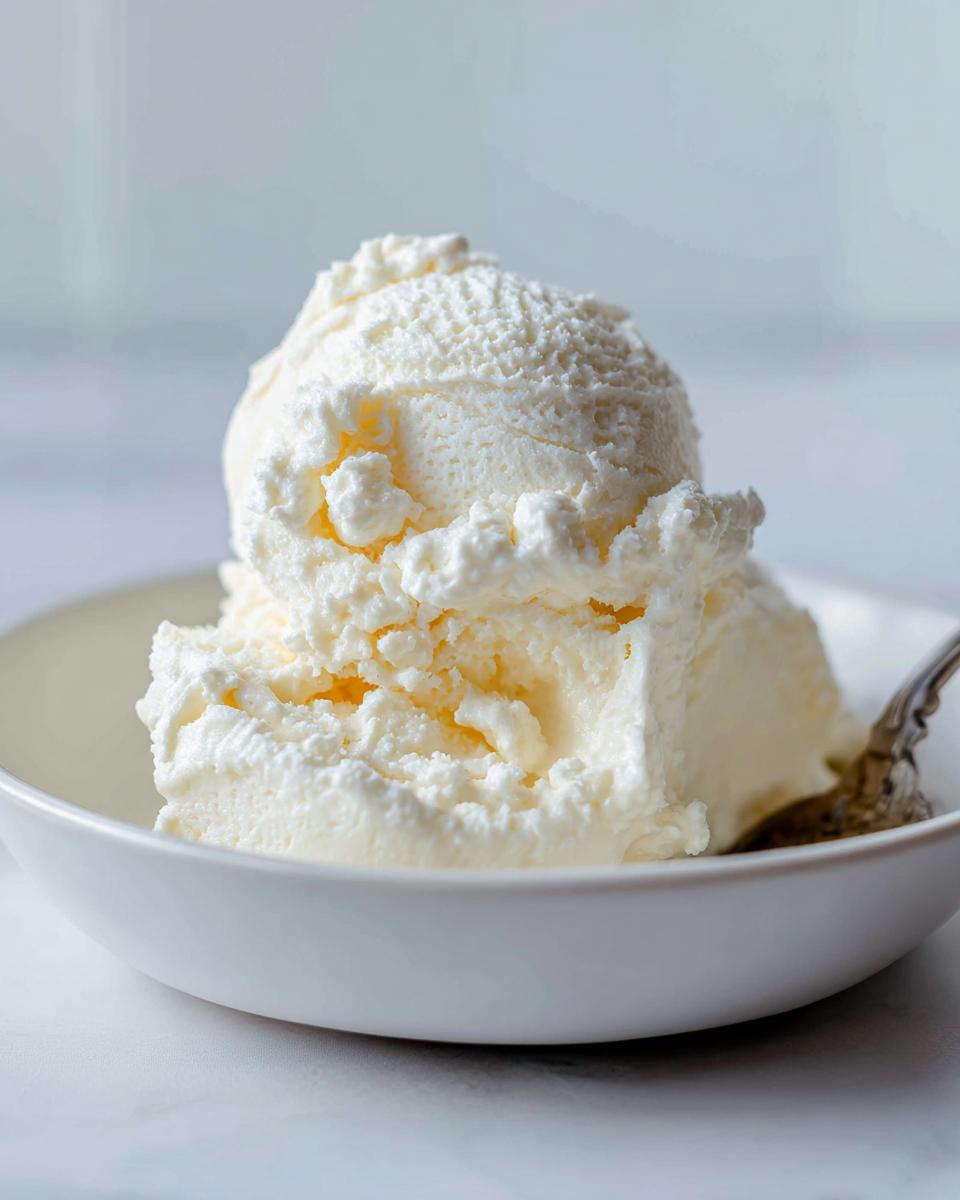
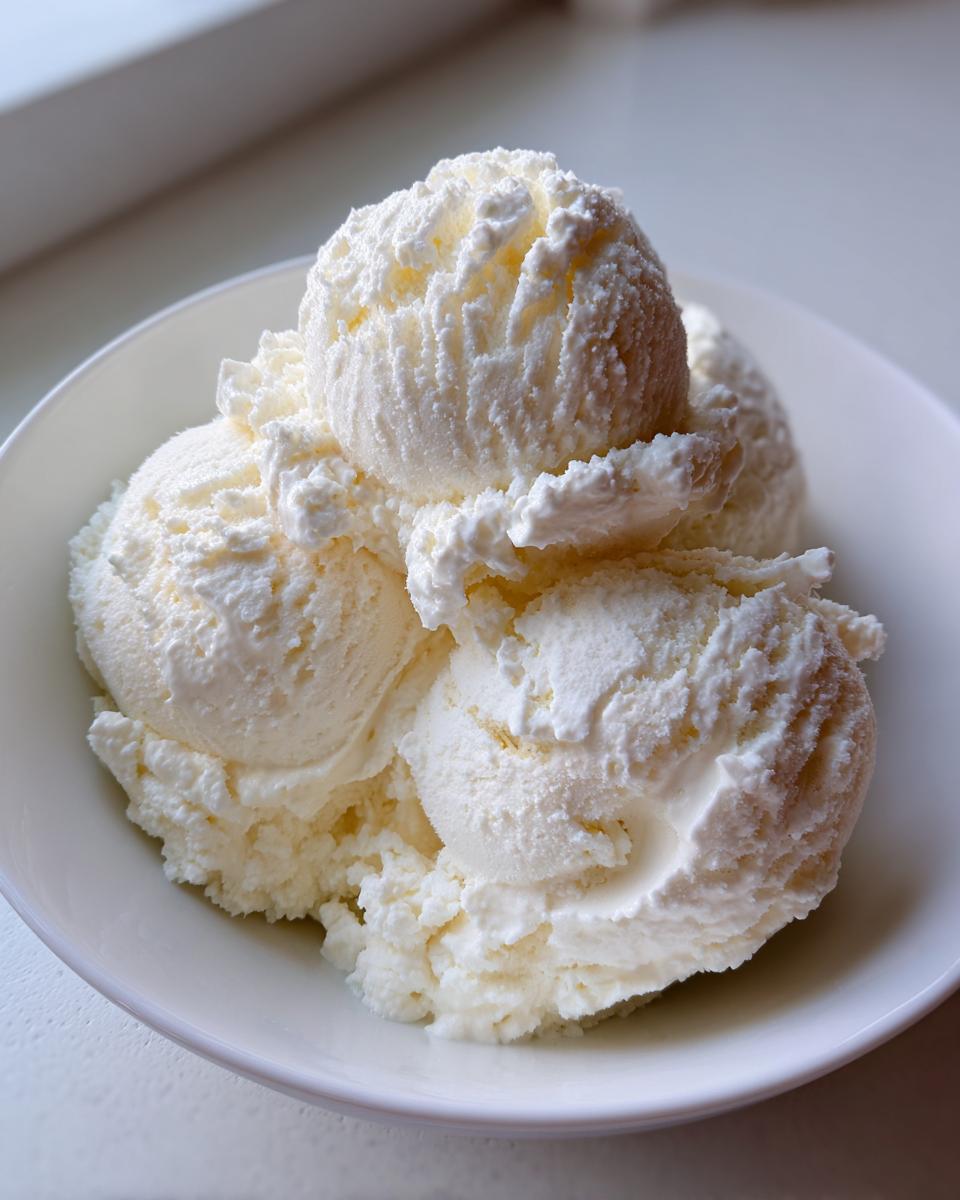
Keep blending until the mixture looks totally uniform, silky, and you can’t see any little bits floating around. This usually takes a good minute or two depending on your machine. The goal before it hits the freezer is something like a super-thick smoothie texture.
Freezing and Serving Your High Protein Dessert
Once it’s perfectly smooth, pour that beautiful base into a freezer-safe dish—I like shallow glass containers because they chill faster. Pop it in the freezer. You need at least four hours for this to firm up properly into a scoopable high protein dessert.
Here’s the big frustration point for everyone: it often freezes rock solid! Don’t panic if you pull it out and you can’t get a spoon in. Just take it out five to ten minutes early and let it soften on the counter. That resting time is the ticket to perfect scooping!
Expert Tips for the Creamiest cottage cheese ice cream
Look, anyone can dump things in a blender, but getting that velvety, rich texture—that’s expertise! When I first started experimenting with this cottage cheese ice cream, my first batch was just… fine. It was frozen, it had protein, but it wasn’t *magical*. I almost gave up until I realized the fat content was the issue.
If your diet allows it, go for the full-fat cottage cheese base. It makes a huge difference in mouthfeel! If you are sticking strictly to low-fat, here is my secret weapon: a pinch of xanthan gum. Seriously, just a quarter teaspoon blended in with your liquids before you even think about freezing. It’s the stabilizing magic that stops it from getting icy.
I remember one time I forgot the gum, and the texture was terrible. I almost threw the whole thing out, but I added the gum, re-blended, and suddenly I was back to the incredible, smooth protein ice cream consistency I know and love. It’s about those little science tricks!
Flavor Variations for Your protein ice cream
Since the base recipe for this protein ice cream is so incredibly simple, it begs you to start experimenting! That’s how you keep a good thing from getting boring, right? I don’t want you to have to buy new specialty ingredients every week just to enjoy a high protein dessert. Mostly, we’re just tweaking the extracts and additions we talked about earlier.
Once you nail that perfect smooth texture, you can branch out! Imagine making Mint Chocolate Chip—just switch the vanilla extract for peppermint extract and toss in some sugar-free chocolate chips right before you freeze it. Or how about a Peanut Butter swirl? You can mix a tablespoon of creamy peanut butter right in with the liquids for a richer flavor profile.
Creating a Low Sugar Ice Cream Chocolate Version
My absolute favorite way to switch this up is going deep on chocolate. Who doesn’t love chocolate ice cream, especially when it’s actually good for you? To make the best low-sugar option, you are going to add one heaping tablespoon of unsweetened cocoa powder when you add your cottage cheese and milk.
Now, here’s a practical tip: dark cocoa powder can naturally make the mixture taste a little more bitter. Since we are aiming for a true low sugar ice cream experience, you might need to bump up your sweetener—that’s why I always suggest using a little extra stevia or monk fruit when going chocolate. Taste the mix before it freezes! You want it slightly sweeter than you think because the cold temperature dulls the sweetness perception. Trust me on this adjustment; it prevents a bland chocolate batch later on.
Storage and Reheating Instructions for Leftover protein ice cream
So, you made a batch of this amazing protein ice cream and miraculously you didn’t eat it all in one sitting? That’s dedication! Storing leftovers properly is key because unlike store-bought stuff, homemade ice cream—especially with that high protein content—can get icy if it’s exposed to air.
When you put the leftovers into the freezer, you need to be aggressive about keeping the air out. Use a sturdy, freezer-safe container—you know, the kind with a good tight seal. But here’s the real hack that saves your texture: don’t just put the lid on! Take a piece of plastic wrap and press it directly onto the surface of the ice cream before you seal the lid on the container.
This prevents those annoying ice crystals from forming right on top, keeping your next scoop looking just as smooth as the first batch of cottage cheese ice cream. It holds up really well for about a week. Now, the tricky part of any great homemade high protein dessert is the thaw time. It’s going to get pretty hard after a night in the deep freeze, even with the plastic wrap shield.
Don’t bust out the power tools! Just pull the container out of the freezer and let it sit on the counter. Five to ten minutes is usually the sweet spot. Give it a gentle poke with a spoon—when it offers just a little resistance but isn’t icy, that’s when you know it’s ready to scoop perfectly. Quick tip: if you’re worried about it melting too fast, only take out the amount you plan to eat right away.
Frequently Asked Questions About This Healthy Ice Cream Hack
When you’re trying out a new favorite, like this easy healthy ice cream hack, you almost always have a few questions pop up about tweaking it for your own kitchen. I totally get it! We cook based on what we have and what we need, so here are the top things folks ask me about getting this viral protein treat perfect every time.
Can I use Greek yogurt instead of cottage cheese in this protein ice cream?
You absolutely can try using Greek yogurt, but you have to know you’re changing the dish! Cottage cheese gives us those tiny curds that—once utterly blended—create a unique, dense structure. Greek yogurt is already smoother, so while you’ll still get a great high protein dessert, it will mimic regular soft-serve more closely and might freeze slightly harder. If you use Greek yogurt, you might need a tiny bit more milk, or you might get a texture closer to a thick frozen yogurt rather than this specific cottage cheese ice cream surprise!
How do I make this recipe completely dairy-free?
That’s easy enough to handle! You just need plant-based swaps for the two main dairy items. Use a non-dairy milk like almond or oat milk for your liquid. For the base, you’ll need a firm, plain, unsweetened plant-based yogurt that has a high protein content, or you can look into using silken tofu if you want a very neutral flavor foundation. And, of course, use a good plant-based vanilla or zero-carb protein powder if you are adding that extra boost!
How much protein is truly in one serving of this cottage cheese ice cream?
Based on the core four ingredients—the cottage cheese, milk, and sweetener—you are looking at a fantastic base of about 20 grams of protein per half-cup serving. That’s what makes this such a win for a late-night snack! If you decide to toss in that optional scoop of powder, that number goes up significantly. If you use 20g of powder, you’re easily pushing that serving closer to 30 or even more, depending on the scoop size. It’s fully scalable for whatever your protein goals are for the day!
If you ever have questions about ingredients or usage, please feel free to review our Terms of Use for guidelines on recipe adjustments!
Nutritional Estimates for This Low Sugar Ice Cream
Okay, let’s talk numbers because I know a lot of you are looking at this protein ice cream as a way to keep your week on track. Getting that 20 grams of protein in a frozen dessert is amazing, but you want to know what else you’re taking in, right? I always try to be super transparent about nutrition, even though I’m just a home cook, not a lab technician!
These figures are based on using low-fat cottage cheese and a sugar-free sweetener like monk fruit. Remember, because brands can vary wildly—especially sweetening powders and protein powders—these are just solid estimates to guide you. This batch is definitely designed to be a winner for anyone tracking their macros or trying to keep things light!
- Serving Size: Half a cup
- Calories: Around 150
- Protein: A whopping 20 grams—yes, really!
- Fat: Only about 3 grams
- Carbohydrates: Roughly 10 grams
- Sugar: Kept low, usually around 5 grams from natural sources in the milk/cheese.
This is why I call it a great low sugar ice cream option. You get the satisfaction of a real treat without the sugar crash later. If you swap out low-fat for full-fat cottage cheese, those fat numbers will obviously go up slightly, but I promise the texture payoff is huge if you can swing it!
Share Your Experience Making This Viral Protein Treat
Now that you’ve got your hands on this simple recipe for protein ice cream, I genuinely want to hear all about it! This whole concept of the YumMagnet Recipe Box is built around sharing what works in real kitchens, so your feedback is gold to me. Did you try the chocolate version? Did the peppermint ice cream make your summer?
Don’t be shy! When you make this cottage cheese ice cream, please come back and leave a star rating right here on the page. It helps other busy cooks know this recipe is the real deal and worth blending up after dinner!
I especially love seeing pictures! If you snap a shot of your perfectly scooped, creamy delight—maybe you topped it with a few chopped nuts or a drizzle of sugar-free syrup—share it on social media and tag us. We love connecting with you all and seeing our favorite high protein dessert variations pop up in feeds across the country.
If you ever have a question about the texture or need troubleshooting help, please don’t hesitate to reach out via my Contact Page. I read every note, and I’m always happy to help you troubleshoot your blender ice cream adventure. Happy scooping!
Print4-Ingredient High Protein Cottage Cheese Ice Cream

Make a creamy, high protein dessert using only four simple ingredients in your blender. This recipe delivers about 20 grams of protein per serving.
- Prep Time: 5 min
- Cook Time: 0 min
- Total Time: 4 hr 5 min
- Yield: 2 servings 1x
- Category: Dessert
- Method: Freezing
- Cuisine: American
- Diet: Low Fat
Ingredients
- 1 cup low-fat cottage cheese
- 1/4 cup milk (dairy or non-dairy)
- 1 teaspoon vanilla extract
- 2 tablespoons sweetener (like stevia or monk fruit)
- Optional: 1 scoop protein powder (for extra protein)
- Optional: 1/2 cup frozen fruit (for flavor)
Instructions
- Place the cottage cheese, milk, vanilla extract, and sweetener into a high-speed blender.
- Blend on high until the mixture is completely smooth and creamy. Stop and scrape down the sides as needed.
- If you want a thicker, colder texture, add the optional protein powder and blend again until incorporated.
- Pour the mixture into a freezer-safe container.
- Freeze for at least 4 hours, or until firm enough to scoop.
- If the ice cream is too hard after freezing, let it sit on the counter for 5 to 10 minutes before serving.
Notes
- For the creamiest texture, use full-fat cottage cheese if your diet allows, or add 1/4 teaspoon of xanthan gum before blending.
- If you want a chocolate flavor, add 1 tablespoon of unsweetened cocoa powder with the other ingredients.
- This recipe is a great healthy ice cream hack for satisfying sweet cravings.
Nutrition
- Serving Size: 1/2 cup
- Calories: 150
- Sugar: 5
- Sodium: 350
- Fat: 3
- Saturated Fat: 1
- Unsaturated Fat: 2
- Trans Fat: 0
- Carbohydrates: 10
- Fiber: 0
- Protein: 20
- Cholesterol: 15