
Oh, friends, is there anything better than pure comfort food? When the evening is cold, and you need something warm and deeply satisfying, nothing beats sinking your teeth into a steaming bowl of soup cradled by warm, crusty bread. That’s why I’m absolutely thrilled to share what I consider the ultimate solution for a cozy night in: bakery-style bread bowls made right here at home! I’m Jessica, and years ago, while juggling a busy career and family life, I realized I was missing those slow-cooked meals we all crave. My mission became taking those treasured family techniques and turning them into simple, practical recipes like this one. Trust me, this family dinner recipe delivers that perfect contrast—a wonderfully soft interior protected by a seriously crisp crust. You won’t believe how easy these homemade bread bowls truly are!
- Why This Homemade Bread Bowls Recipe is Your New Comfort Food Staple
- Gathering Ingredients for Perfect Bread Bowls
- How to Make Bread Bowls: Step-by-Step Baking Instructions
- Expert Tips for Perfect Bread Bowls Every Time
- Preparing Your Edible Serving Bowls for Filling
- What to Fill Your Bread Bowls With: Comfort Food Recipes
- Variations on Classic Bread Bowls
- Frequently Asked Questions About Bread Bowls
- Storing Leftover Bread Bowls and Fillings
Why This Homemade Bread Bowls Recipe is Your New Comfort Food Staple
When you’re making bread bowls, you aren’t just making bread; you’re making an edible, sturdy vessel for happiness! My goal here was to create soft bread bowls from scratch that didn’t collapse the second you poured in hot chili or creamy chowder. These are built for dipping, holding their own against the heartiest fillings. Forget those sad, slightly chewy store-bought versions!
Here’s what makes this method the absolute best:
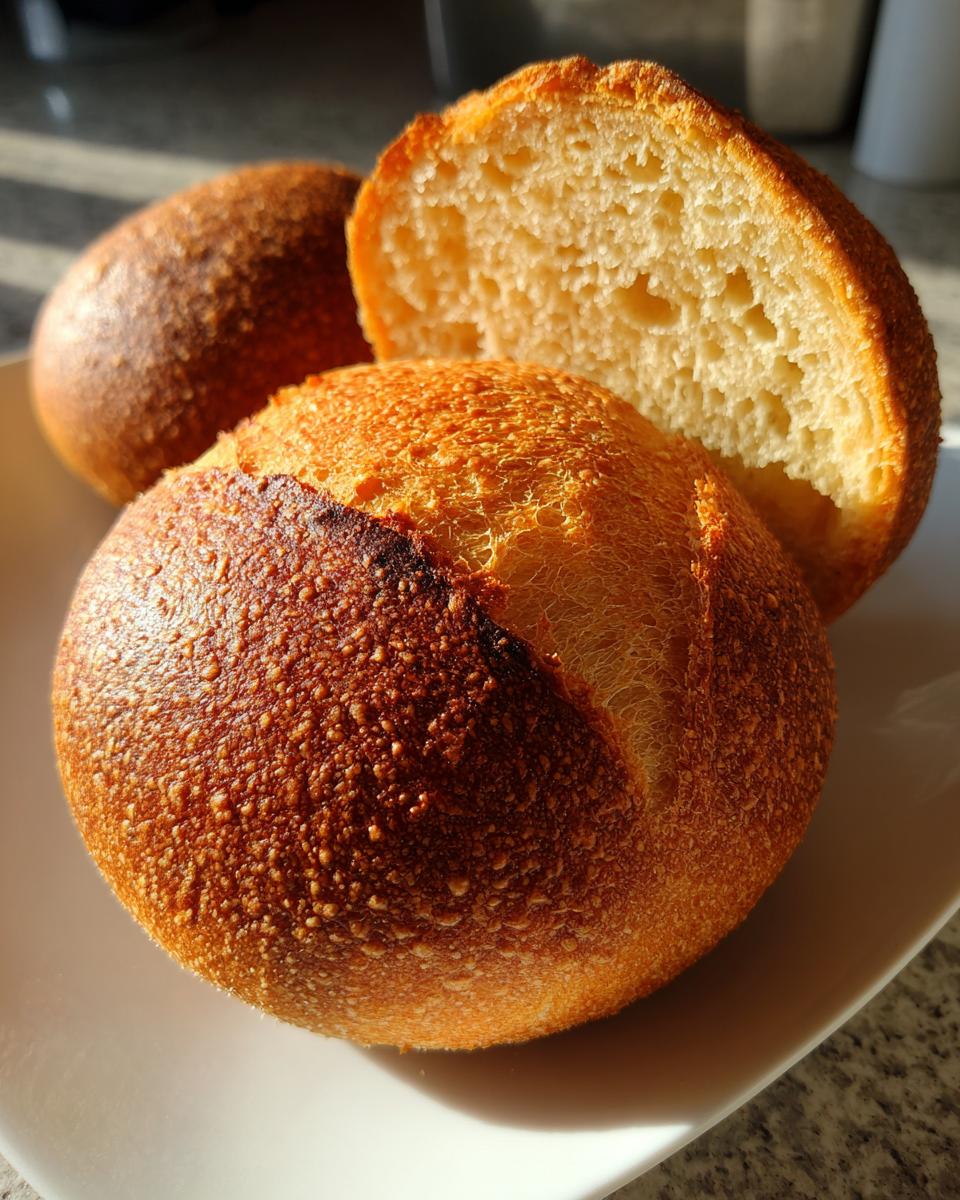
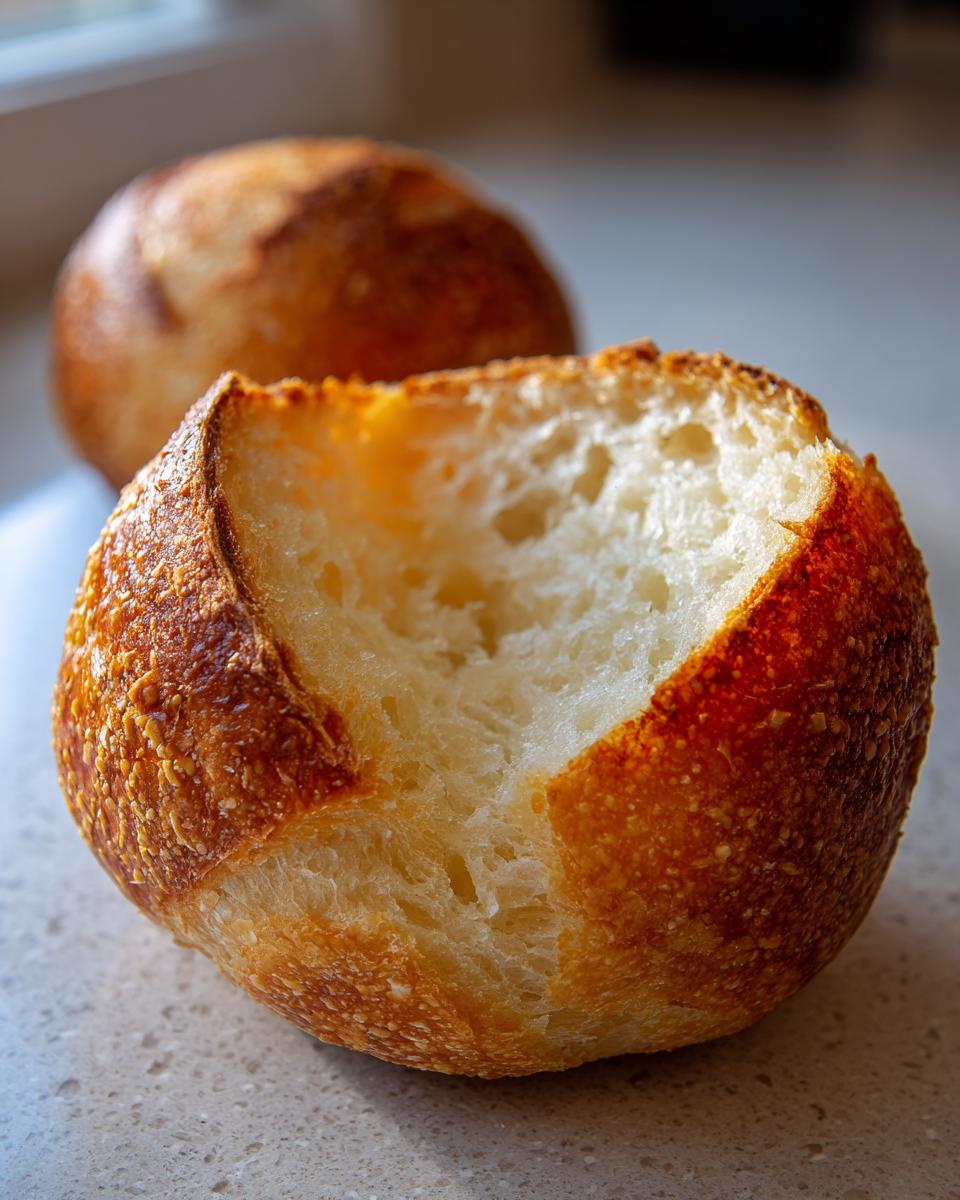
- The Texture Balance: We achieve that dreamy contrast—a golden, crispy bread bowl tutorial finish on the outside with a tender, fluffy inside perfect for tearing off and dunking.
- Sturdiness is Key: By tweaking the hydration slightly, these loaves bake up strong enough to hold a full cup of stew without getting soggy right away.
- Impressive Results, Simple Steps: Honestly, the process is straightforward. It looks like bakery-style bread, but it’s totally beginner-friendly, which is what The YumMagnet is all about!
Once you taste this homemade goodness, you’ll find yourself looking for reasons to make extra batches. If you love this kind of reliable baking, you should check out my instructions for making easy date and nut bread too!
Gathering Ingredients for Perfect Bread Bowls
Making truly amazing bread bowls starts with having everything measured out and ready to go. Think of me standing next to you in the kitchen—I always have my ingredients staged before I even think about turning on the mixer! We aren’t dealing with a million fancy things here; this is basic, honest, comfort-food baking. The temperature of your water for the yeast is super important, so grab a thermometer if you can, or at least make sure it feels nicely warm, not hot! Everything else is pretty standard pantry stuff, making this an incredibly accessible recipe for anyone looking to bake these for the first time.
- 1 packet active dry yeast (about 2 1/4 teaspoons)
- 1 teaspoon granulated sugar
- 1 cup warm water (105°F to 115°F)
- 3 cups all-purpose flour, plus more for dusting
- 1 1/2 teaspoons salt
- 2 tablespoons unsalted butter, melted
- 1 egg white, beaten with 1 teaspoon water (for egg wash)
How to Make Bread Bowls: Step-by-Step Baking Instructions
Alright, buckle up! This is where the magic really happens in baking bread bowls. We are going from simple ingredients to beautiful, round loaves ready to be filled with your favorite soup. Follow these steps closely, especially around the rising times, and I promise you’ll have the best homemade bread bowls recipe ever. Mastering how to make bread bowls is all about controlling those times and temperatures to get that bakery style finish.
Activating Yeast and Mixing the Dough for Your Bread Bowls
First things first, we wake up that yeast! Dissolve your sugar right into the warm water—remember, that 105°F to 115°F sweet spot is crucial for happy yeast. Sprinkle it on top and just let it sit until it gets foamy, usually about 5 or 10 minutes. If it doesn’t foam up, you need to start over, because your yeast is likely dead. Once it’s bubbly, mix your flour and salt in a big bowl, then pour in that activated yeast mixture along with your melted butter. Mix it until it looks messy; we aren’t aiming for perfection yet!
Kneading and Rising the Dough for Soft Bread Bowls from Scratch
Now, turn that shaggy mess onto a lightly floured surface. You’ve got to knead this dough for a solid 6 to 8 minutes until it feels smooth and much less sticky. This kneading develops the gluten, which gives your soft bread bowls from scratch their structure. Pop it into an oiled bowl, cover it up, and let it chill out in a warm spot for a good hour to an hour and a half. That first rise lets the yeast do its heavy lifting, making the dough light and airy enough for a great final texture.
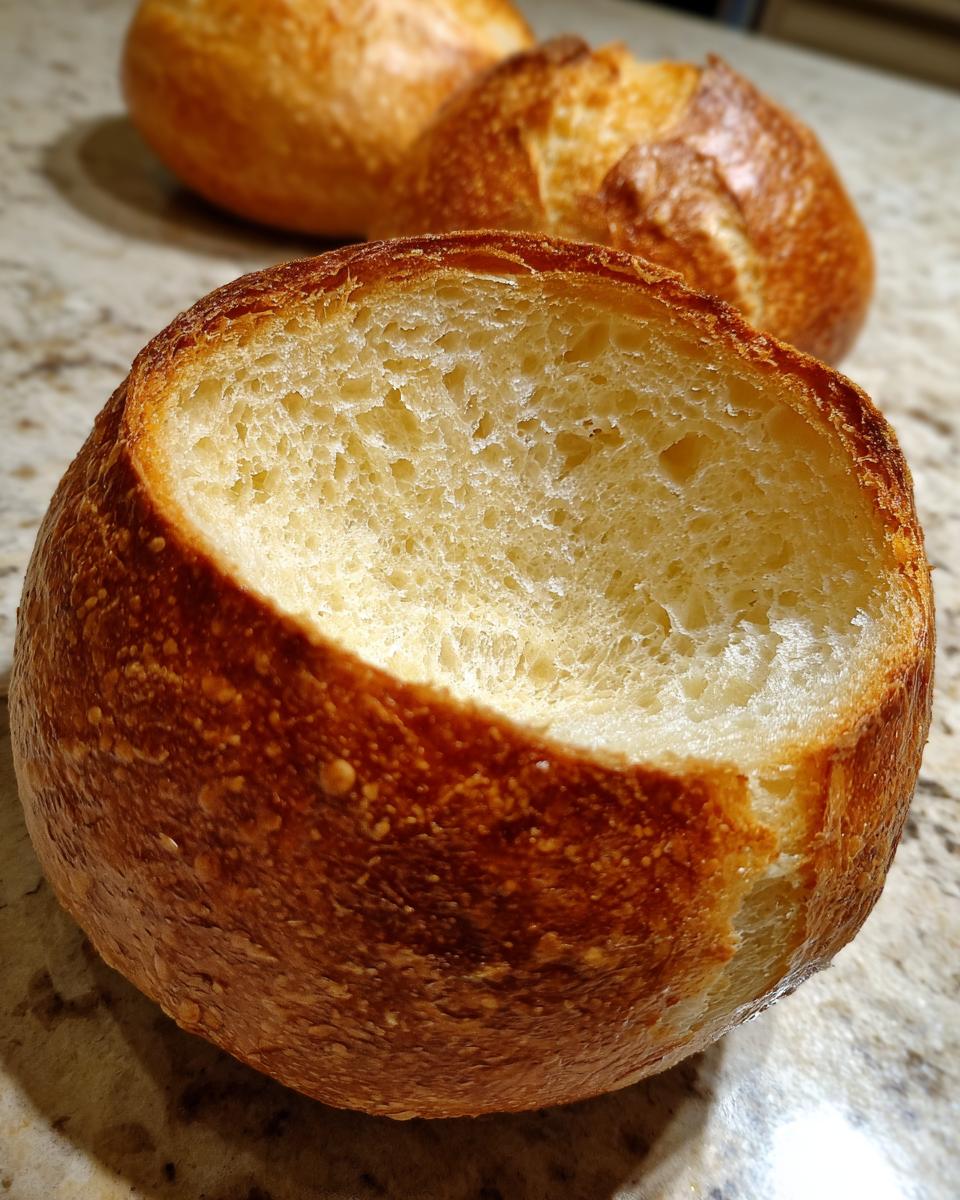
Shaping and Baking Bakery Style Bread Bowls
Once doubled, gently punch the air out—no need to be rough! Divide the dough exactly into four equal pieces and shape each one into a really tight, smooth ball; tight means a good crust later. Let those balls rest for just 30 minutes while your oven blasts up to 400°F (200°C). Right before they go in, brush them with that simple egg wash and, this is important, cut a circle or an ‘X’ on top. This scoring lets the steam escape so your bakery style bread bowls puff up nicely! Bake them for about 20 to 25 minutes until they are deep golden brown.
Expert Tips for Perfect Bread Bowls Every Time
Even though this recipe is incredibly straightforward, I’ve picked up a few tricks over the years to make sure your bread bowls are absolute showstoppers. Remember that flexibility is key when you’re baking for comfort food!
If you know you’re planning on filling these beauties with something super thick, like a hearty beef stew or maybe even my famous chili bread bowl filling, you might want to slightly reduce the water when mixing your dough—just by about one tablespoon. This gives you slightly less hydration, resulting in that extra sturdy structure we love.
And here’s a pro-tip for dealing with wet fillings, like a creamy clam chowder or spinach dip. Before you even pour in the soup, brush the hollowed-out insides with a thin layer of melted butter or even some softened cream cheese. It acts like a little waterproof layer! Also, please, please don’t toss the bread you scoop out! I always save those soft interiors. They are fantastic for making crunchy croutons or dipping straight into whatever amazing soup you just made. You can find my simple recipe for garlic breadsticks if you want another fun way to use up those extras!
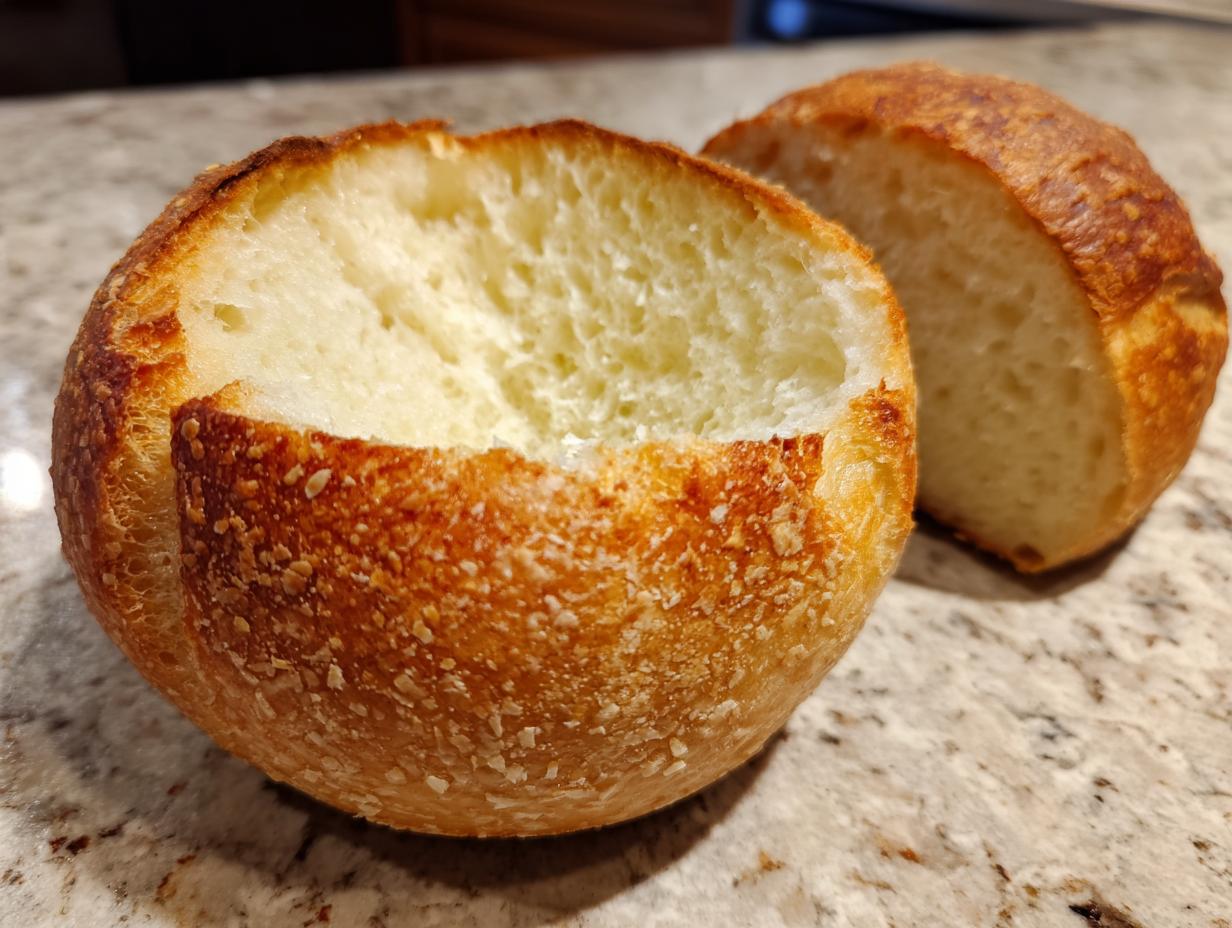
Preparing Your Edible Serving Bowls for Filling
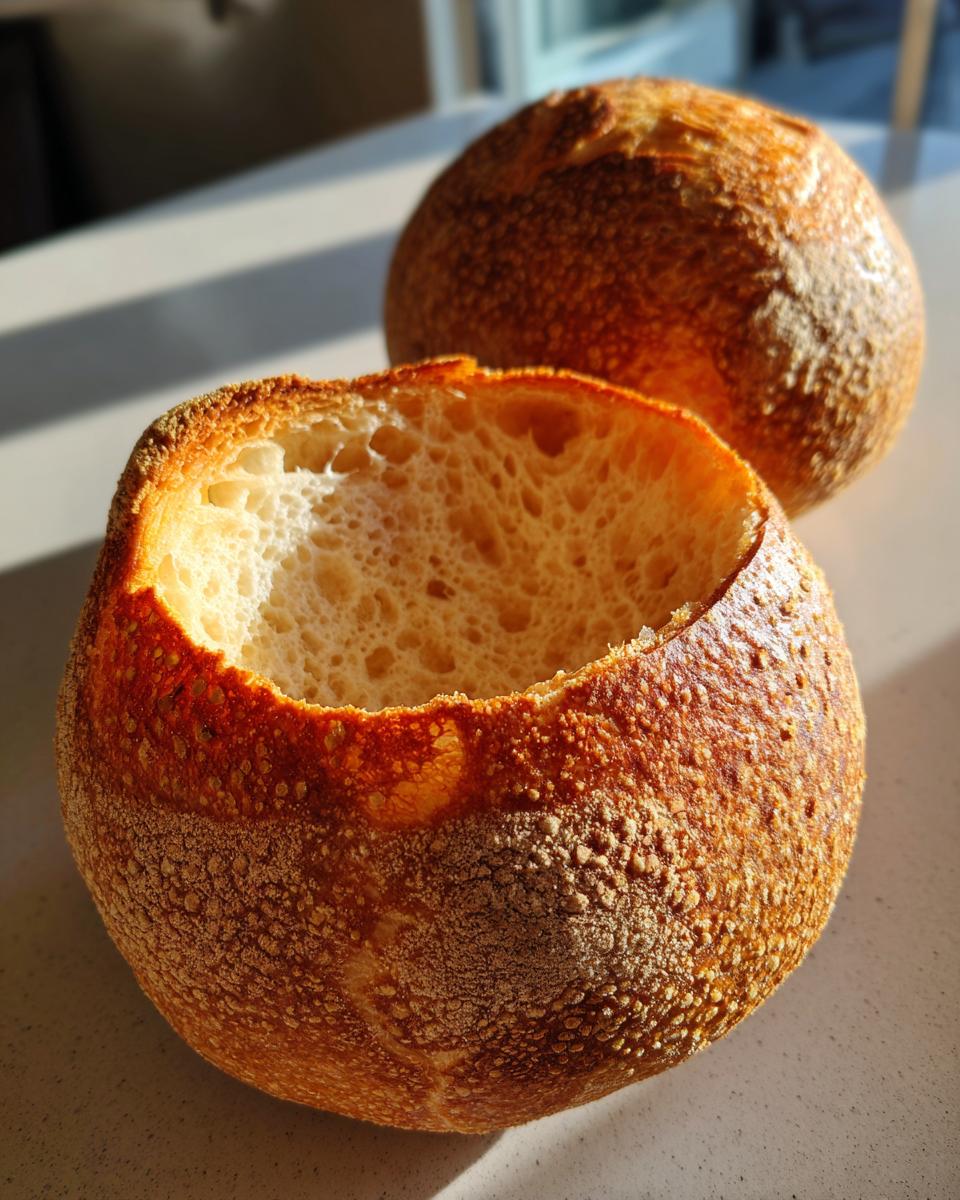
Okay, your bread bowls are gorgeous and perfectly golden brown. Now comes the fun part: turning them into actual bowls! Once they’ve cooled just enough that you can handle them without burning your fingers, take a sharp serrated knife. Cut right across the top to create a lid. Don’t cut too deep—you want a nice, sturdy rim!
Next, gently scoop out that soft interior bread. Be patient here; you need to leave about a one-inch thick wall all the way around, including the bottom, so these edible serving bowls don’t collapse. My biggest trick for maximum integrity? Once hollowed out, pop those empty bowls under the broiler for maybe two minutes. Just until the inside walls look lightly toasted. This scoring lets the steam escape so your bakery style bread bowls puff up nicely! Bake them for about 20 to 25 minutes until they are deep golden brown.
What to Fill Your Bread Bowls With: Comfort Food Recipes
Now that you’ve mastered the baking, you get to the best part: deciding what delicious, steamy contents will grace your beautiful bread bowls! These edible containers are begging for rich, hearty meals. Seriously, eating your bowl along with the last bite of soup is the whole point, right?
If you’re looking for classic, hearty ideas, you cannot go wrong with a thick, cheesy soup. Think creamy Broccoli Cheddar or a rich New England Clam Chowder. Head over to my recipe for the best clam chowder recipe you’ve ever tasted; it’s perfect for this!
For something super robust, you need a thick chili. My favorite way to serve it is in these bowls—it’s the definition of cozy. You can find my simple, dump-and-go crockpot chili recipe linked here. Other showstoppers include spinach and artichoke dip baked right inside, or a savory beef stew. If you need more ideas on presentations, checking out how others work with bread bowls for different fillings is always fun over at that link for some inspiration!
Variations on Classic Bread Bowls
While this basic recipe makes incredible, classic bread bowls, sometimes you just need to shake things up a bit, right? Baking is an adventure! You can easily tweak the dough for different flavor profiles. Want something more savory? Mix in some dried herbs like rosemary or thyme right when you add your flour. Or maybe even a tablespoon of garlic powder!
If you’re feeling extra ambitious and want a deeper tang, naturally, a sourdough version would be amazing, though that takes a bit more planning. For an easier flavor pivot, you can try turning your dough into a salty, chewy pretzel version! I saw an amazing recipe that uses a baking soda bath to get that signature look over at this site if you want to check out how they tackle that savory twist. No matter what, these basic dough ratios give you a fantastic canvas for whatever comfort food you decide to fill them with!
Frequently Asked Questions About Bread Bowls
I get asked a ton of questions about these loaves, especially when folks are trying to nail the timing for a big dinner party. Bread making can sometimes feel intimidating, but I promise, mastering these basics for your homemade bread bowls is totally within reach! Let’s clear up the common sticking points so your next soup night goes off without a hitch. These are the must-know answers for anyone planning to bake their first batch of these wonderful edible serving bowls!
Can I make these bread bowls ahead of time?
You absolutely can make them ahead! Once they are completely cooled after baking, store the hollowed or unshapen loaves in a large, airtight container at room temperature for up to two days. Don’t refrigerate them unless you have to—they can dry out faster there. Right before you fill them, give them a quick blast in a 350°F oven for about 5 minutes to refresh that crust and warm them up. You want that golden, crisp exterior!
What is the best bread for soup bowls?
The best bread for soup bowls is one that has a tight enough interior crumb and a substantial crust, which is exactly what we worked toward in this recipe! A standard soft white loaf might fall apart too easily when filled with something heavy like a thick stew. Because we knead ours properly and use that light egg wash, our loaves develop a sturdy structure that prevents immediate sogginess. This recipe gives you exactly the artisan bread bowls needed for hearty dinner applications.
Storing Leftover Bread Bowls and Fillings
So, you miraculously had leftover bread bowls! Or maybe you’re just planning ahead for the next chilly evening because you know these are too tasty to resist. It’s important to treat the leftover bowl and the filling separately—they have different needs, you know!
For any unfilled bread bowls you have left, whether they are whole or already hollowed out, wrap them up really tightly. I usually use plastic wrap first, followed by a good aluminum foil layer, and store them at room temperature for up to two days. If you need longer storage, they actually freeze beautifully this way! Just let them thaw on the counter and give them that quick refresh in the oven mentioned earlier.
Now, for the fillings—whether it’s your beef stew, that amazing chili, or a cheesy dip—always store those separately in airtight containers in the fridge. This keeps the soup from soaking into the bread and ruins the texture. When you’re ready for round two, just reheat the soup thoroughly, then prep your bread bowl with that quick toasting step, and ladle that hot goodness right in. It’s like getting a second free meal!
If you ever have questions about storage or anything else regarding this recipe, please don’t hesitate to reach out; my contact page is always open!
PrintEasy Homemade Bread Bowls: Soft Interior, Crisp Crust, Perfect for Soup
Learn how to make bakery-style bread bowls from scratch. This recipe yields soft bread bowls with a crisp crust, ideal for filling with your favorite soups, stews, or dips.
- Prep Time: 20 min
- Cook Time: 25 min
- Total Time: 1 hour 50 min
- Yield: 4 servings 1x
- Category: Baking
- Method: Baking
- Cuisine: American
- Diet: Vegetarian
Ingredients
- 1 packet active dry yeast (about 2 1/4 teaspoons)
- 1 teaspoon granulated sugar
- 1 cup warm water (105°F to 115°F)
- 3 cups all-purpose flour, plus more for dusting
- 1 1/2 teaspoons salt
- 2 tablespoons unsalted butter, melted
- 1 egg white, beaten with 1 teaspoon water (for egg wash)
Instructions
- Activate the yeast: In a small bowl, dissolve the sugar in the warm water. Sprinkle the yeast over the top and let it sit for 5 to 10 minutes until foamy.
- Combine dry ingredients: In a large mixing bowl, whisk together the flour and salt.
- Mix the dough: Pour the yeast mixture and the melted butter into the dry ingredients. Mix with a wooden spoon or stand mixer until a shaggy dough forms.
- Knead: Turn the dough out onto a lightly floured surface. Knead for 6 to 8 minutes until the dough is smooth and elastic.
- First rise: Place the dough in a lightly oiled bowl, turning to coat. Cover the bowl with plastic wrap or a clean kitchen towel. Let it rise in a warm place for 1 to 1.5 hours, or until doubled in size.
- Shape the bowls: Gently punch down the risen dough. Divide it into 4 equal pieces. Shape each piece into a tight, round ball. Place the dough balls on a baking sheet lined with parchment paper, leaving space between them.
- Second rise: Cover the dough balls loosely and let them rest for 30 minutes. Preheat your oven to 400°F (200°C).
- Prepare for baking: Brush the tops of the dough balls lightly with the egg wash. Using a sharp knife, cut a circle or an ‘X’ shape into the top of each loaf; this allows steam to escape and helps them open into bowls.
- Bake: Bake for 20 to 25 minutes, or until the bread bowls are deep golden brown and sound hollow when tapped on the bottom.
- Cool: Transfer the bread bowls to a wire rack to cool slightly before serving.
- Prepare for filling: Once cool enough to handle, use a serrated knife to cut a lid off the top of each loaf. Scoop out the soft interior bread, leaving about a 1-inch thick wall to create your edible serving bowl. Lightly toast the inside walls of the bowl under the broiler for 2 minutes for extra sturdiness against soup.
Notes
- For sturdier bread bowls perfect for holding chili or stew, slightly reduce the water amount by 1 tablespoon during mixing.
- Save the scooped-out bread centers; they are excellent for dipping or making croutons.
- If you are making a very wet filling like a creamy soup, brush the inside of the hollowed-out bread bowl with a thin layer of melted butter or cream cheese before filling to create a moisture barrier.
Nutrition
- Serving Size: 1 bread bowl
- Calories: 320
- Sugar: 3
- Sodium: 350
- Fat: 5
- Saturated Fat: 2
- Unsaturated Fat: 3
- Trans Fat: 0
- Carbohydrates: 60
- Fiber: 3
- Protein: 10
- Cholesterol: 5