
Do you ever scroll through pictures online and think, “I could never make something that gorgeous”? Me too! But I promise you, bringing that patisserie-style elegance right into your own kitchen is totally possible, and it doesn’t always need a giant oven commitment. That’s why I’m so thrilled to share this Amazing White Chocolate Mousse Tart recipe with you today. It is the definition of a show-stopper!
This isn’t your average quick dessert. This white chocolate mousse tart looks like something reserved for a serious French bakery, but the best part? The filling is completely no-bake. When I started The YumMagnet Recipe Box, my goal was exactly this: taking luxurious sweets and figuring out how to make them practical for busy home cooks like us. This tart looks incredibly gourmet, yet the steps for achieving that silky, creamy white chocolate filling are totally manageable.
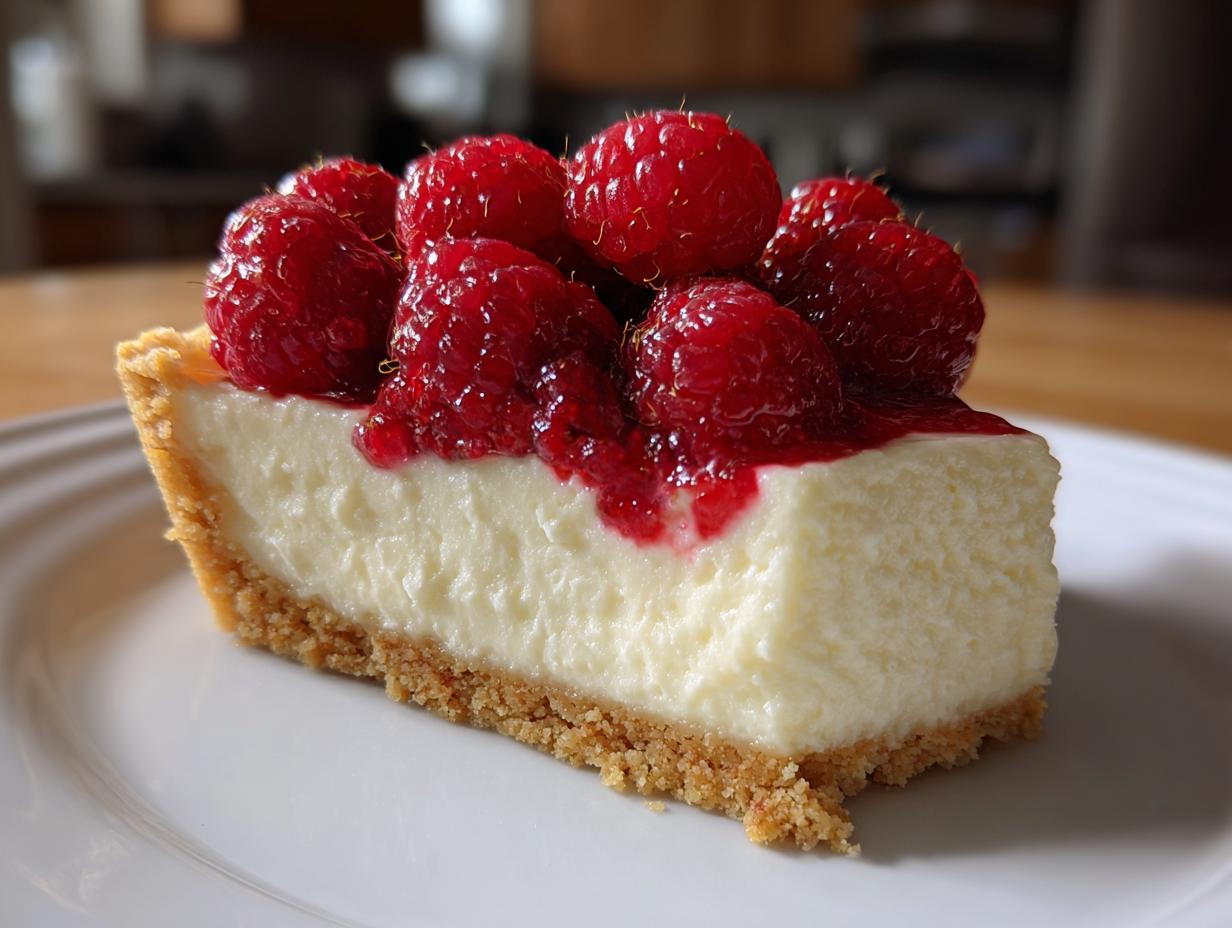
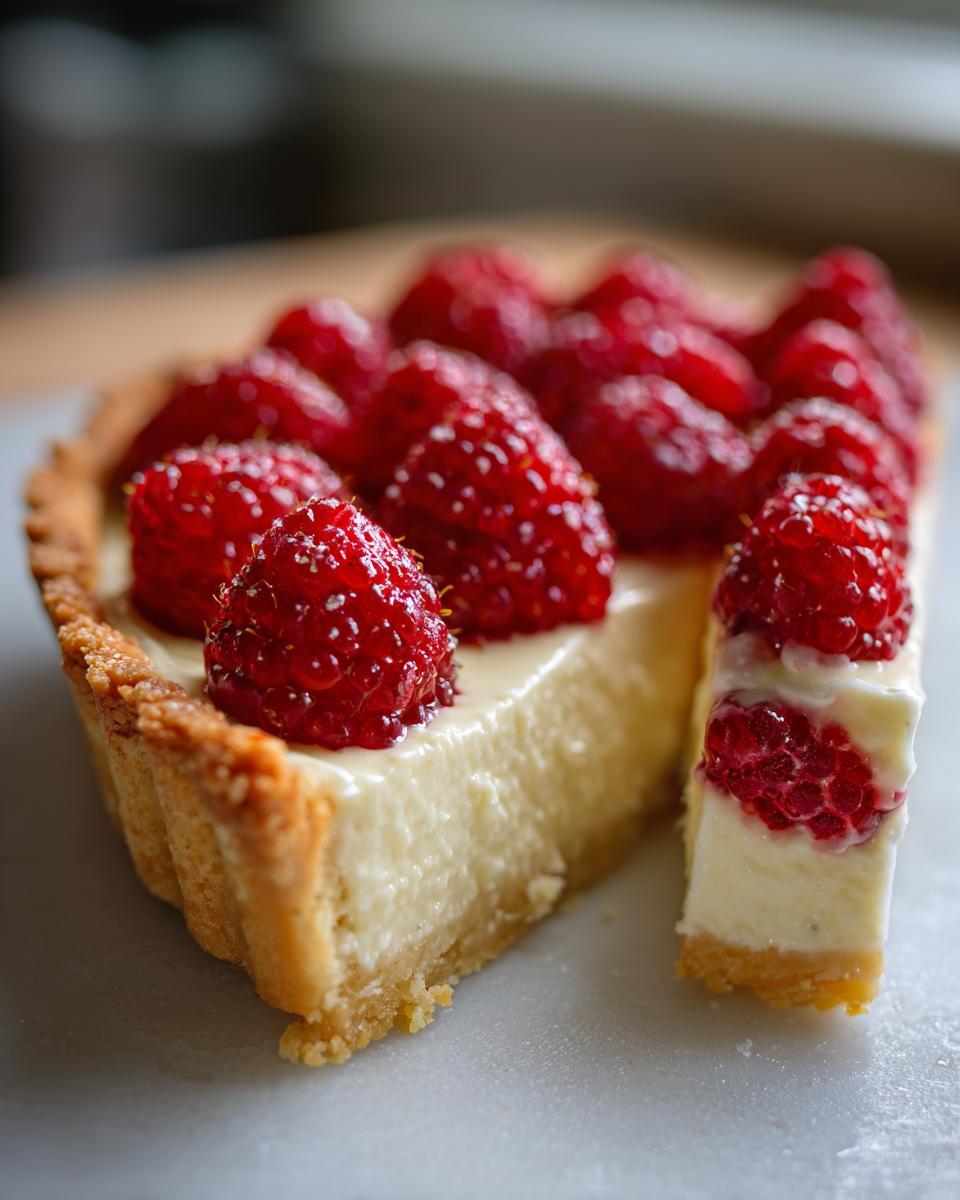
You get that perfect crunch from the buttery shell, followed by the cool, airy mousse that just melts when you take a bite. Trust me, when you serve this at your next gathering, everyone will ask for the recipe. It’s that kind of impressive dessert that feels like cheating because it’s so easy!
- Why This White Chocolate Mousse Tart Recipe is Your New Favorite Showstopper Dessert for Parties
- Gathering Ingredients for Your Creamy White Chocolate Filling and Buttery Tart Shell Recipe
- Step-by-Step Instructions for the White Chocolate Mousse Tart Recipe
- Tips for Success with Your Elegant Dessert Recipes
- Make Ahead Dessert Ideas and Storage for Your White Chocolate Mousse Tart
- Variations on the Raspberry White Chocolate Tart
- Serving Suggestions for This Luxurious Sweet
- Frequently Asked Questions About the White Chocolate Mousse Tart
- Sharing Your Experience with This White Chocolate Mousse Tart
Why This White Chocolate Mousse Tart Recipe is Your New Favorite Showstopper Dessert for Parties
When I dreamed up recipes for The YumMagnet, I always wanted to solve the ‘effort vs. elegance’ problem. This white chocolate mousse tart is the total answer! It immediately ups the wow factor at any gathering because it just screams gourmet dessert, but you aren’t sweating over a hot oven while your guests arrive. Honestly, this became my go-to showstopper dessert for parties because I can focus on hosting instead of frantic baking.
The texture here is key; it has this incredibly light, cloud-like structure thanks to the easy white chocolate mousse, balanced by the foundation. People expect an intense, heavy dessert, but this is delicate, creamy, and genuinely refreshing. It’s the pinnacle of luxurious sweets without the fuss, and that’s why it’s featured in my About section!
The Appeal of a No Bake White Chocolate Tart
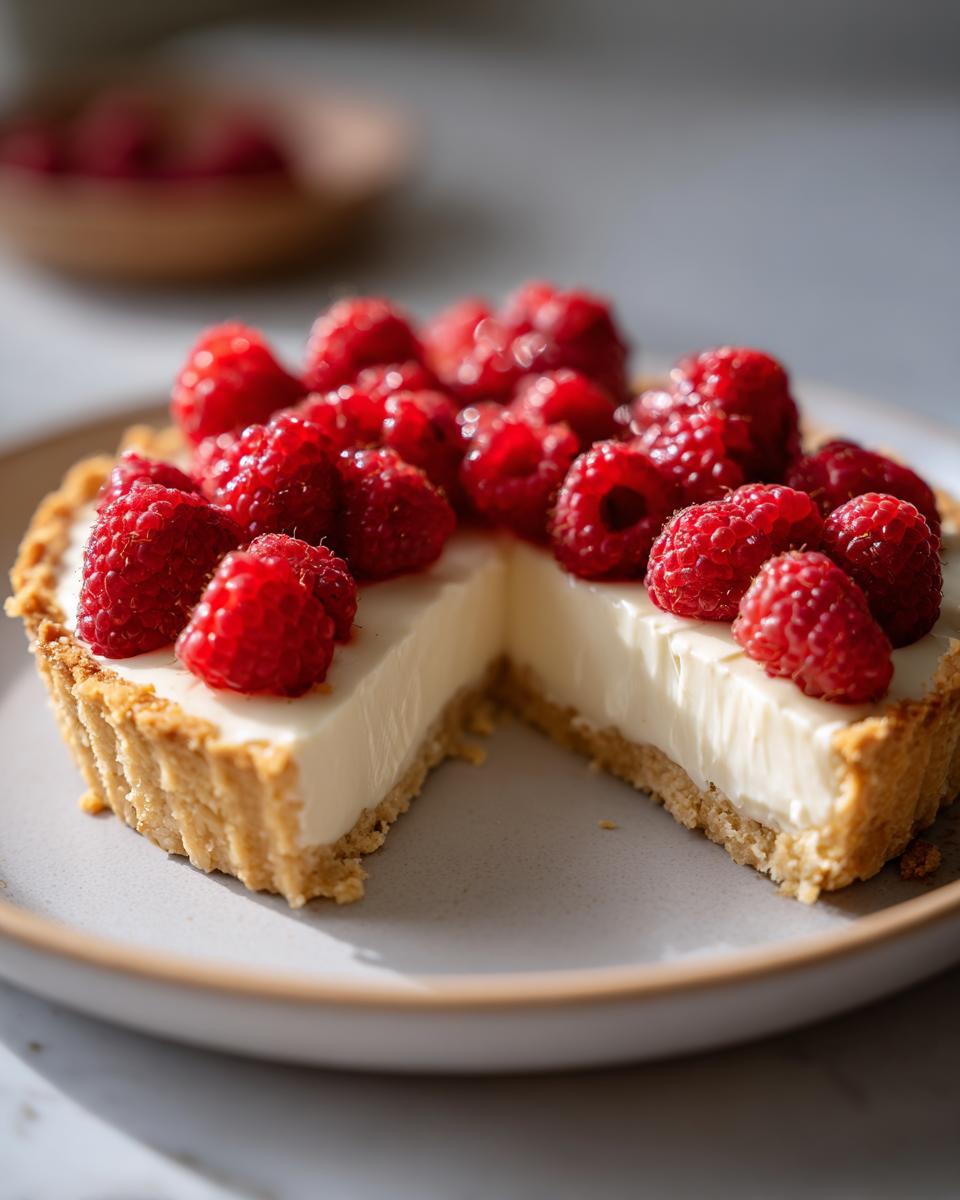
Let’s talk about the best part: this entire tart sets up in the fridge! No complex pastry skills needed for the filling, and that means zero stress when company is over. This fits perfectly into my philosophy of great make ahead dessert ideas. You handle the assembly the day before, and when party time rolls around, all you do is top it with berries. If you’re looking for something smaller but just as stunning, you can check out how they do the little tarts over at Lunar Recipe, but my big tart is perfect for centerpiece drama!
Gathering Ingredients for Your Creamy White Chocolate Filling and Buttery Tart Shell Recipe
Okay, before we get into the magic of mixing, we have to talk about what we’re putting into this beauty. Remember how I always stressed using real butter for Grandma’s pound cake? Here, the quality of your chocolate matters just as much! For that incredible creamy white chocolate filling to set up perfectly and taste truly luxurious, you absolutely must use high-quality white chocolate that lists cocoa butter as one of the first ingredients. Don’t skimp here, trust me; the flavor payoff is enormous.
We are breaking this down into two main parts: the crisp, foundational shell and that cloud-like mousse on top. Get your bowls ready!
Ingredients for the Buttery Tart Shell
This shell is what gives us that lovely, crisp texture contrast to the smooth filling. You only need a few staples here:
- 1 1/2 cups all-purpose flour
- 1/2 cup cold unsalted butter, cubed
- 1/4 teaspoon salt
- 2 tablespoons granulated sugar
- 1 large egg
Ingredients for the Silky White Chocolate Dessert Filling
This list might look a little longer, but it’s all simple stuff coming together to create that dream texture. Remember, for the best silky white chocolate dessert experience, use the good stuff for your chocolate!
- 8 ounces high-quality white chocolate, chopped
- 1 cup heavy cream, divided
- 4 large egg yolks
- 1/4 cup granulated sugar
- 1 teaspoon vanilla extract
- Fresh raspberries, for topping
Step-by-Step Instructions for the White Chocolate Mousse Tart Recipe
Okay, now that we have all our fancy ingredients lined up, it’s time to put this dream together! While we bake the shell, the main mousse filling is done right on the stovetop, but without any actual baking needed for the creaminess—that’s the secret sauce for a happy, stress-free host! I’ve broken this down so you can see exactly how we move from flour and chocolate to your masterpiece. Remember, precision matters when you’re aiming for that showstopper dessert for parties look, but don’t worry, this is simpler than it sounds.
We’ll start with building our base, move to melting that gorgeous white chocolate, and then finish with the delicate folding that gives us that famous airy texture. For the full process, you can check out some great French techniques over at LeYa Recipes, but I’ve adapted everything here for our go-to dessert list!
Preparing and Baking the Buttery Tart Shell
First things first, let’s get that crust ready to roll—well, actually, ready to chill! Toss your flour, salt, and the two tablespoons of sugar into your food processor. Now, add that cold, cubed butter. Pulse, pulse, pulse until it looks like coarse, wet sand. Next, add that one cold egg and pulse just until the dough starts to hug itself together. Stop immediately! We don’t want tough pastry, we want flaky and buttery.
Press that dough evenly into your 9-inch tart pan—make sure the bottom is flat and the sides are neat. Now, this needs a good rest! Pop it into the fridge for a solid 30 minutes. Once chilled, preheat your oven to 375°F (190°C). Line that pastry with parchment paper and fill it up with pie weights or dried beans to keep it from shrinking. Bake for 15 minutes. After those 15 minutes, take out the weights and paper, and bake it again for just 5 to 7 minutes more until it’s lightly golden. Let it cool completely before touching the filling!
Creating the Smooth White Chocolate Mousse Filling
This is where the melting starts! Put all your chopped white chocolate into a heatproof bowl. Now, watch your cream—heat half a cup of the heavy cream in a saucepan until it just starts to simmer around the edges. Don’t let it boil over! Pour that hot cream right over the chocolate and just let it sit there undisturbed for two full minutes. Then, whisk it gently until you have a perfectly smooth, glossy chocolate mixture. Let that cool down just a tiny bit so it doesn’t scramble anything.
In a separate bowl, take your egg yolks and that 1/4 cup of sugar and whisk them like crazy until they look pale yellow and thick—this is called ribbon stage, and it adds body! Now, whisk that yolk mixture very carefully into the slightly cooled white chocolate base. Smooth it out, then whisk in the vanilla extract. This forms the base of our delicious, creamy white chocolate filling.
For the airiness that makes this an easy white chocolate mousse, you need to whip the remaining half-cup of heavy cream until you get medium peaks. Grab a spatula and gently fold that whipped cream into the chocolate base. Do it in two batches! Seriously, fold gently, like you’re tucking something precious into bed. We need to keep all those lovely air bubbles intact!
Assembling and Chilling the White Chocolate Mousse Tart
If your tart shell is absolutely cool (and I mean cool—don’t rush this or the mousse will melt!), it’s time for assembly! Carefully pour all that light, airy creamy white chocolate filling into the pre-baked shell. Use a little offset spatula or the back of a spoon to smooth the top surface evenly. It should look pristine right now!
Now, for the hardest part: leaving it alone! This is a key step for any no bake white chocolate tart. Cover the whole thing lightly with plastic wrap (don’t let it touch the surface) and put it in the fridge. It needs a minimum of 4 hours to set up properly, but honestly, for the best results, I always prepare this the day before I plan to serve it. That gives the structure time to firm up perfectly for slicing.
Tips for Success with Your Elegant Dessert Recipes
Okay, even though this recipe is designed to be simple, a few little pointers can take your elegant dessert recipes from great to absolutely stunning. I want your white chocolate mousse tart to look like it came straight from a fancy patisserie, following the philosophy I share over on my About Page!
Ingredient Quality for the White Chocolate Mousse Tart
If you only take one thing away from this section, let it be this: please, *please* use real white chocolate. We need that cocoa butter in there if we want that truly luscious, luxurious sweet texture. If the label just says ‘white confectionary coating,’ put it back. Only the real stuff will melt down smooth enough to give you that signature velvety filling for your gourmet tart recipes.
Achieving the Perfect Mousse Consistency
When you hit the folding stage, treat the whipped cream like spun sugar—it’s delicate! Have your chocolate base cooled down slightly, and take your spatula. Don’t stir or beat; you need to fold. Cut down through the center of the bowl, scrape along the bottom, and then bring it up over the top. Repeat this until almost combined. Stop folding the second you don’t see white streaks anymore! If you overmix, you lose all that beautiful air we worked so hard to whip in, and you’ll ruin that characteristic light airiness of a great French mousse tart.
Make Ahead Dessert Ideas and Storage for Your White Chocolate Mousse Tart
One of the huge bonuses of this recipe being a no bake white chocolate tart is how fantastic it is for planning ahead! I truly think this is one of my favorite make ahead dessert ideas because it actually *tastes* better the next day. It gives the flavors time to settle into that luxurious texture we’re aiming for.
You can absolutely assemble the whole thing—crust, filling, everything—and chill it for up to 24 hours before you plan to serve it. Just make sure it’s tightly covered so it doesn’t pick up any smells from my busy fridge! Seriously, don’t try to cheat it by leaving it only an hour; 4 hours is the minimum for setting, but overnight is perfection.
When it comes time to serve this stellar make-ahead treat, remember it needs to be served chilled. Just pull it out about 15 minutes before slicing, maybe top it with those fresh berries, and then enjoy the applause. If you’re busy making easy breakfast recipes the next morning, this tart will still be holding its shape beautifully!
Variations on the Raspberry White Chocolate Tart
I love seeing how you all take my base recipes and make them your own! While the classic look with fresh berries is undeniably stunning, especially when aiming for that beautiful raspberry white chocolate tart finish, don’t stop there. This is your canvas!
You can really jazz up the buttery tart shell if you want to lean into more complex gourmet tart recipes. Try mixing a tiny bit of cinnamon or even a pinch of cayenne pepper—like I mentioned in the ingredient notes—into the flour before you mix the dough. It gives the shell a warm, subtle spice that is amazing next to sweet white chocolate.
When it comes to topping that silky mousse, if raspberries aren’t in season or you just need a change, try thin slivers of candied orange peel or just stick to those gorgeous, delicate chocolate curls. Honestly, a simple sprinkling of lemon zest right before serving brightens up the whole profile. It makes this the perfect adaptable dessert for any season!
Serving Suggestions for This Luxurious Sweet
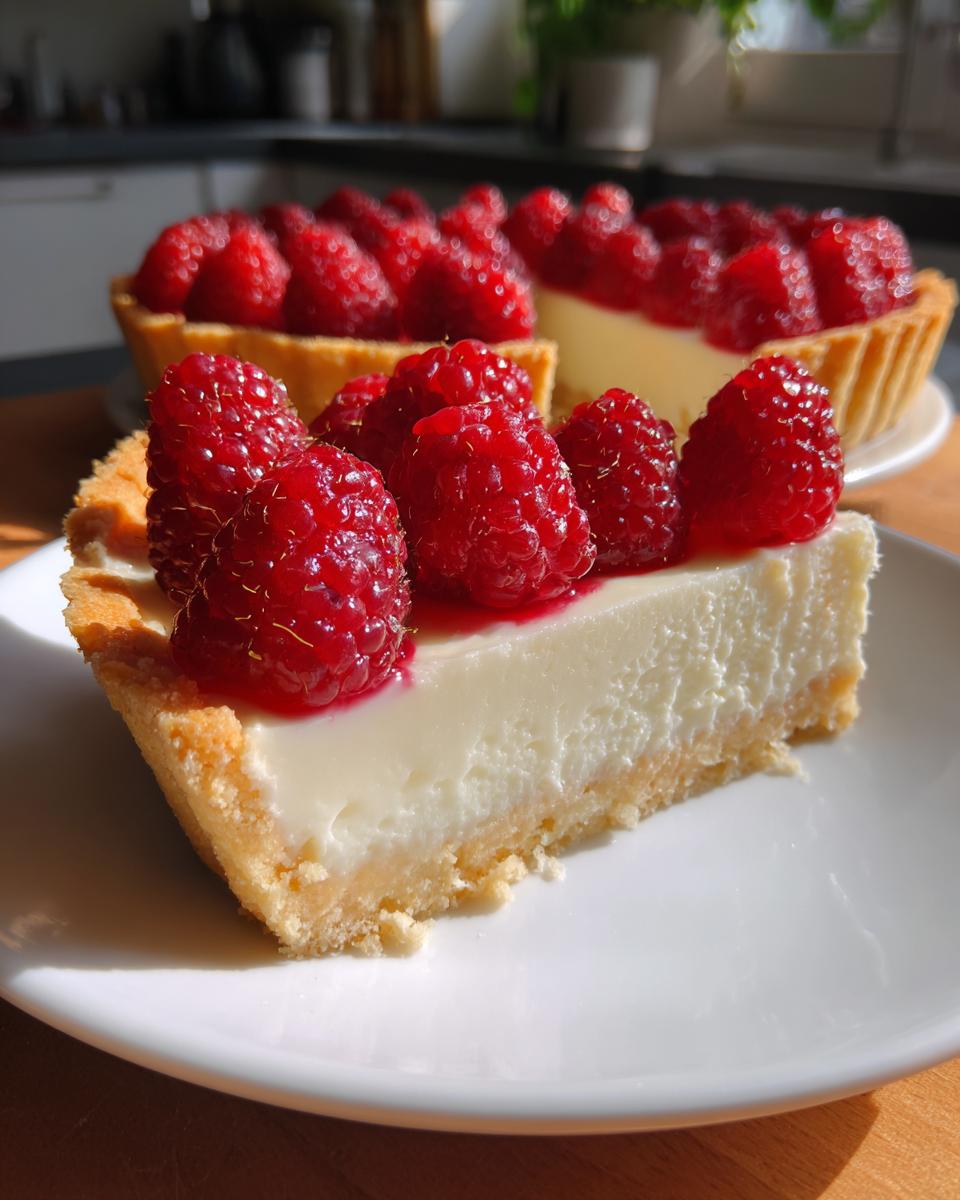
This beautiful white chocolate mousse tart deserves a magnificent presentation! Since we’ve worked hard to create something that mimics those high-end patisserie style desserts at home, let’s show it off. When you pull it from the fridge, dust the very edges with powdered sugar or scatter those fresh raspberries right before you bring it to the table—that stark contrast looks incredible.
Because the mousse is so rich and creamy, this tart shines brightest when served chilled, making it a wonderful refreshing chilled dessert, especially after a heavy meal. I love pairing a slice with a strong cup of coffee; maybe even one of my famous Irish coffees if it’s an evening party! If you prefer wine, a little glass of Asti Spumante or a very light Moscato complements the sweetness without overwhelming that delicate white chocolate flavor. Enjoy watching everyone take that first, delighted bite!
Frequently Asked Questions About the White Chocolate Mousse Tart
I know when you look at something this elegant, you’re going to have questions! It’s usually the little details that make the difference between a good dessert and a stunning one, especially when you’re trying out a new crust or a new technique for a creamy white chocolate filling. I’ve gathered the questions I get most often from folks trying this recipe for the first time. Hopefully, these tips help you nail it perfectly!
Can I make this white chocolate mousse tart without baking the shell?
That’s a great question if you’re looking for a totally no bake white chocolate tart experience! You absolutely can skip baking the shell, but you can’t skip preparing it entirely. If you prefer zero oven time, ditch the baking steps and just press your dough firmly into the pan, chill it for at least an hour, and then immediately fill it with the mousse and chill it for 6+ hours to set up completely. If you’re in a real hurry, you can substitute the homemade shell with 1 1/2 cups of very fine graham cracker crumbs mixed with 1/3 cup of melted butter and 2 tablespoons of sugar. Press that mix into the pan, chill until firm, and then fill it. That’s a true no-bake option!
What is the best way to get a perfectly smooth creamy white chocolate filling?
Temperature control is your best friend here, honey. When you melt the white chocolate with the hot cream, make sure that white chocolate is 100% smooth before you even think about adding the egg yolk mixture. If there’s even one hard chunk of white chocolate left, it will throw off the whole texture. Secondly, when you temper those yolks with sugar, whisk them until they are ribbon-pale. Then, when you combine the yolks and the melted chocolate base, add the yolks slowly in a thin stream while continuously whisking so you avoid ‘cooking’ the eggs. That slow introduction, combined with making sure the chocolate mixture isn’t searing hot, is the secret to that silky white chocolate dessert texture.
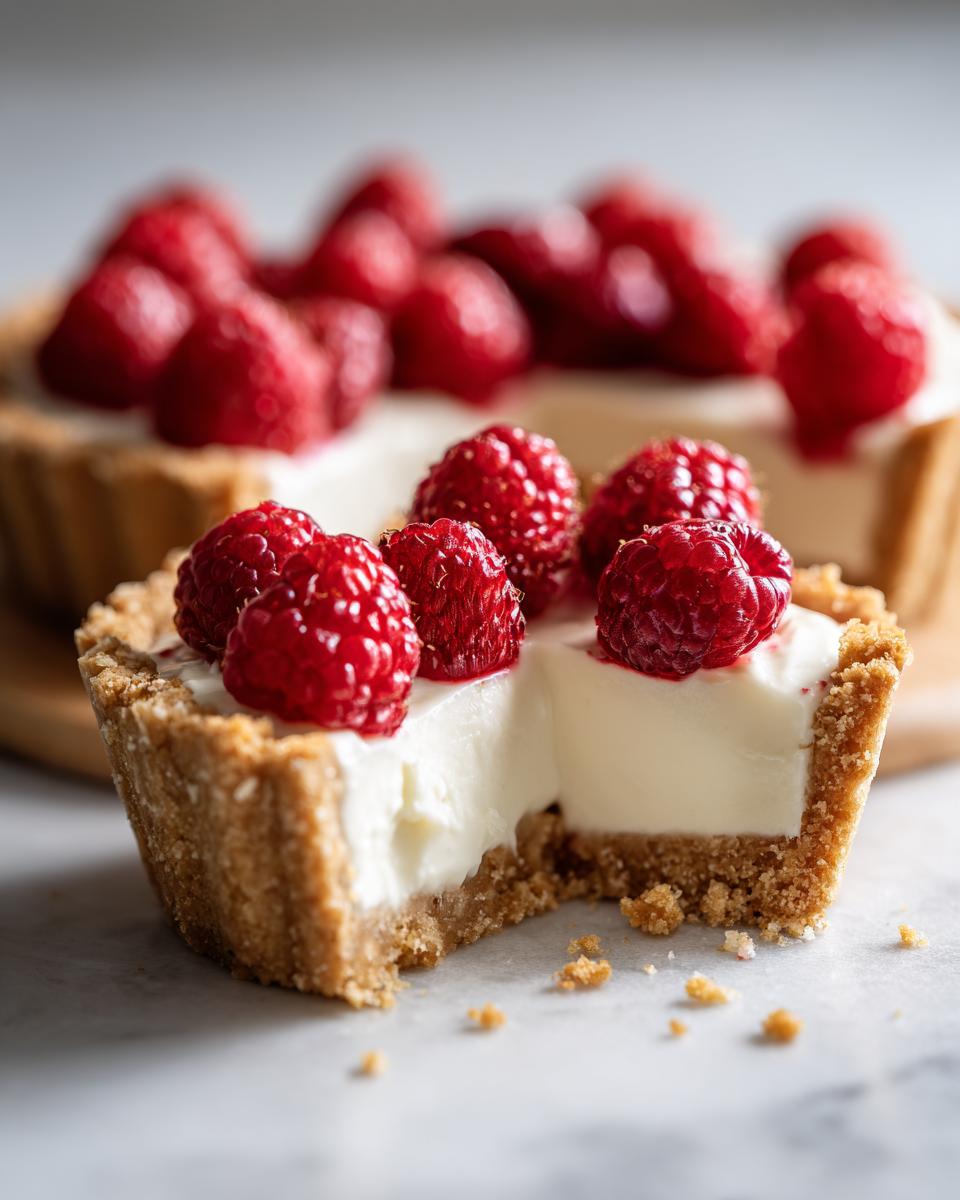
Can this recipe be scaled down to make individual white chocolate tartlets?
Yes, and they look so adorable! Trying to make individual white chocolate tartlets is a fantastic idea for parties because everyone gets their own perfect little slice. The mousse filling is easy to divide, no problem there. The only thing you need to adjust is the crust baking time. Smaller shells bake much faster! Instead of the 20–22 minutes we bake the 9-inch shell, check the tartlets after about 10-12 minutes total baking time. You’re just looking for lightly golden edges. Keep a close eye on them so they don’t burn!
Sharing Your Experience with This White Chocolate Mousse Tart
I poured my heart into making this recipe a foolproof way for you to create something truly special. Now that you’ve gone through all the steps to make your own gorgeous white chocolate mousse tart, I just have to know what you think! Did you manage to get that beautiful, airy texture? Tell me all about it!
Please take a moment to leave me a rating and drop a comment below. I absolutely love hearing how this dessert performed at your last dinner party or holiday gathering. If you’re a beginner baker and you pulled this off—seriously, shout it from the rooftops! Success stories like yours are exactly why I created The YumMagnet Recipe Box.
And if you snapped a picture of that flawless slice topped with raspberries, please share it! Tag me on social media; I get such a kick out of seeing my recipes dressed up in your kitchens. Let’s keep proving that making these kinds of accessible, impressive desserts is totally doable for every home cook. If you have any lingering questions, feel free to check out my Terms of Use, or just ask below, and I’ll get right back to you!
PrintElegant No-Bake White Chocolate Mousse Tart
Make this show-stopping, creamy white chocolate mousse tart that requires no oven time. It features a buttery tart shell and a silky filling, perfect for dinner parties or special occasions.
- Prep Time: 35 min
- Cook Time: 22 min
- Total Time: 4 hours 57 min
- Yield: 8 servings 1x
- Category: Dessert
- Method: Baking and Chilling
- Cuisine: American
- Diet: Vegetarian
Ingredients
- 1 1/2 cups all-purpose flour
- 1/2 cup cold unsalted butter, cubed
- 1/4 teaspoon salt
- 2 tablespoons granulated sugar
- 1 large egg
- 8 ounces high-quality white chocolate, chopped
- 1 cup heavy cream, divided
- 4 large egg yolks
- 1/4 cup granulated sugar
- 1 teaspoon vanilla extract
- Fresh raspberries, for topping
Instructions
- Prepare the Tart Shell: In a food processor, pulse the flour, salt, and 2 tablespoons of sugar. Add the cold butter and pulse until the mixture resembles coarse crumbs. Add the egg and pulse until the dough just comes together. Do not overmix.
- Press the dough evenly into a 9-inch tart pan with a removable bottom. Chill the shell for 30 minutes. Preheat your oven to 375°F (190°C).
- Bake the Shell: Line the chilled shell with parchment paper and fill with pie weights or dried beans. Bake for 15 minutes. Remove the weights and paper and bake for another 5-7 minutes until lightly golden. Let the buttery tart shell cool completely.
- Make the Mousse Filling: Place the chopped white chocolate in a heatproof bowl. Heat 1/2 cup of heavy cream in a small saucepan until just simmering. Pour the hot cream over the white chocolate and let it sit for 2 minutes, then whisk until completely smooth. Set aside to cool slightly.
- In a separate bowl, whisk the egg yolks and 1/4 cup sugar until pale and thick. Gently whisk the yolk mixture into the slightly cooled white chocolate mixture. Whisk in the vanilla extract.
- In a clean bowl, whip the remaining 1/2 cup of heavy cream until medium peaks form. Gently fold the whipped cream into the white chocolate mixture in two additions until just combined, creating a light, airy white chocolate mousse.
- Assemble the Tart: Pour the creamy white chocolate filling into the cooled tart shell. Smooth the top with an offset spatula.
- Chill: Refrigerate the tart for at least 4 hours, or until the mousse is fully set.
- Serve: Before serving, top the silky white chocolate dessert with fresh raspberries or chocolate curls. Slice and serve this luxurious sweet chilled.
Notes
- Use real white chocolate that contains cocoa butter for the best flavor and texture in your creamy white chocolate filling.
- This make ahead dessert idea is best prepared one day in advance for optimal setting.
- For an extra showstopper dessert for parties, add a thin layer of raspberry jam to the bottom of the cooled tart shell before adding the mousse.
Nutrition
- Serving Size: 1 slice
- Calories: 410
- Sugar: 25g
- Sodium: 150mg
- Fat: 28g
- Saturated Fat: 17g
- Unsaturated Fat: 11g
- Trans Fat: 0.5g
- Carbohydrates: 35g
- Fiber: 1g
- Protein: 5g
- Cholesterol: 110mg