
Oh, there is just nothing in the world that captures cozy quite like a steaming mug of hot chocolate on a chilly afternoon. You know that feeling—the warmth spreading through your hands before the first sip even happens! But honestly, those little packets of store-bought stuff? They never really hit the mark. That’s why, here at The YumMagnet, my entire philosophy rests on making real food for real life. I’m Jessica Thompson, and I believe in practical magic, which means mastering a fantastic **homemade hot cocoa mix** that tastes incredible and actually lasts. Trust me on this: making this in a big batch means you’ll have rich, creamy, shelf-stable hot chocolate ready to go for weeks. It’s my favorite pantry staple for a reason!
- Why This Homemade Hot Cocoa Mix Beats Store-Bought
- Gathering Ingredients for Your Bulk Hot Cocoa Mix
- How to Prepare Your Easy Cocoa Mix Recipe
- Storage for Shelf Stable Hot Chocolate
- Serving Your Rich Chocolate Drink Mix
- Making Hot Cocoa Mix in a Jar for Gifting
- Tips for Customizing Your Hot Cocoa Mix
- Frequently Asked Questions About Homemade Hot Cocoa Mix
- Nutritional Estimate for This Hot Cocoa Mix
- Share Your Favorite Winter Drink Mixes
Why This Homemade Hot Cocoa Mix Beats Store-Bought
Let’s be real. Store-bought mixes are often loaded with fillers and that slightly fake sweetness. When you make your own big batch **hot cocoa mix**, you put *you* back in control! That’s what I love about it. You get richer flavor, better ingredients, and when you make it in bulk, you save a surprising amount of money.
- It tastes intensely chocolatey—no watered-down flavor here!
- You control exactly how much sugar goes in.
- It’s fantastic for last-minute holiday gifting that feels genuine and cozy.
The Secret to a Creamy Hot Chocolate Mix
If you want that velvet, almost decadent mouthfeel, you can’t skip the secret weapons! My version relies on two little players: non-fat dry milk powder and a touch of cornstarch. The dry milk gives that incredibly plush body—that’s the key to a truly **creamy hot chocolate mix**. I spent ages testing batches before I realized how much that little bit of starch prevents it from tasting thin after you add your hot liquid.
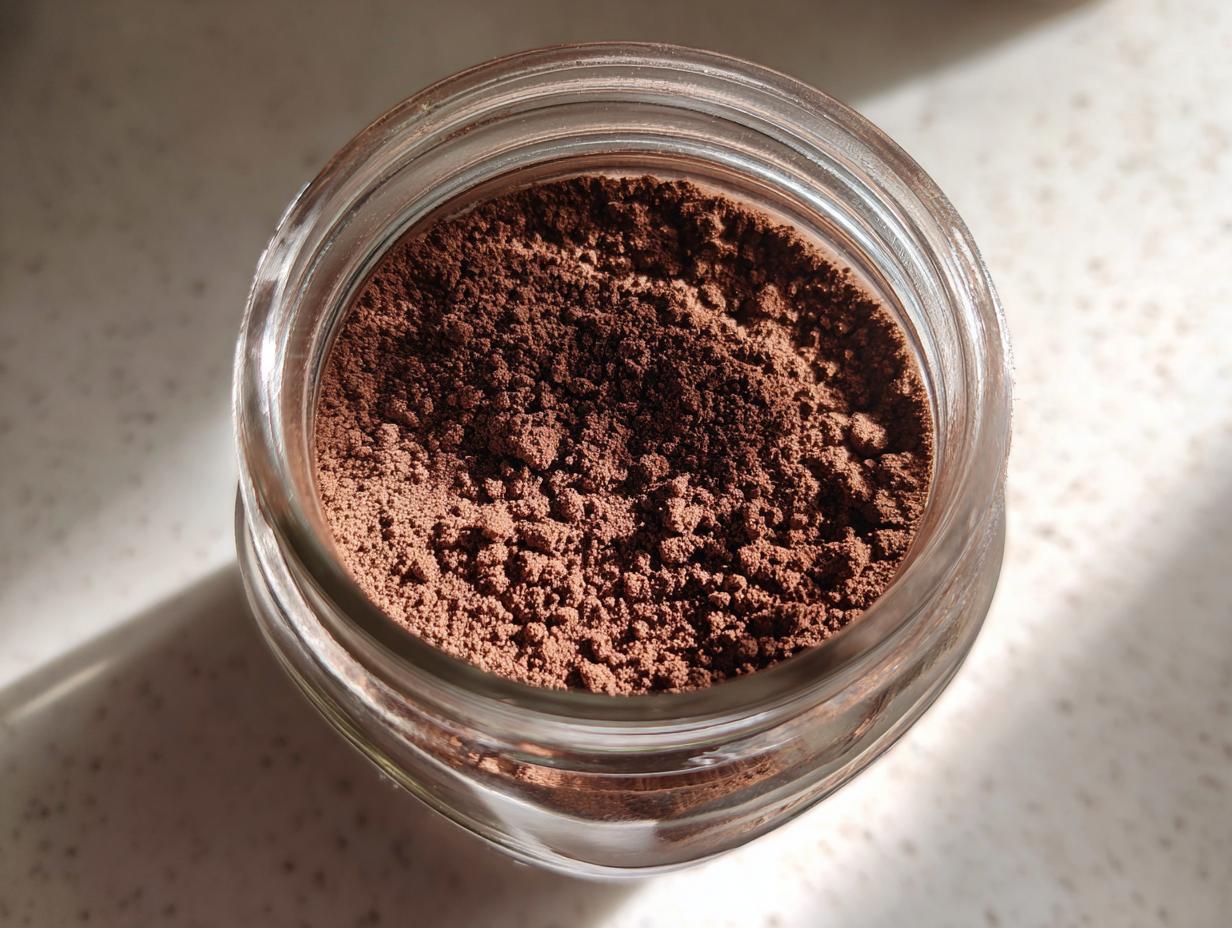
Gathering Ingredients for Your Bulk Hot Cocoa Mix
You know I love sharing recipes, but the real magic starts before the mixing even begins. This **easy cocoa mix recipe** uses ingredients you probably already have tucked away in your pantry, making it the perfect **pantry staple cocoa** to whip up when you have ten minutes free. We are sticking strictly to what works for a big batch that lasts. You’ll need powdered sugar for sweetness, good quality cocoa powder, salt to make that chocolate *pop*, and those secret creamy boosters.
Ingredient Clarity and Optional Additions
When you buy the cocoa, you generally have two choices: natural or Dutch-process. If you want the richest, darkest chocolate drink possible—the kind that sings—I suggest going with the Dutch-process cocoa; it’s darker and smoother. Now, the cornstarch—that’s optional, but trust me, it’s my little trick to get that thick, luxurious texture without needing a ton of extra dairy. If you skip the dry milk powder, you absolutely need to use that cornstarch, or things get a little thin when you try to make your **rich chocolate drink mix**.
How to Prepare Your Easy Cocoa Mix Recipe
Okay, shaking things up now that we have all our dry ingredients—sugar, powder, salt, the whole shebang! This isn’t like pouring wet batter into a pan, but thorough mixing is just as important here if you don’t want sad, powdery lumps in your first cup of cocoa. I always start by putting the main players, the sugar and the cocoa, into the bowl first. I whisk those two together until I think they look uniform, which usually takes a full minute just to break up all those tough cocoa clumps. Then, I toss in the dry milk and the salt and the little hit of cornstarch we talked about.
We’re basically building a layer cake of dry goodness here, so we have to mix it perfectly so every scoop you take out later is balanced. If you skip past this step too fast, you’ll end up needing to wear a face mask because the cocoa dust flies everywhere later! I use a big balloon whisk because it catches everything really well. If you want a preview of what happens when you don’t mix enough, check out my thoughts on making a perfect chocolate cake—lumps are the enemy there too!
The Critical Step: Ensuring a Smooth Hot Cocoa Mix
This is where I put my phone down and just whisk. You really need to commit a full two minutes to this final stage. If you stop too soon, I promise, you’ll pull out a mug where half the bottom is just gritty sugar. We want a completely homogeneous powder. Whisk until you can’t see any streaks of *just* white or *just* dark brown—that even color means your **DIY hot chocolate powder** is ready for storage!
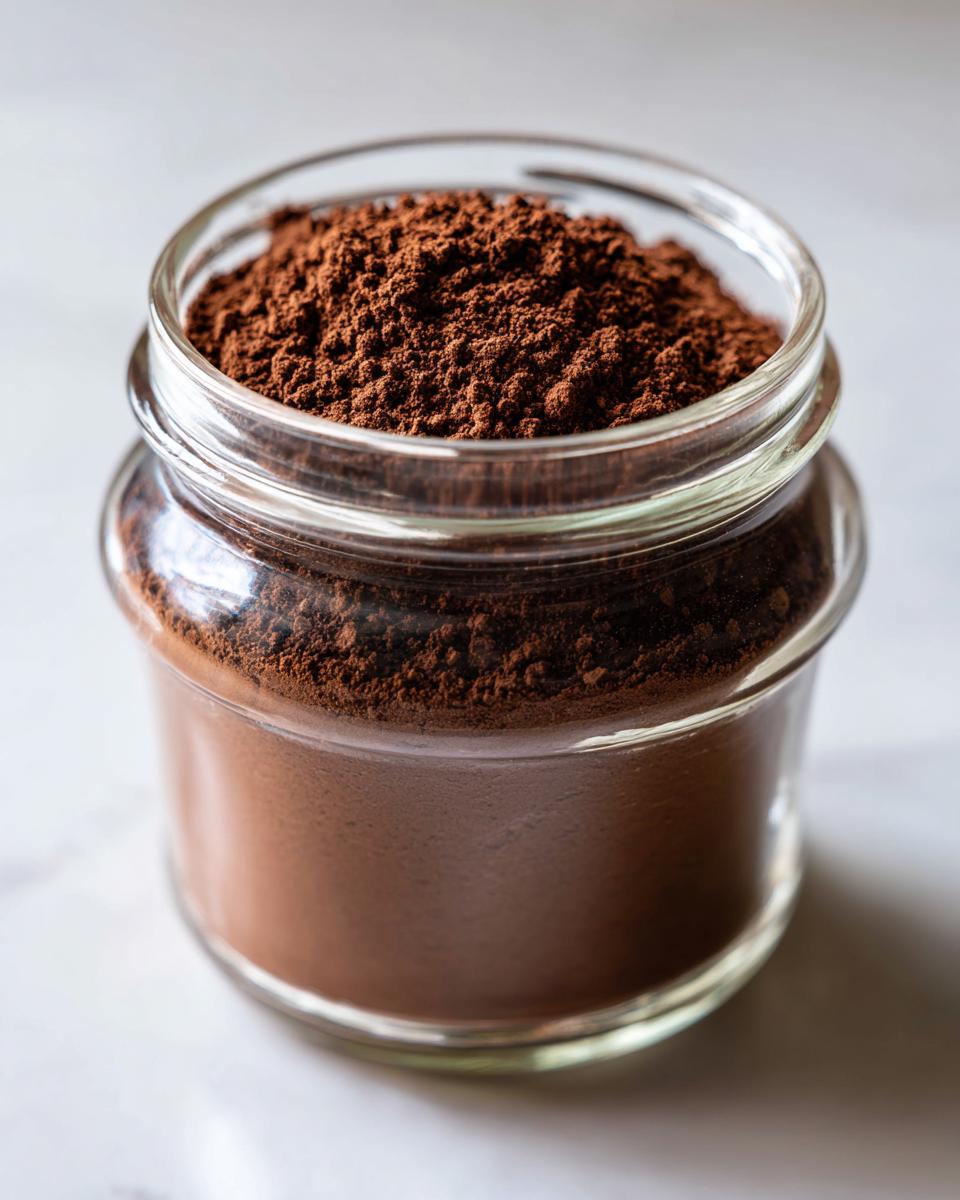
Storage for Shelf Stable Hot Chocolate
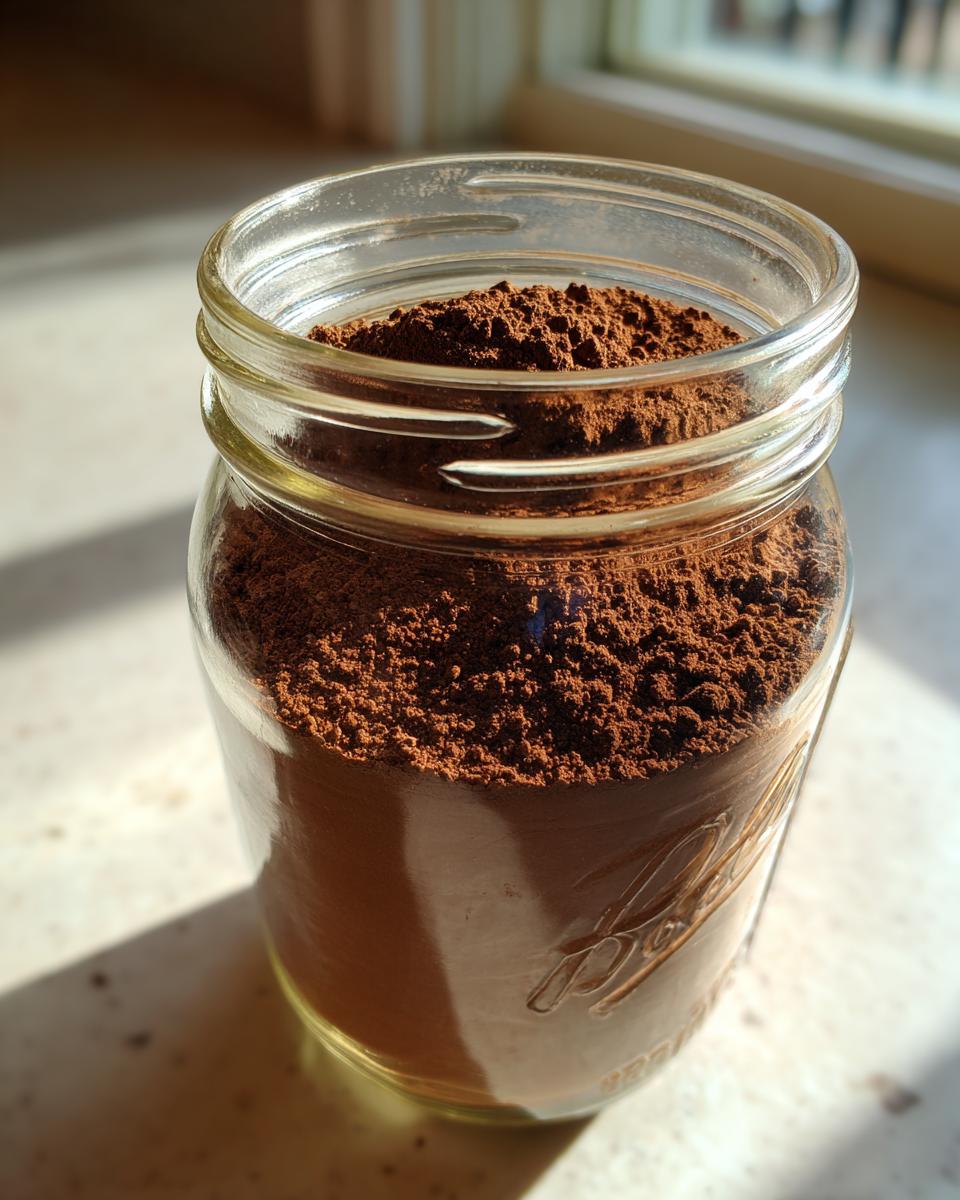
Now that you’ve made this gorgeous bulk amount of **hot cocoa mix**, we need to tuck it away properly so it stays perfect for months. This is super important for keeping that chocolate flavor bright and preventing any clumping down the line. You absolutely must transfer the finished powder into an airtight container. A large glass mason jar works miracles, but any container with a tight seal will do the trick. Keep it stored in a cool, dry place—never near the stove or where the sun hits it! If you follow those simple rules, this mix functions perfectly as a **shelf stable hot chocolate**, ready whenever the craving hits. You can always check out Hershey’s pointers on cocoa storage too, though my mix is much better, if I do say so myself! Hershey’s has some tips.
Serving Your Rich Chocolate Drink Mix
Making the perfect cup is almost as fun as mixing the batch itself! To get that promised deep, rich flavor, I stir in about 3 to 4 generous tablespoons of the **hot cocoa mix** powder into one full cup of liquid. Now, for the liquid: you *can* use boiling water if you’re in a rush, but oh my goodness, the difference when you use hot milk is incredible! Using milk turns this into the luxurious, **rich chocolate drink mix** you deserve. Just stir it really well until you don’t see any dry spots at the bottom, pile on your favorite toppings, and enjoy that cozy moment!
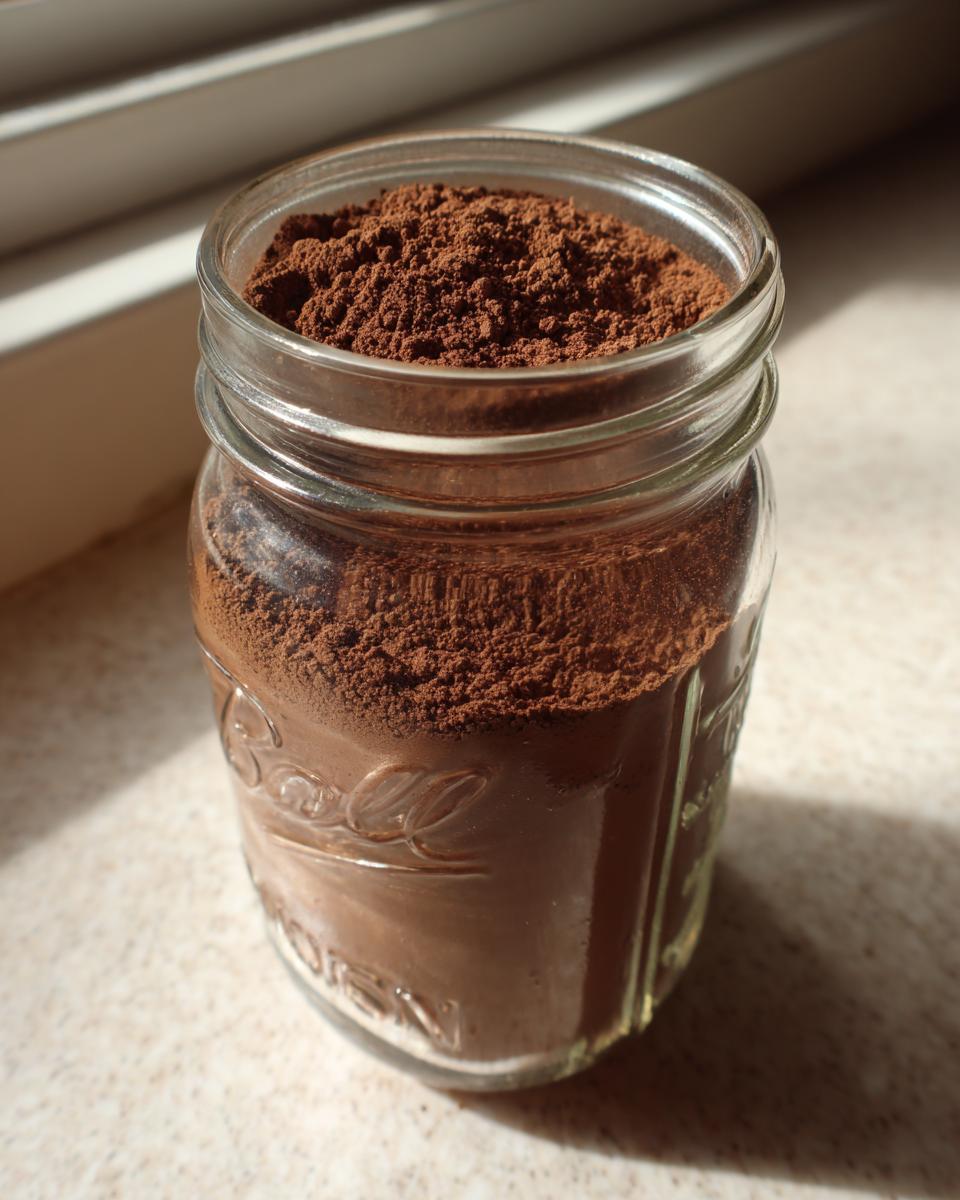
Making Hot Cocoa Mix in a Jar for Gifting
This is one of my favorite parts about having a great base recipe like this **hot cocoa mix**! Because it’s so easy and stores so well, it instantly transforms into thoughtful **chocolate gift ideas**. Seriously, nothing says “I care” quite like a consumable gift made with love. I love taking a cute, clean mason jar—the wider mouth ones are a bit easier to fill, by the way—and layering the mix right up to the top.
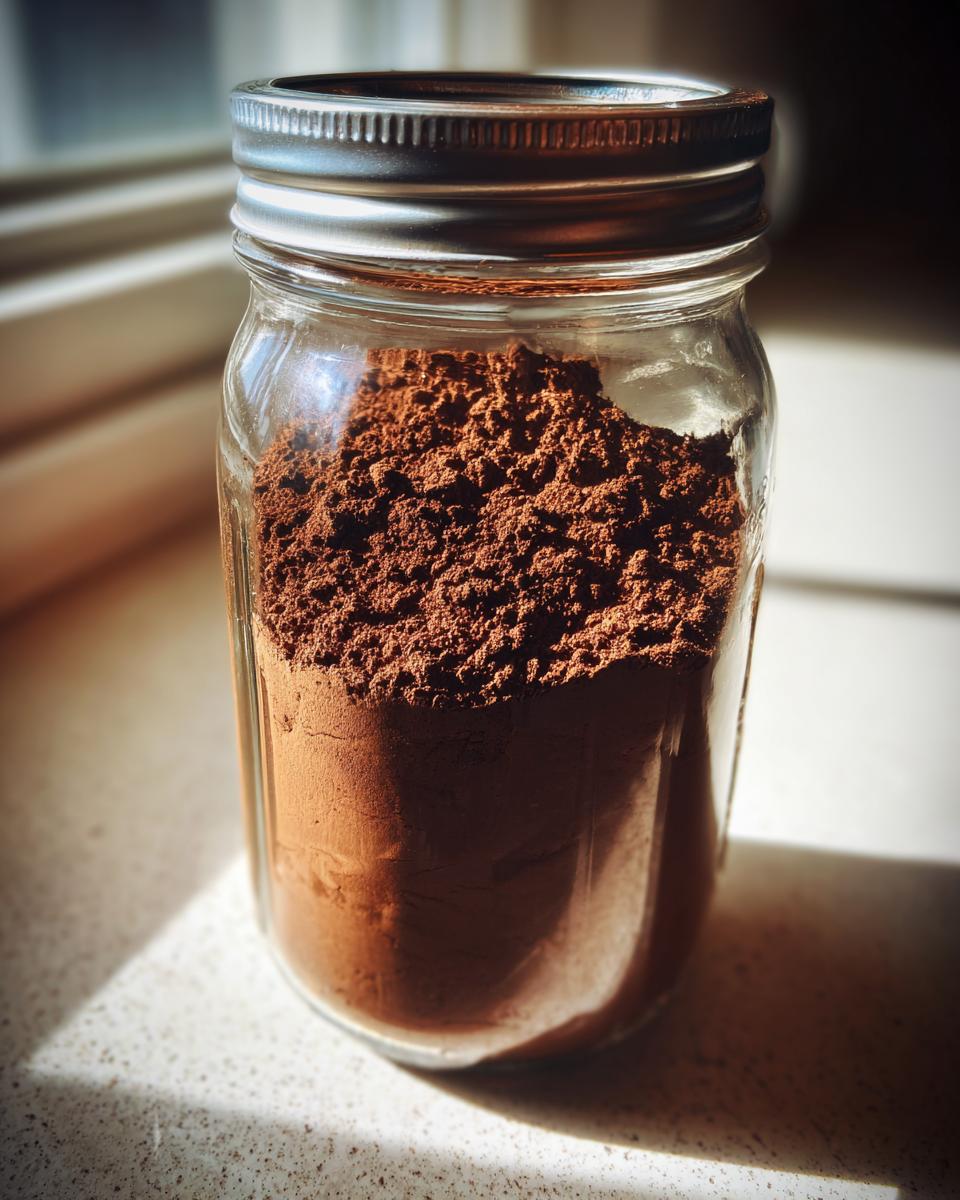
Once it’s full, all you need is a piece of burlap or pretty gingham fabric tied over the lid with some baker’s twine or a ribbon. You can even print a little tag explaining the serving suggestion, like “3 Tbsp per cup of hot milk!” It makes a fantastic hostess gift or something easy to hand out when friends pop over in December. It’s such a thoughtful alternative to buying something prepackaged, and you know the quality is top-notch. If you’re making other treats, my chocolate covered cherries are also perfect for gifting! This jars-and-ribbons presentation is also a great way to use up extra mix while still following the advice on making a mix in a jar.
Tips for Customizing Your Hot Cocoa Mix
Okay, you’ve mastered the base recipe, which on its own is wonderfully rich, but now we get to play! This bulk **hot cocoa mix** is the perfect canvas for jazzing things up and making it your signature flavor. I often switch up my batch depending on what I’m craving that week. It’s so simple to turn this solid foundation into one of those incredible **winter drink mixes** people talk about all season long.
If you like a little warmth in your chocolate, stir in about a teaspoon of cinnamon right before you transfer it to the jar. For a real kick that makes people ask for the recipe, try just a tiny pinch—like, half a teaspoon—of cayenne pepper. It sounds wild, but it deepens the chocolate flavor beautifully! Sometimes I even sneak in a little instant espresso powder to make it a mocha mix. If you love a good spiced bread, you know how important those flavor boosters are—it’s just like jazzing up my famous apple bread!
If you want to go for a vanilla note, you can add about a teaspoon of good quality vanilla bean powder, or you can always swirl in a few drops of peppermint extract after you mix the dry ingredients—just make sure you’re adding extracts *after* the initial big whisking so they don’t clump up the sugar. For the scoop on how other people like to dress up their hot chocolate, check out some great ideas over at Coffee Copycat!
Frequently Asked Questions About Homemade Hot Cocoa Mix
Whenever I share this recipe, folks always have a few quick questions about substitutions or timeline, and that’s totally fair! I want everyone who tries this **hot cocoa mix** to have the best possible cup. I’ve gathered the most common ones right here so you can whip up your perfect batch with total confidence.
Can I make this without dry milk powder for a vegan option?
You absolutely can! That dry milk is my secret for that deep creaminess, but if you’re keeping it dairy-free or vegan, just leave it out. The trade-off is that your final drink won’t feel quite as rich when mixed with water. My advice? If you skip the milk powder, increase that optional cornstarch by just half a teaspoon. That little boost helps provide some body so your final **DIY hot chocolate powder** doesn’t feel thin.
How do I ensure my DIY Hot Chocolate Powder doesn’t clump?
Clumping usually happens if you rush the initial mix or if any humidity sneaks in later. When mixing, you must go slow and really whisk for those full two minutes when everything is dry. If you’re finding that even after storage, the powder seems stuck together, the easiest fix is just running everything through a fine-mesh sieve or sifter *before* you initially mix it all together. A pre-sifted powder mixes so much better in that first cup!
And yes, this stores for months in an airtight container! If you’re looking for something fun to serve your cocoa with, you’ve got to check out my recipe for homemade bread bowls—great for dipping in the mix!
Nutritional Estimate for This Hot Cocoa Mix
I always get asked about the *real* details, and while I tell everyone this is a family recipe first and a science experiment second, I know those numbers matter! Based strictly on the dry mix itself, here is a general estimate per standard serving size of 4 tablespoons. Remember, these values are estimates based on my chosen ingredients, primarily using standard powdered sugar and dry milk. The final calories and sugar count change drastically once you stir this glorious **hot cocoa mix** into 1 cup of hot whole milk versus just hot water!
- Serving Size: 4 tbsp dry mix
- Calories: 160
- Sugar: 28g
- Sodium: 75mg
- Fat: 2g
- Protein: 3g
Share Your Favorite Winter Drink Mixes
Well, that’s my secret for the ultimate **hot cocoa mix**! Now I want to hear from you! Have you tried adding cayenne or maybe a secret spice to your batch? Please leave a rating below and tell me how you are enjoying your cozy cups this winter. If you made a special **hot cocoa mix in a jar** for gifting, snap a picture and tag us! I love seeing how you bring the YumMagnet magic into your homes. Need to ask a follow-up question? You can always reach out to me directly via my contact page!
PrintRich & Creamy Homemade Hot Cocoa Mix (Big Batch & Shelf-Stable)
Make a large batch of this easy homemade hot cocoa mix using simple pantry staples. This mix creates a rich, creamy hot chocolate when you add hot milk or water, and it stores well for months, making it perfect for winter drinks or thoughtful gifts in a jar.
- Prep Time: 10 min
- Cook Time: 0 min
- Total Time: 10 min
- Yield: About 16 cups of mix 1x
- Category: Beverage
- Method: Mixing
- Cuisine: American
- Diet: Vegetarian
Ingredients
- 4 cups powdered sugar
- 2 cups unsweetened cocoa powder (natural or Dutch-process)
- 1 1/2 cups non-fat dry milk powder (optional, for extra creaminess)
- 1 teaspoon salt
- 1 teaspoon cornstarch (optional, for thickness)
Instructions
- Gather all your ingredients: powdered sugar, cocoa powder, dry milk powder (if using), salt, and cornstarch (if using).
- In a very large bowl, combine the powdered sugar and cocoa powder. Whisk them together thoroughly to break up any lumps.
- Add the dry milk powder, salt, and cornstarch to the bowl.
- Whisk all dry ingredients together for at least two minutes. You must mix completely to ensure the sugar and cocoa are evenly distributed and the mix is smooth.
- Transfer the finished hot cocoa mix to an airtight container. Store this pantry staple in a cool, dry place.
- To serve, mix 3 to 4 tablespoons of the dry mix with 1 cup of hot milk or hot water. Stir until completely dissolved and enjoy your rich chocolate drink.
Notes
- For a richer flavor, use Dutch-process cocoa powder.
- If you skip the dry milk powder, you may need to add a little extra cornstarch to maintain a creamy texture when mixed.
- Package this mix in mason jars with a ribbon for an easy, thoughtful holiday gift idea.
- This recipe makes a bulk amount suitable for long-term storage.
Nutrition
- Serving Size: 4 tbsp dry mix
- Calories: 160
- Sugar: 28g
- Sodium: 75mg
- Fat: 2g
- Saturated Fat: 1g
- Unsaturated Fat: 1g
- Trans Fat: 0g
- Carbohydrates: 34g
- Fiber: 3g
- Protein: 3g
- Cholesterol: 5mg